Start with the information a reader needs
An edition description answers a simple question: what print is this, and how does this impression relate to the others? Begin with the artist’s name, work title, printmaking process, image or paper dimensions, year of completion, and edition information. Add the paper and inks when they help identify the work or explain its appearance. A gallery may have its own form, but keeping these facts together makes it easier to prepare a wall label, listing, invoice or inventory record.
Use names a buyer can understand. “Linocut printed in two colors” is more informative than “relief print” alone; “etching and aquatint” is more precise than “intaglio” if both processes are known. Describe what was used for this edition rather than relying on a general description of your practice. If a material detail is uncertain, check your studio notes instead of guessing.
Make the edition number unambiguous
For a numbered edition, write the impression number and total edition size together, such as “7/30.” This means the impression is numbered seven in an edition of thirty; it does not necessarily mean it was printed seventh. In a listing, spell that out as “Number 7 from an edition of 30” if the audience may be unfamiliar with print notation. State whether the edition is complete or still being printed only when that distinction matters and you can describe it accurately.
Separate the number of prints in the edition from any additional proofs. For example, “Edition of 30, plus 3 artist’s proofs” tells a reader more than “Edition of 30” when proofs also exist. If proofs are not numbered, describe how they are identified. Avoid treating labels such as “artist’s proof” as a substitute for a count or for a description of how the proof differs, if it does. Clear disclosure matters more than adopting a particular studio convention.
A print sold individually should also be distinguishable from a reproduction of that print. If you offer reproductions, give them separate descriptions and inventory identifiers. Do not use edition language in a way that suggests every copy is an original impression from the printing matrix when it is not.
Explain variations and proofs in ordinary language
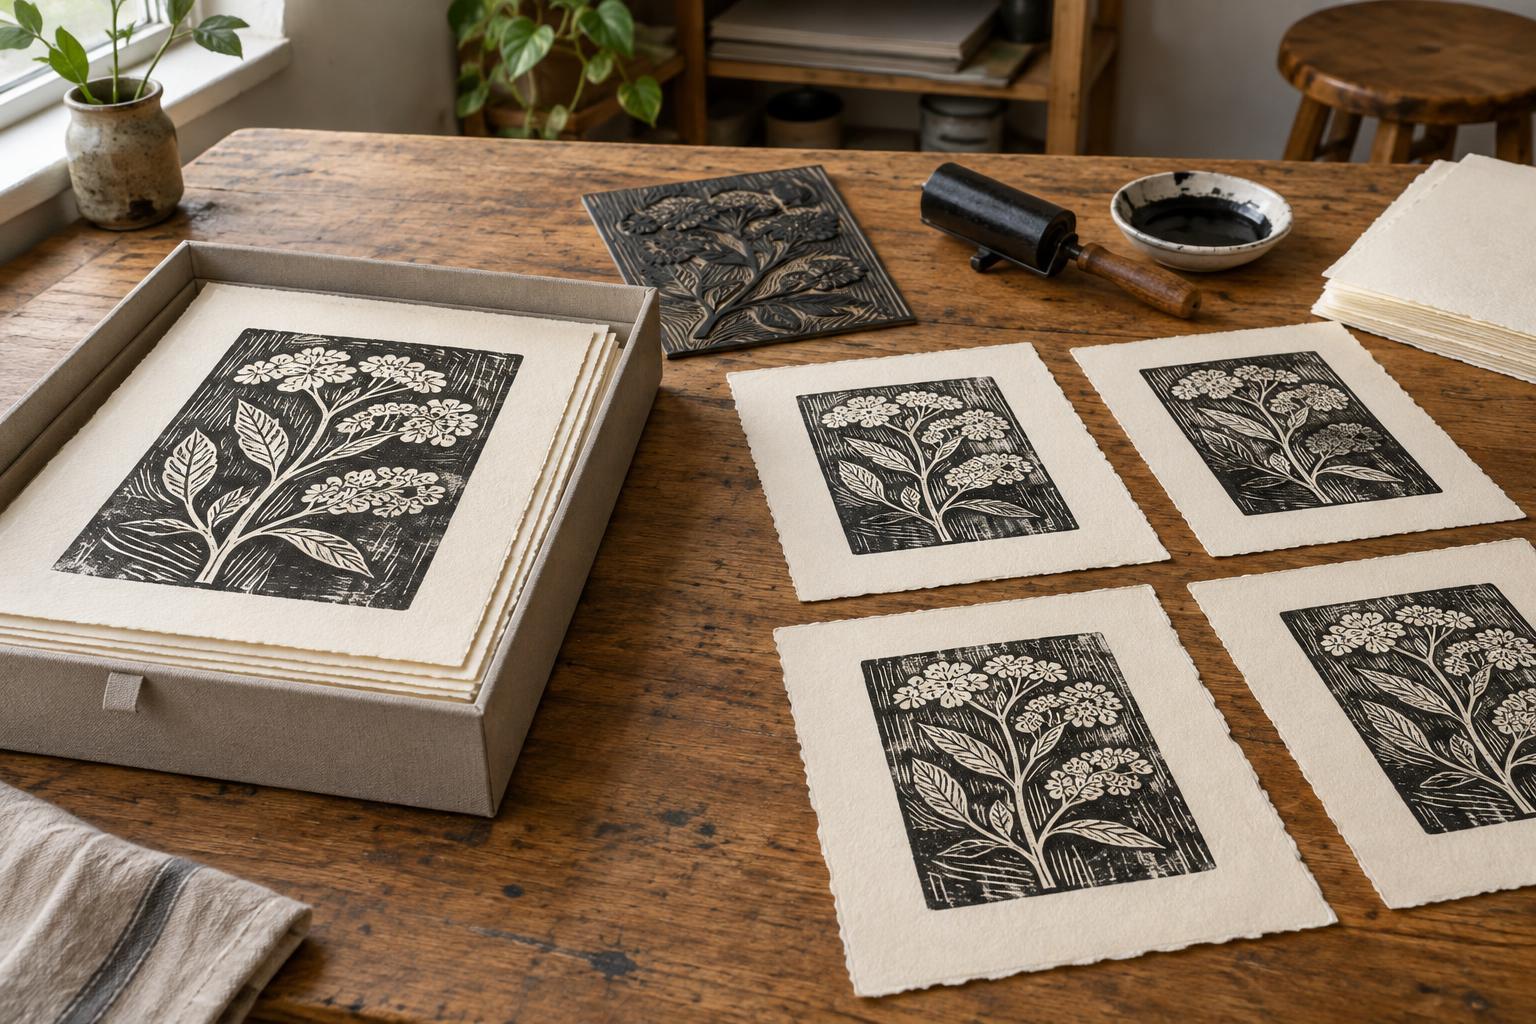
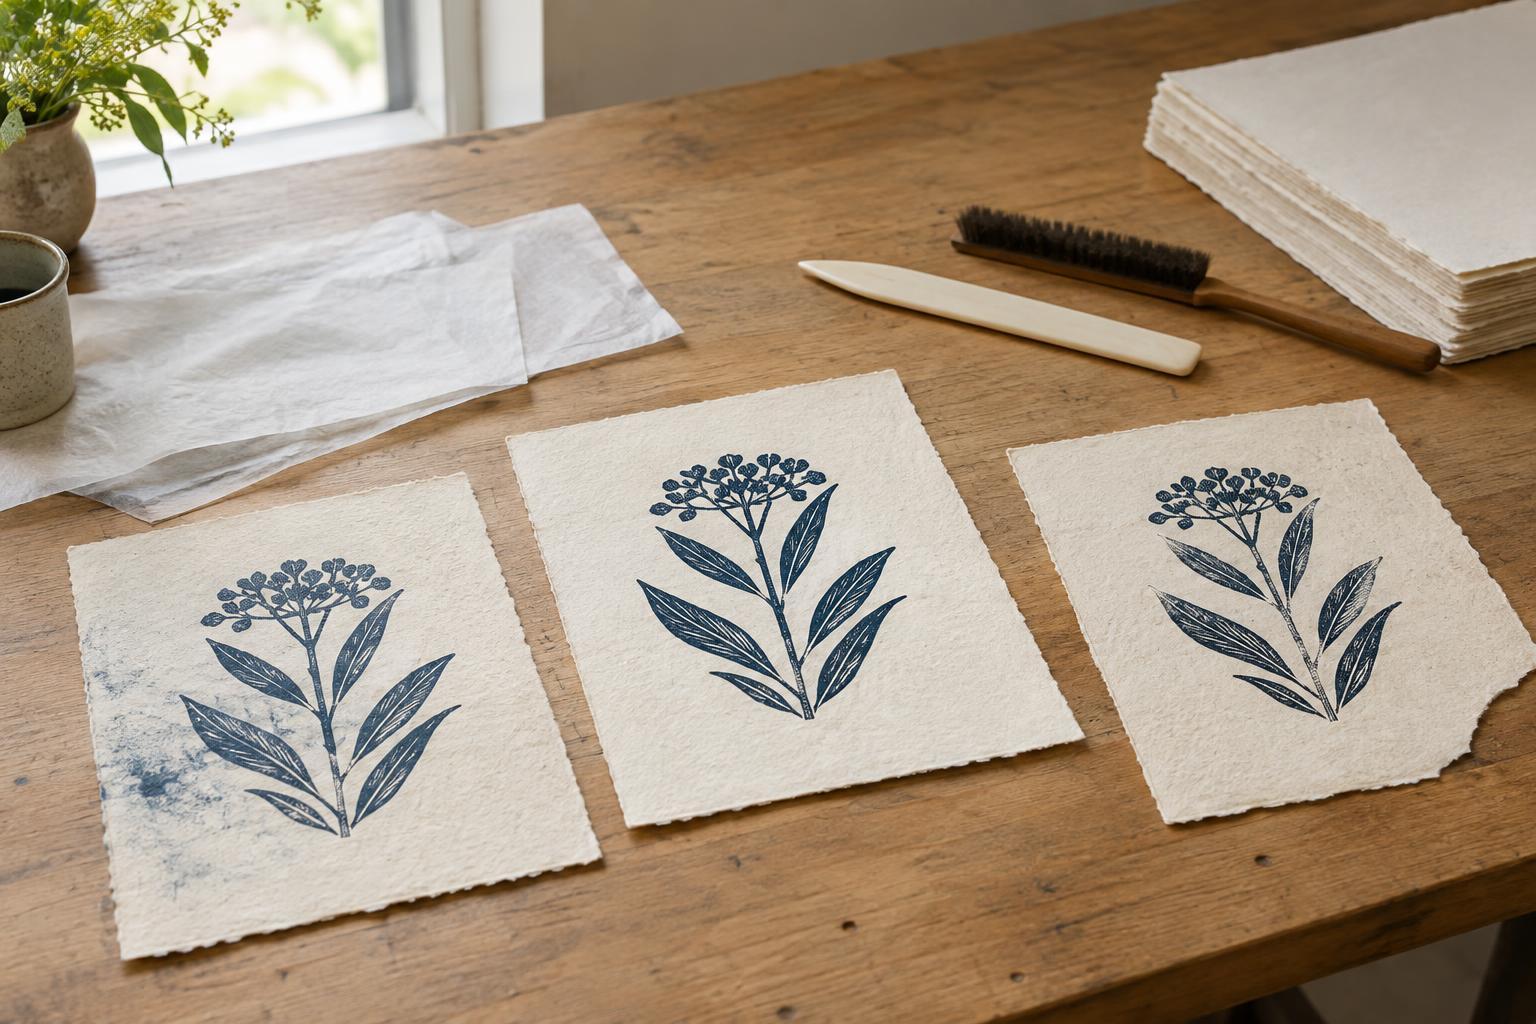
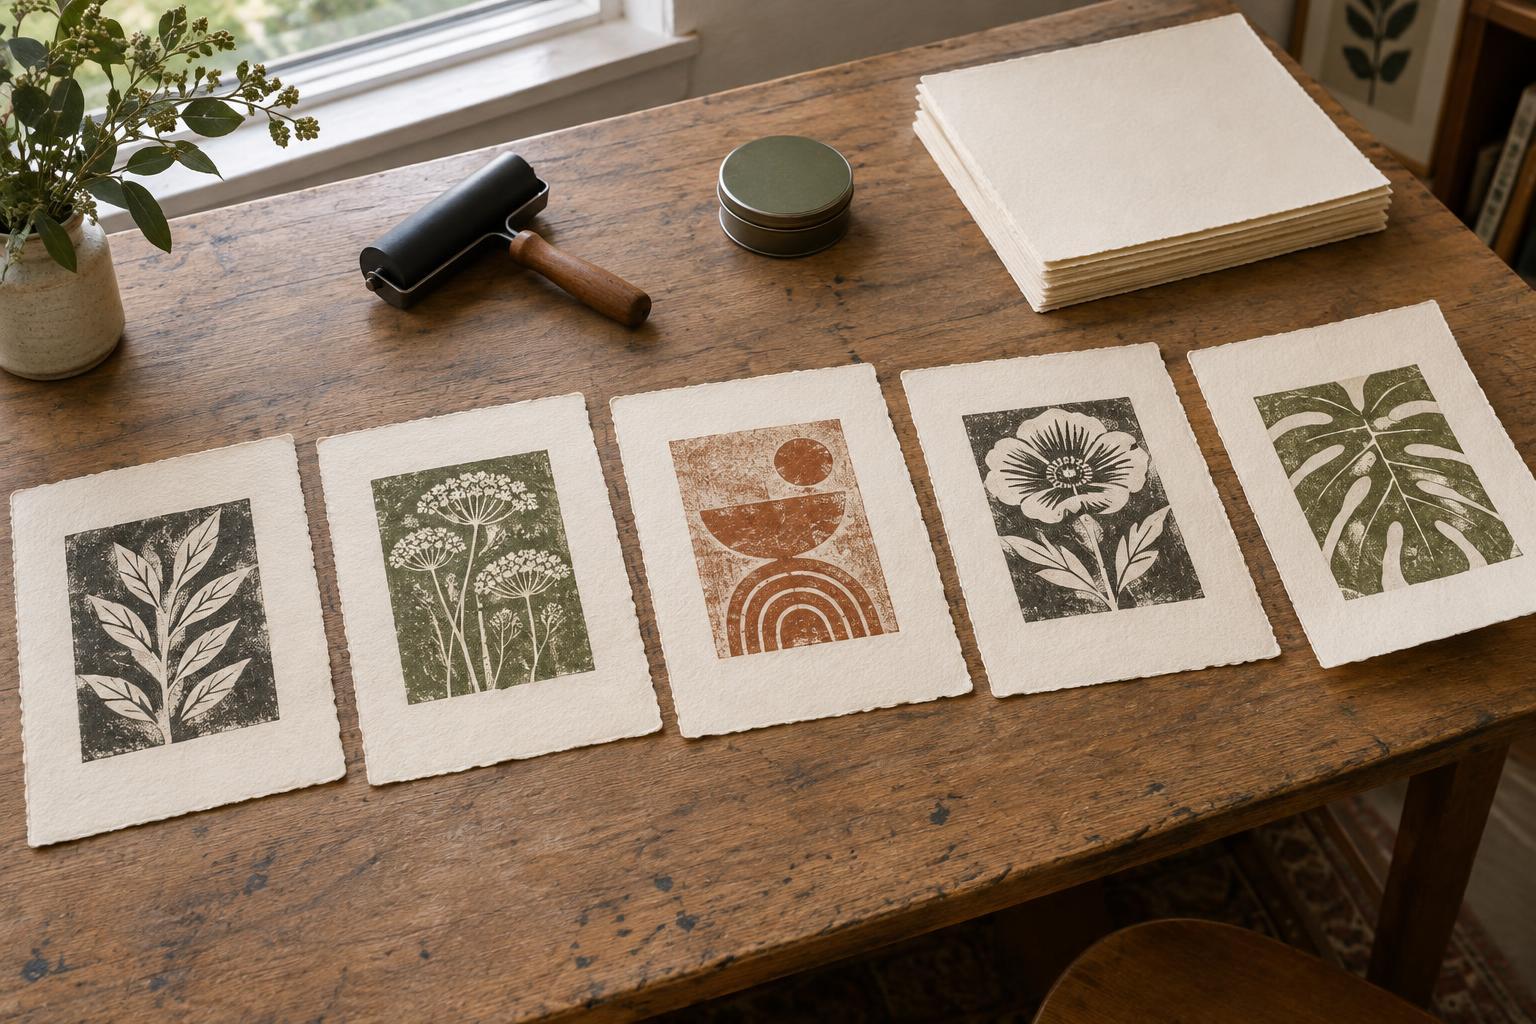
Hand printing can produce small differences in ink coverage, color or registration. Decide which differences are normal for the edition and which make a print a distinct variation. If you intentionally change the ink color or paper, identify the variant and say whether it belongs to the same edition or a separately defined edition. Keep that decision consistent in your numbering, records and sales descriptions. An impression with a notable variation can be described plainly, such as “blue ink variation on cream paper,” without implying that every impression is identical.
Proof terms are useful only when they tell the truth about the object. A trial proof might document a stage before the final image; a color trial might test a different palette. An artist’s proof may be similar to the numbered prints but kept outside the numbered edition. If you sell or exhibit one, identify it by its actual designation and include relevant differences. You do not need a long glossary on a label, but a short explanation in a listing can prevent confusion.
Distinguish image, sheet and frame measurements
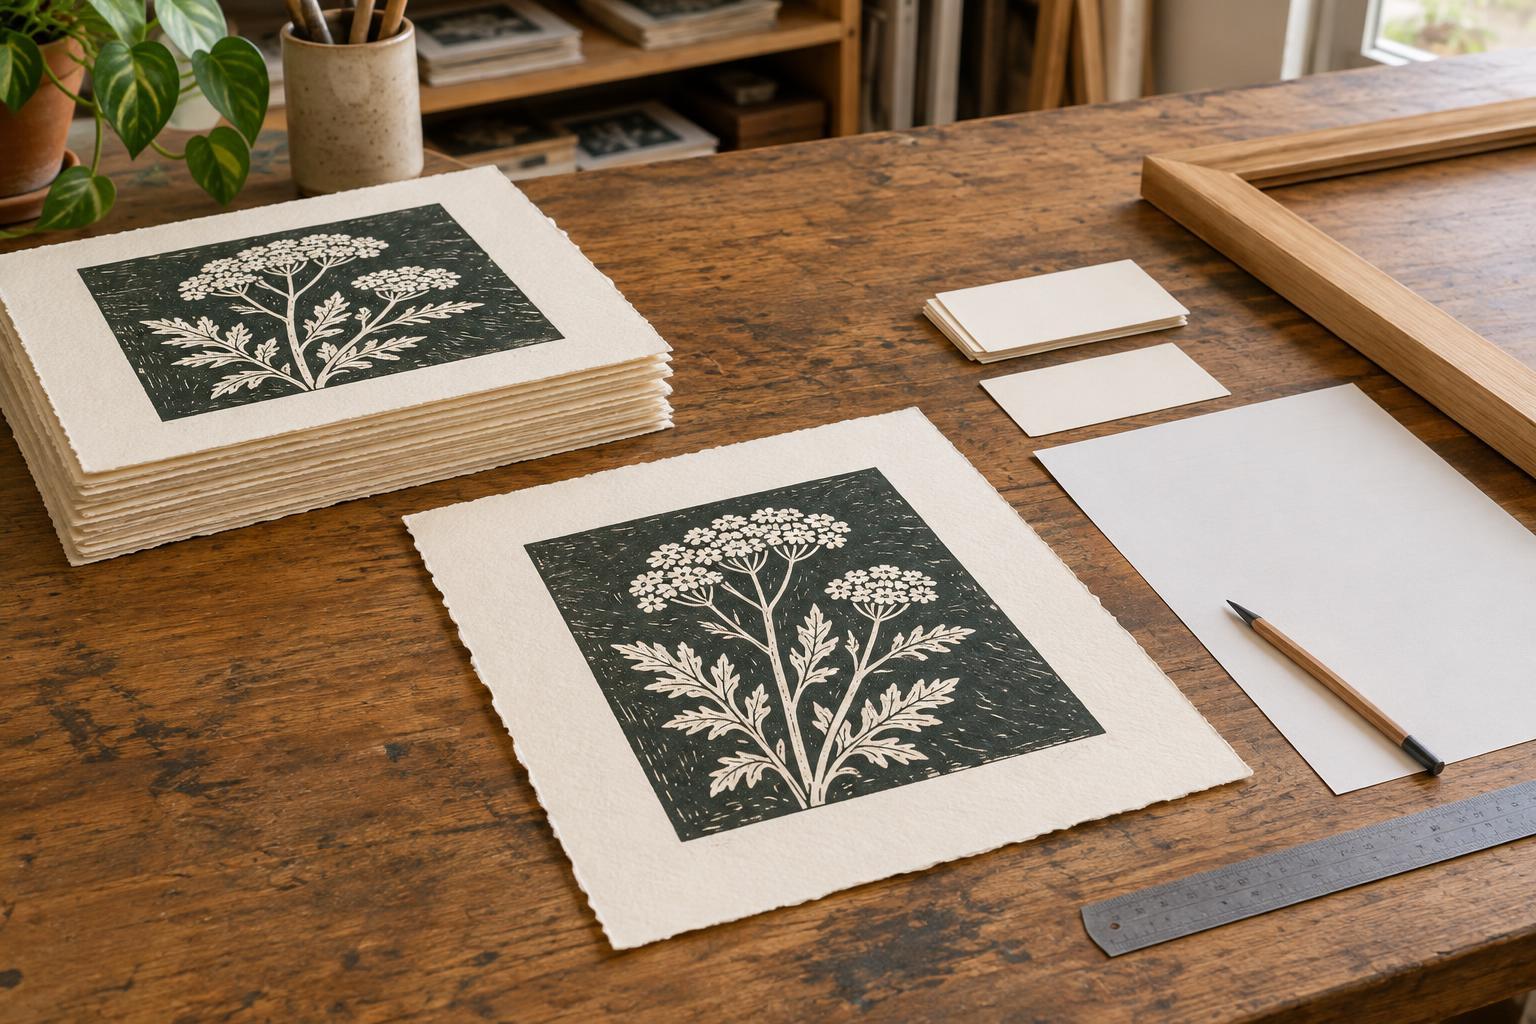
Dimensions often cause avoidable misunderstandings. Give measurements with labels: “image: 20 × 25 cm; sheet: 30 × 38 cm,” for example. For a print with an irregular edge, state how you measured it. If the work is framed, list the frame dimensions separately rather than replacing the sheet dimensions. Note whether a listing is for the print alone or includes a frame, mount or portfolio.
Presentation details can also affect how someone handles the work. Mention an unusual fold, deckled edge, embossing or hand finishing if it is part of the finished print. If a signature, title or edition number is written on the sheet, record where it appears, such as “signed and numbered in pencil below the image.” If you sign on the reverse or use a separate certificate, describe that arrangement rather than leaving a buyer to search for a mark that is not there.
Use one record to keep every description consistent
Create a master record for each work before writing labels or sales copy. Include the final title, process, completion year, dimensions, paper, inks, edition size, proof count and any planned variants. Give each impression an inventory identifier and note its number, condition and whereabouts. This does not have to be elaborate: a well-kept spreadsheet or notebook can prevent duplicate numbers and conflicting descriptions.
Before a gallery delivery or online listing goes live, compare its text with the master record and the physical print. Check the fraction on the sheet, verify measurements, and confirm whether the work is framed. A concise description can then be adapted to different spaces without changing the underlying facts. Buyers gain a clearer understanding of the work, while you retain a reliable account of what you made and where each impression went.