Start with a design that suits fabric
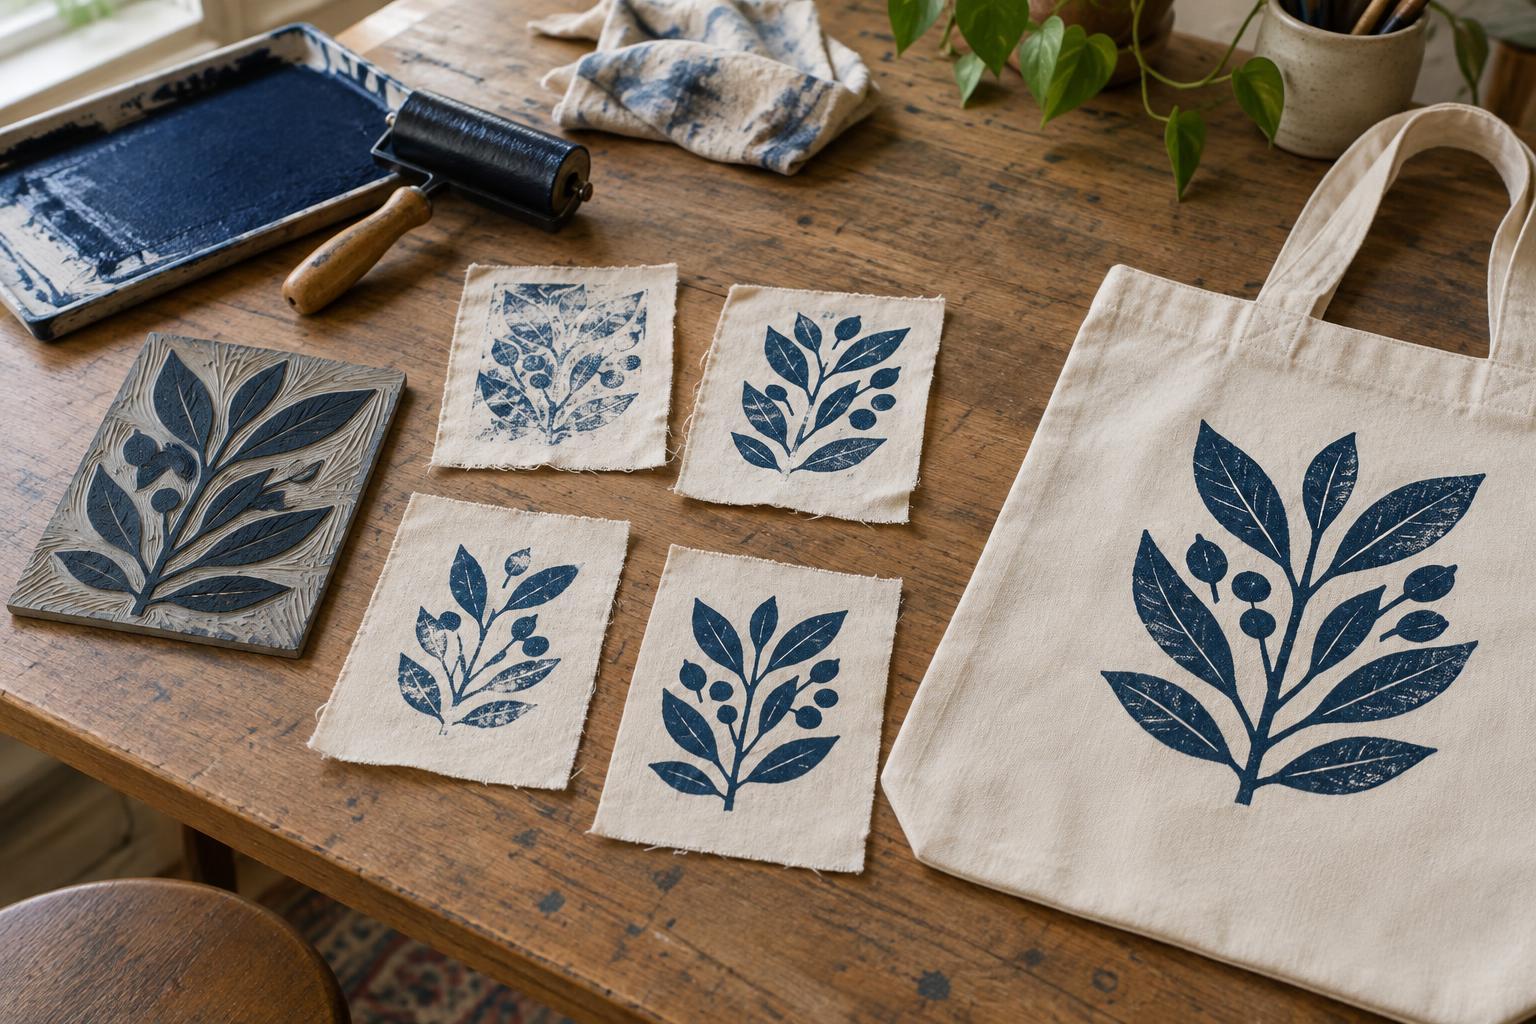
Fabric does not behave like printmaking paper. Its weave can interrupt fine lines, and a soft surface may shift under the block. For a first project, carve a small image with broad shapes and generous spaces between details. A patch or the flat front of a tote bag offers a manageable printing area.
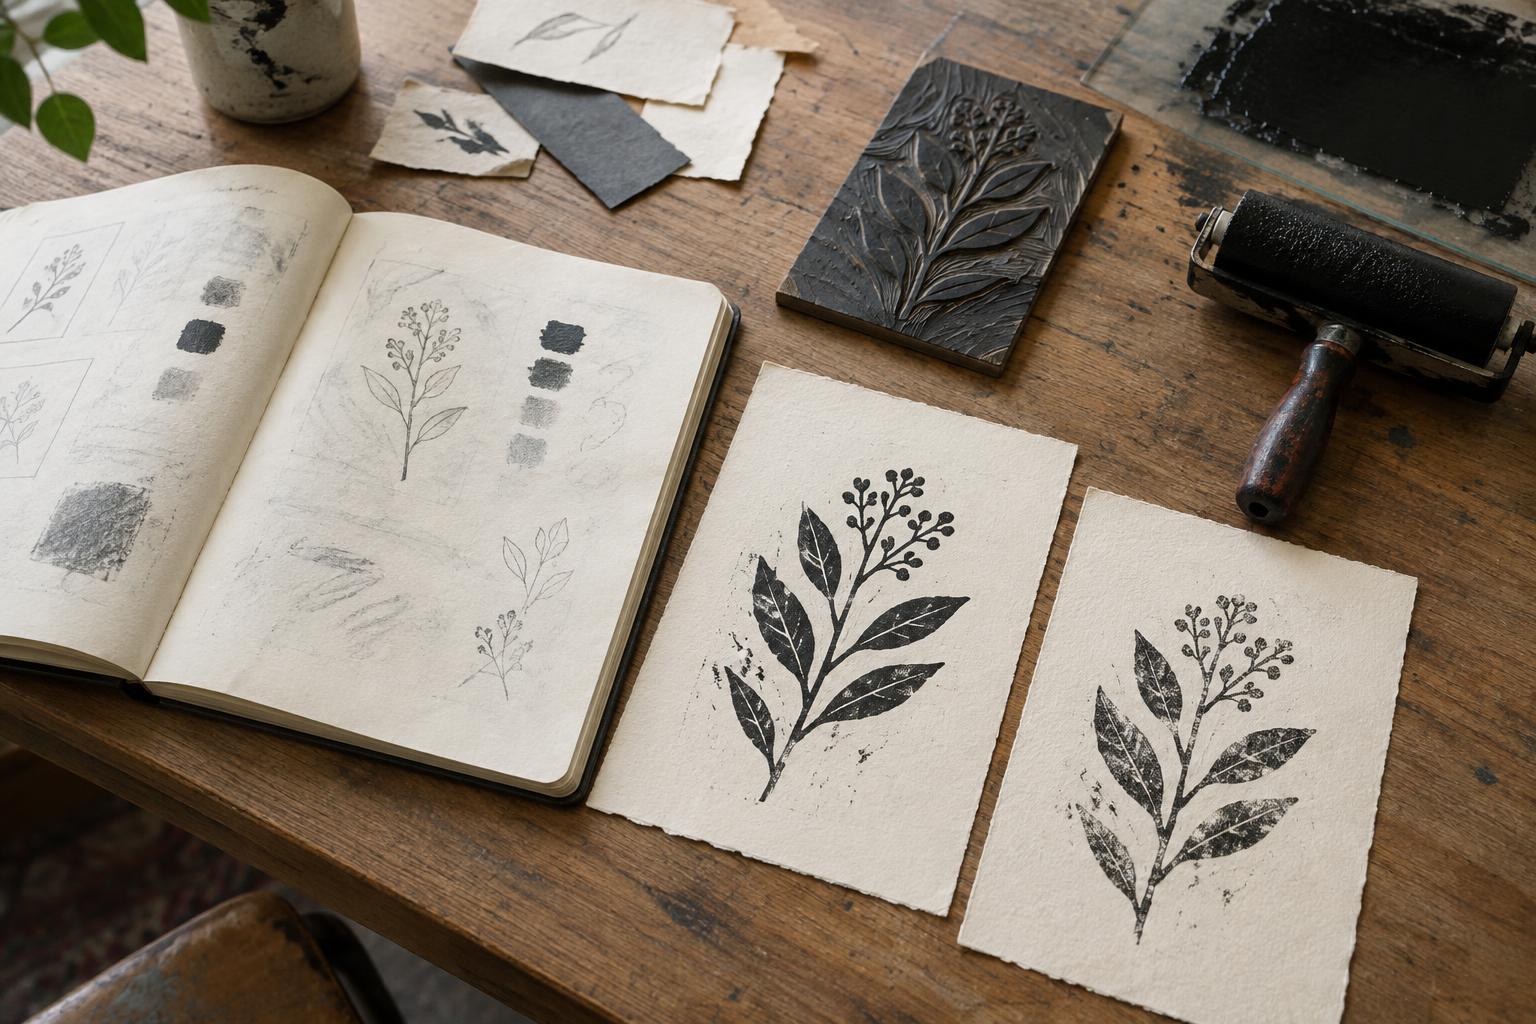
Think about how the print will sit on the finished object before carving. A bold image may work well at the center of a panel, while a smaller motif can be repeated along an edge. If you are printing text, remember that the carved image must be reversed to read correctly after printing. Make a paper proof first so you can check both the composition and any lettering.
Choose cloth and ink as a pair
A smooth, closely woven fabric usually gives a clearer impression than a coarse or heavily textured one. Start with an uncoated cotton test swatch similar to your intended project. Washing and drying it before printing can remove finishes that might interfere with ink adhesion and reveal any shrinkage before you place the image. Iron the fabric flat if needed, and keep it free of lint.
Select an ink labeled for printing on fabric and check whether it is suitable for relief blocks. Ordinary printmaking ink may look convincing at first but may not withstand washing or wear. Read the ink maker’s directions for drying, setting and laundering: these requirements vary by product. If the finished piece will be worn, test its feel as well as its appearance, since a heavy layer of ink can make fabric stiff.
Set up a repeatable test
Put a protective sheet beneath your fabric, especially when printing a bag or garment with more than one layer. Work on a stable, level surface. Keep scraps of the same cloth nearby for trials, along with a clean area where prints can dry undisturbed. If you plan to repeat the image, mark the desired block position on a paper guide rather than guessing each time.
Roll out a thin, even film of ink and apply it to the raised parts of the block. Check that carved recesses remain clear. Place the inked block on the test swatch and press across its entire back without sliding it. Lift it straight up. Some printers prefer to place the cloth onto a stationary block instead; either approach can work if the fabric stays still and pressure reaches the whole image.
Read the impression before printing the final piece
Examine the test print after lifting the block. Pale gaps might mean too little ink, uneven pressure or a textured area of cloth. Blurred edges can result from excess ink or movement while printing. Change one thing at a time and make another test: a thinner ink layer, firmer pressure or a different fabric may solve the problem. Keep the trials so you can compare them after drying.
When you have a result you like, print the final piece with the same ink application and pressure. For a repeated pattern, allow enough room around each impression to lift and reposition the block without touching wet ink. Slight variations are part of hand printing, but a simple placement guide helps keep the overall arrangement intentional.
Finish and care for the print
Leave the piece flat until the ink has dried as directed by its maker. If the product calls for heat setting or a waiting period before washing, follow those instructions rather than assuming the print is ready when it feels dry. Test-washing a swatch is useful before committing to a garment or a larger batch: it can reveal changes in color, edge sharpness or fabric feel.
Keep a note of the fabric, ink, block and setting method used for a successful test. That small record makes future prints easier to repeat and helps you give the finished piece appropriate care instructions. If your print is destined for a wearable item, browse Styling and Garment Care · The T-Shirt Design Guide for more ideas about caring for garments after the making is done.