Recognize the mark before changing your ink
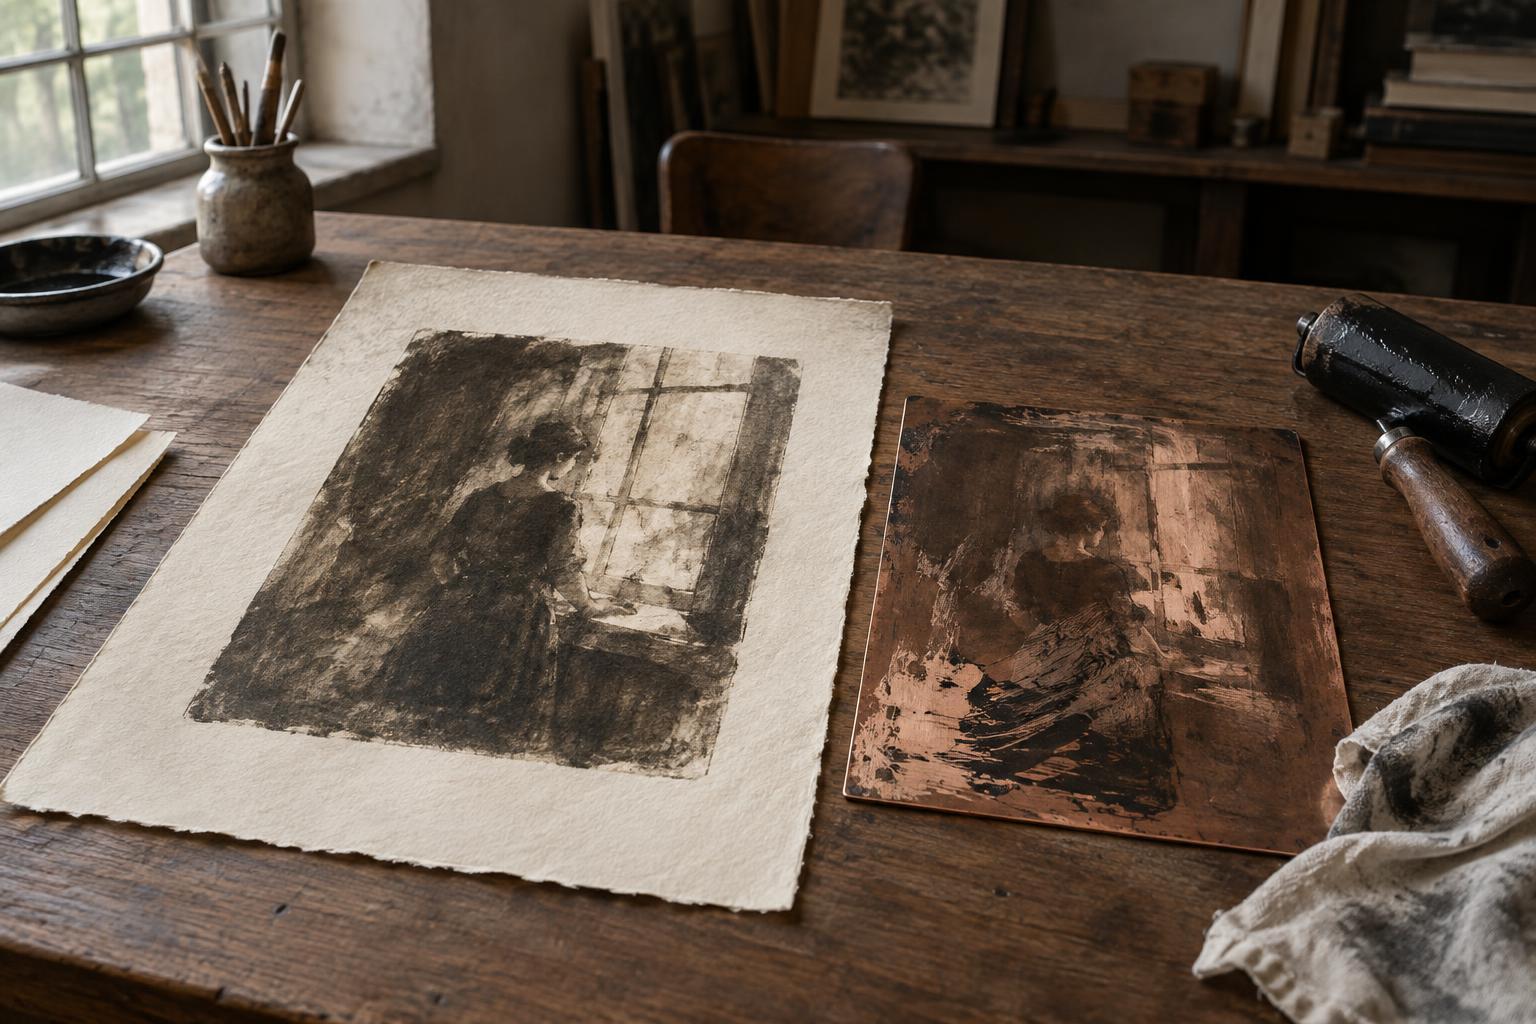
A tiny blank spot in an otherwise even area of ink may come from a fiber sitting between the inked surface and the paper. A loose fiber can also leave a narrow trail or become visible in the printed image. Before changing your ink or pressure, look closely at the mark and inspect the block, plate, roller, and sheet. If the same mark appears in the same place on successive prints, check the printing surface first. If marks move around, loose material on the paper or worktable is a more likely suspect.
Paper can release dust when it is cut, torn, erased, rubbed, or handled repeatedly. A deckled edge may shed small fibers; some soft sheets release lint from their faces as well. Dust can also arrive from a cutting mat, an old backing sheet, clothing, or a rag used to wipe tools. The aim is not to make the studio sterile. It is to identify where loose material enters the process so you can address that point without overworking the paper.
Prepare sheets without scuffing them
Begin with a clean, dry table and handle each sheet by its edges where practical. After cutting or tearing paper, lift the sheets rather than sliding them across scraps. If you see loose material on a sheet, try a gentle puff of air from a hand bulb or lightly lift the fiber with clean, dry fingers. Test any brush on a spare piece first: even a soft brush can disturb a delicate surface or push debris into its texture.
Avoid vigorous wiping. Rubbing may raise more fibers than it removes, especially on an absorbent or lightly sized sheet. A tack cloth or sticky roller can leave residue, lift the surface, or change how ink meets the paper, so it is not a safe default for printing stock. If one batch sheds noticeably during handling, make a small test print before committing to the edition. You may find that gentler handling is enough, or that another paper is a better match for the image.
Keep prepared sheets covered with a clean interleaving sheet or in a folder until they are needed. If you dampen paper for your process, follow the handling needs of that paper and technique rather than brushing a damp surface to remove lint. A damp sheet is easier to mark, and a fiber that has settled onto it may be better dealt with by setting that sheet aside for a test.
Keep the inking area separate from paper scraps
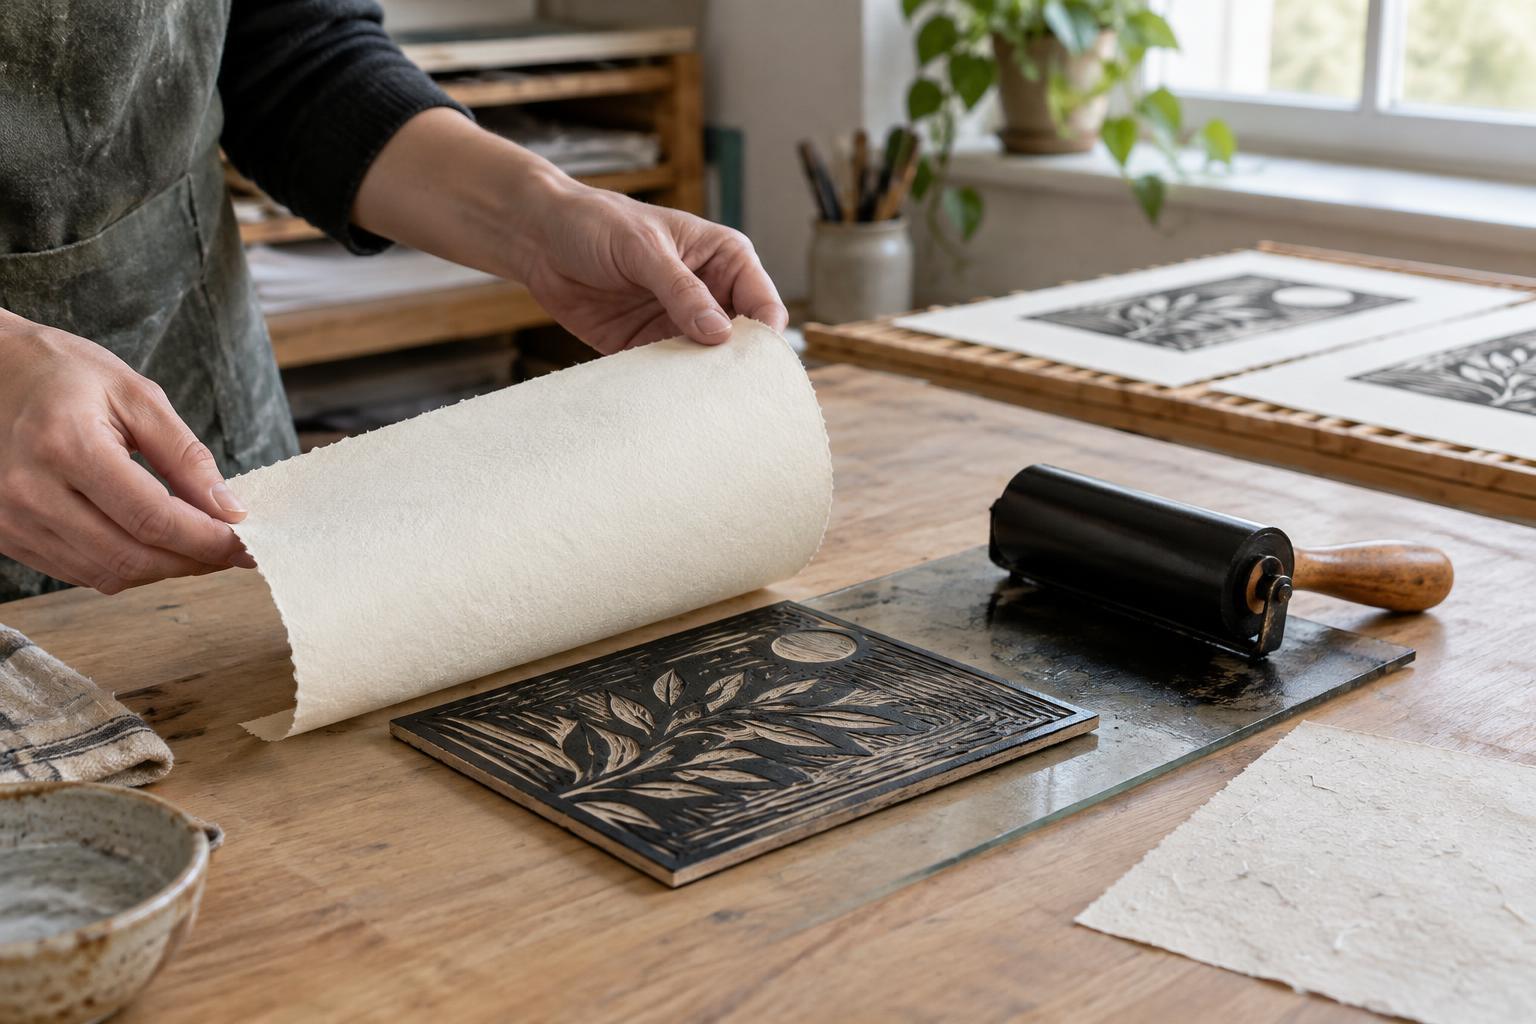
A simple layout helps: place unprinted paper in one area, keep cutting and tearing elsewhere, and leave a clear route between the ink slab and the press or printing station. Clear scraps and dust from the table before opening ink. Replace visibly linty rags with low-shedding cloths appropriate to your ink and cleanup method. If a roller collects a fiber, stop and remove it before making the next impression rather than hoping the mark will disappear.
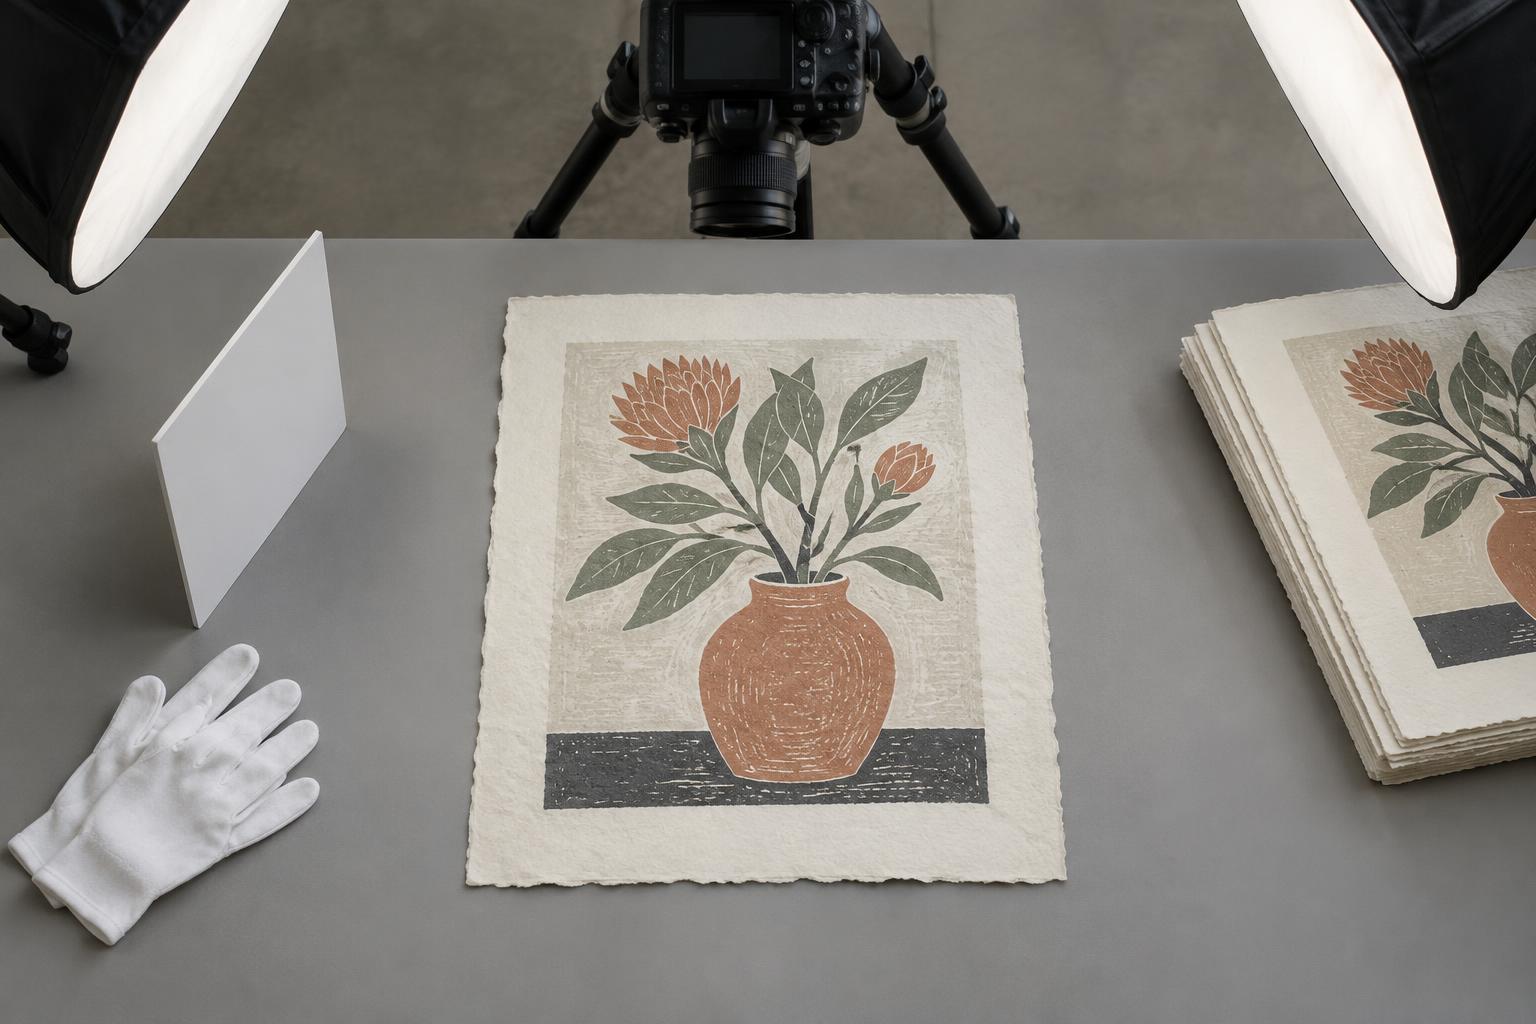
For a short run, inspect the first few impressions under consistent light. When a speck appears, compare its position with the previous print and examine the inked surface before re-inking. Use the cleaning method appropriate to your tools and ink, then dry the surface as needed before continuing. Repeatedly picking at wet ink with a fingernail can create a more noticeable mark or transfer debris to another part of the image.
Keep trial sheets separate from the clean stack. Set them aside if they have been used to check pressure, registration, or inking; returning them to the supply pile can carry stray ink or fibers into the run. This small division also makes it easier to see how many untouched sheets remain.
Decide what to do with an affected print
If you find a fiber on a fresh impression, resist the urge to rub it away immediately. Depending on the ink and paper, that can smear the image or abrade the sheet. Let the print reach a suitable handling stage, then assess it in good light. A loose fiber may lift cleanly; a blank spot left beneath it usually will not disappear. Keep the affected sheet as a test, a working proof, or a print to review later rather than quietly mixing it with an edition intended to match.
Record the problem in a few words alongside your other run notes: where the marks appeared, which paper was used, and whether cleaning the roller or changing the sheet-handling routine helped. On the next run, that note gives you a practical starting point. Preventing every stray speck may be unrealistic, but a clean workflow and careful inspection can keep small interruptions from turning into a recurring print problem.