First, identify what the ink is doing
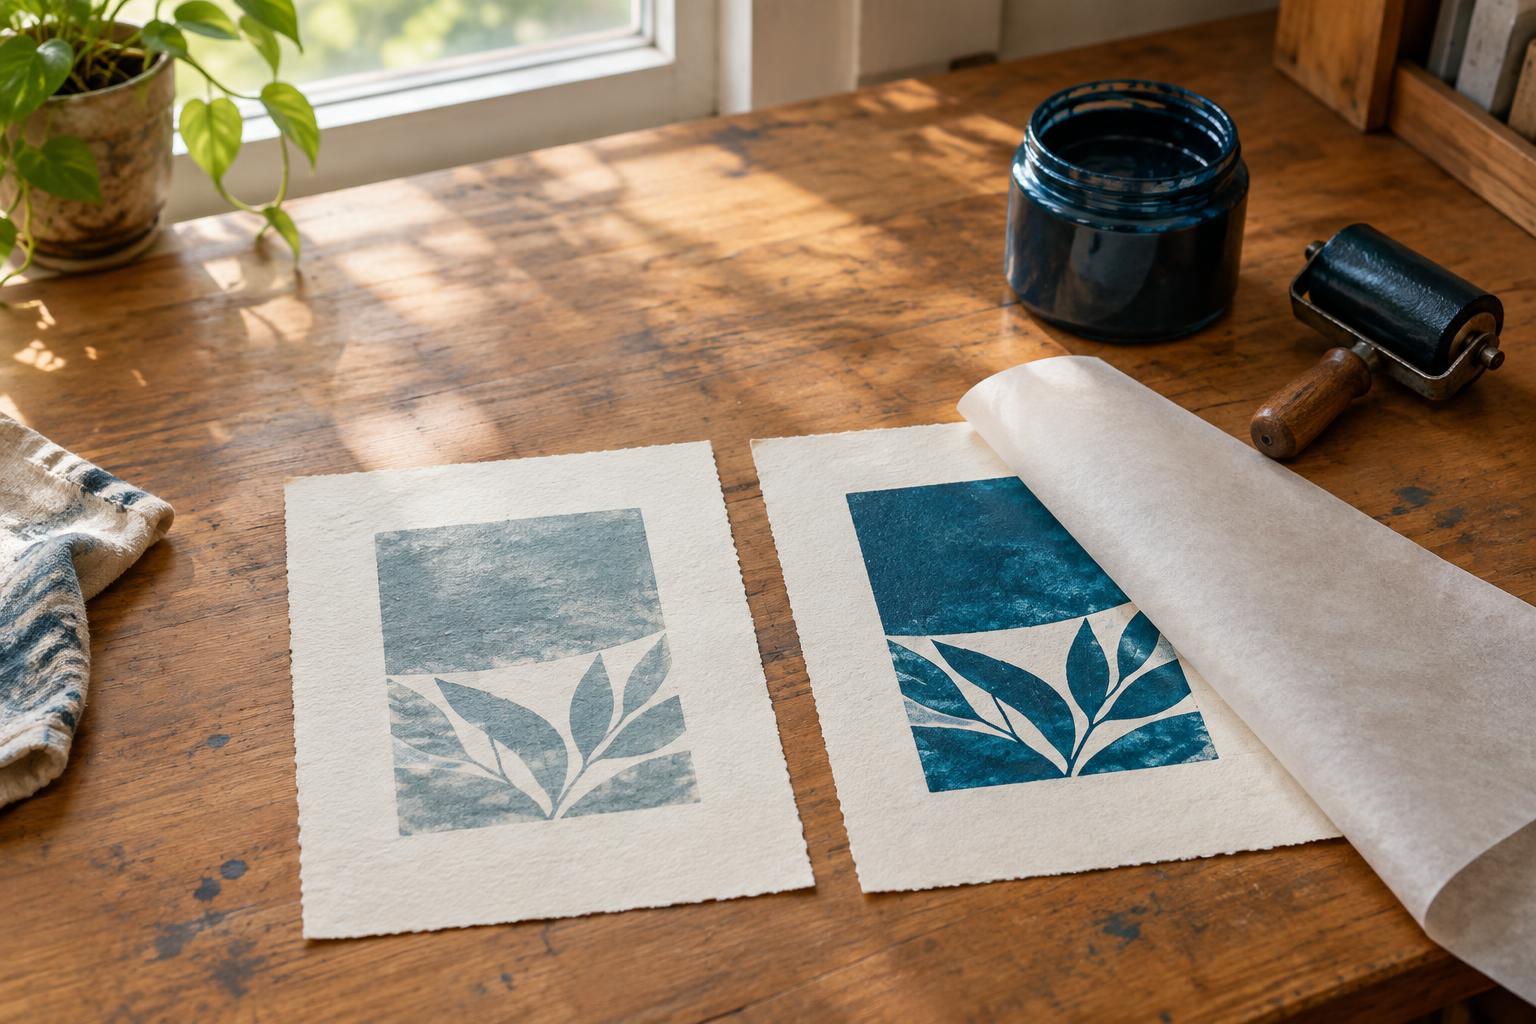
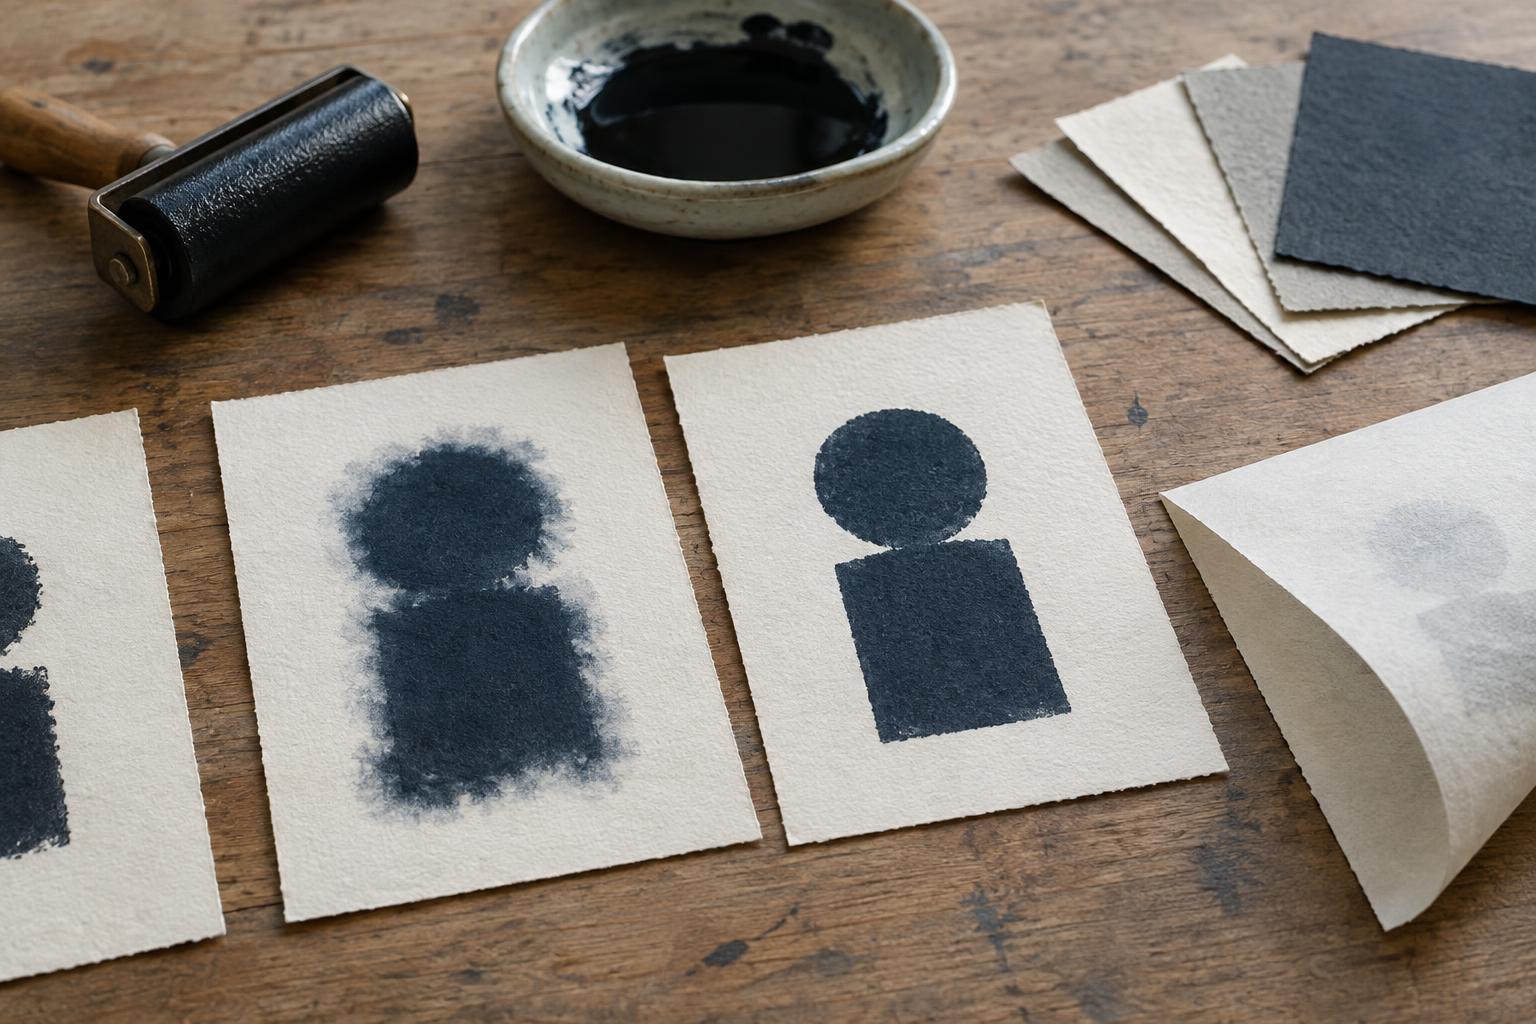
A printed line that develops tiny, irregular branches is feathering: ink has traveled sideways along or between paper fibers. A mark that remains visible on the back of the sheet is usually called show-through; if ink has penetrated the sheet and reached the back, it is bleeding through. A soft edge can also be a printing problem rather than an absorption problem. Too much ink or pressure may squash the image outward at the moment of transfer.
Look at a test print under good light, then turn it over. If fine edges become fuzzy as the print sits, absorption is a likely contributor. If an edge is broad but stays the same shape, inspect how the ink was applied and how much pressure was used. This distinction saves time: changing paper will not necessarily fix a heavily inked block, while using less pressure may do little for ink that wicks into a very absorbent sheet.
Understand the paper’s surface
Paper is not simply a smooth or rough surface. Its fibers, density and sizing all affect how readily it takes up liquid. Sizing is material added during or after papermaking to moderate absorption. A lightly sized, open sheet may draw fluid ink away from a crisp line; a more strongly sized sheet may hold that line nearer the surface. Neither is automatically better. Absorbent papers can produce beautiful, soft effects when that is what the image calls for.
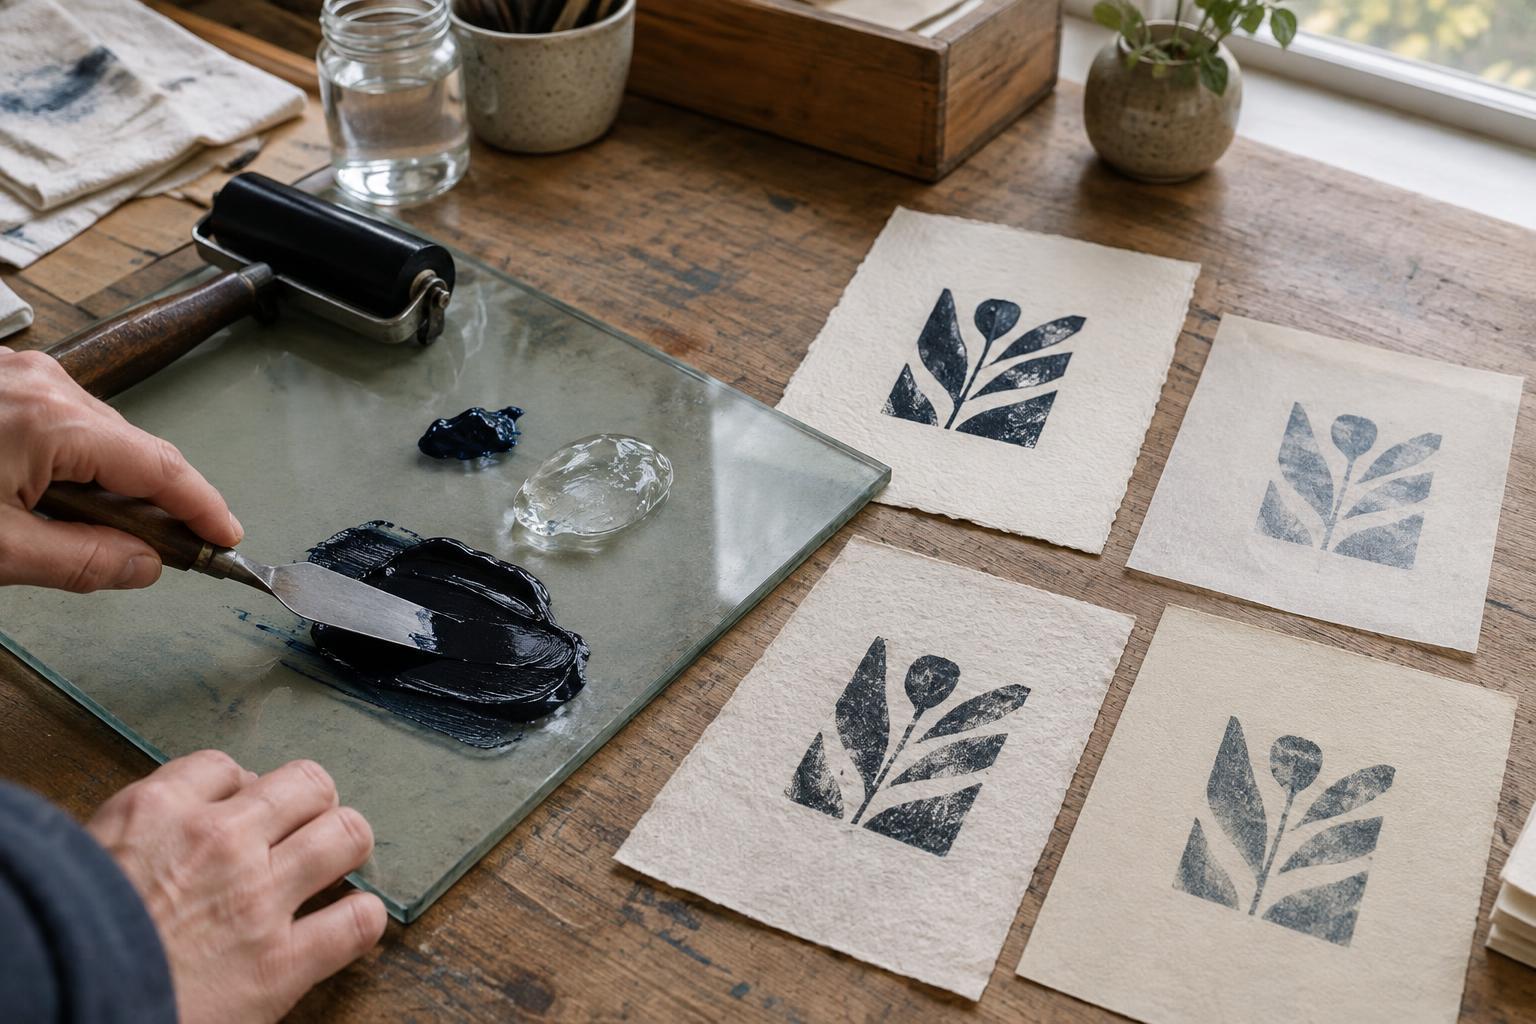
Thickness matters, but it is not a complete guide to performance. A thick, porous sheet may feather more than a thinner, well-sized one. Texture matters too: a pronounced tooth can interrupt contact and make an edge look broken rather than feathered. When choosing paper, print the same small image on several candidates and compare fine lines, solid areas and the reverse side. Note each paper’s name and which side you printed on so you can repeat a successful result.
Match ink consistency to the process
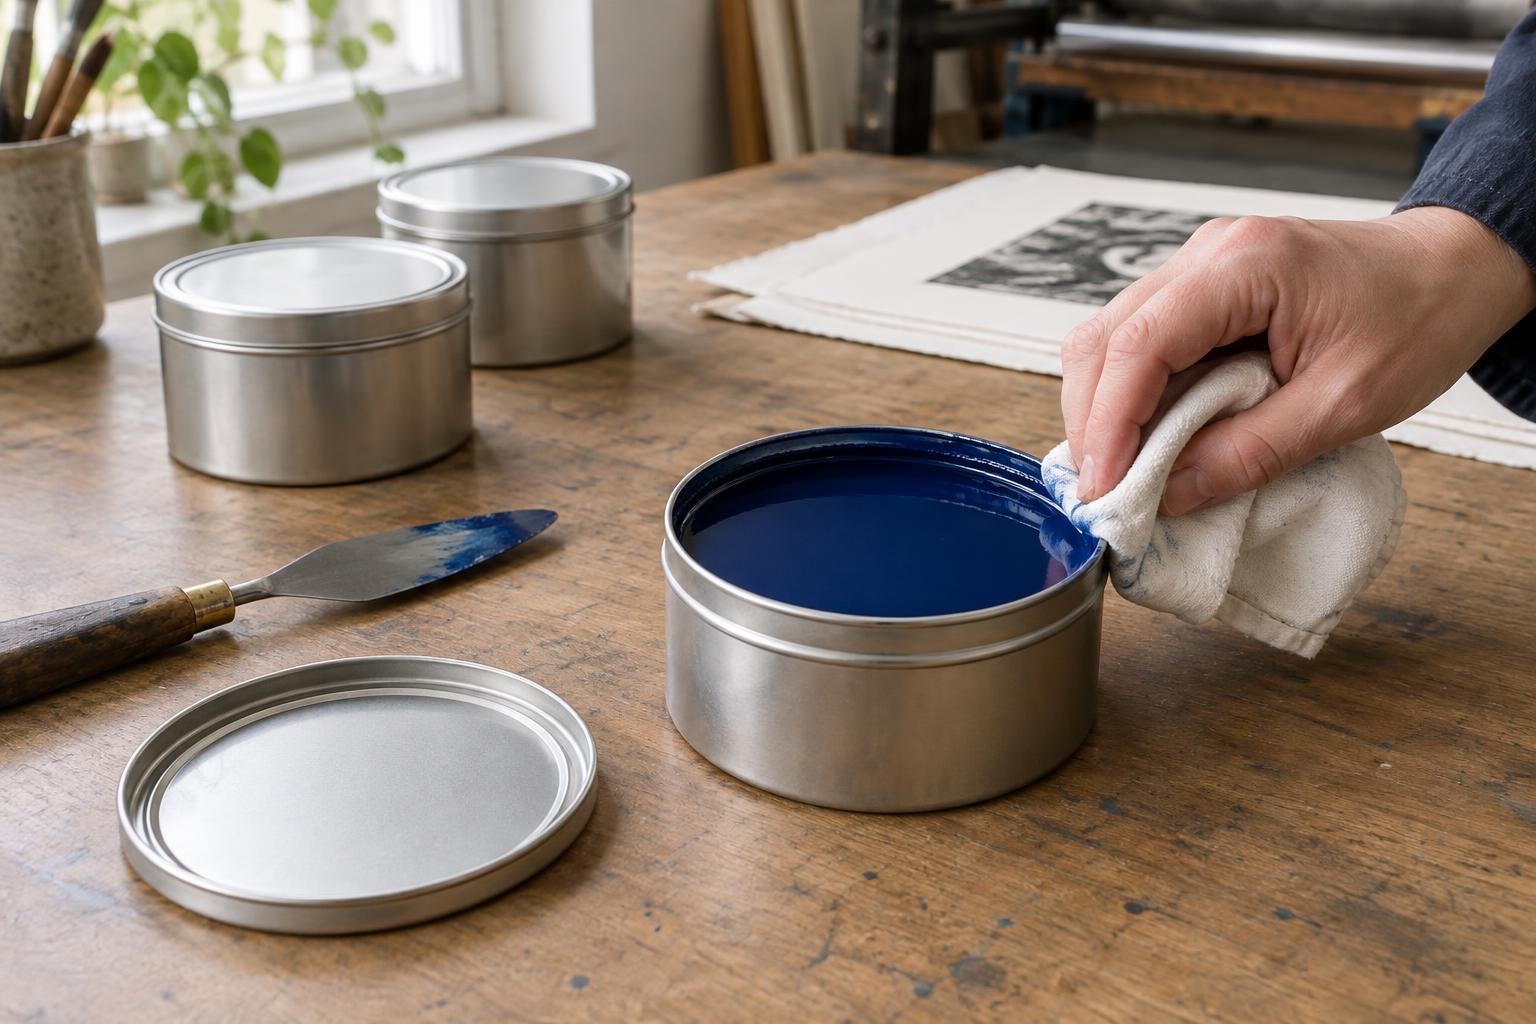
Ink needs to transfer, but an overly fluid layer can move through paper before it settles or dries. Water-based inks may become more prone to feathering when heavily diluted, particularly on absorbent stock. Oil-based inks behave differently, yet excess ink or added medium can still compromise a sharp impression. Formulations vary, so start with the ink maker’s intended consistency and change one variable at a time rather than assuming that adding liquid will improve transfer.
For relief printing, roll out a thin, even film and build coverage gradually. A roller that leaves ridges or a block with visibly pooled ink may deposit more than the paper can accommodate. In screen printing, pay attention to how much ink passes through the mesh and whether repeated passes are saturating the sheet. If a print looks weak, check contact and application before adding more ink; the cause may be uneven pressure or a textured paper rather than insufficient ink.
Control moisture and pressure
Moisture changes the way a sheet accepts an impression. Dampening is useful in some processes, especially intaglio, but a sheet that is wetter than intended may encourage spreading or transfer excess ink into its fibers. Aim for consistent dampness across a batch, and test the actual paper and ink together. For processes normally printed on dry paper, protect sheets from spills and allow any pretreated or accidentally damp paper to reach a consistent condition before printing.
Pressure is another variable worth testing independently. More pressure can improve contact, but too much may push ink beyond the image edge or emboss the sheet more deeply than desired. Make a short sequence of impressions while adjusting pressure in small steps and keeping ink application steady. If edges sharpen as pressure decreases, the problem may have been ink squeeze rather than feathering. Let each test print rest before comparing it with the next one.
Build a repeatable test before committing to an edition
Use a small test image with a fine line, an open area and a solid patch. Print it on a few candidate papers using the same ink and method. Once you find a promising sheet, compare a lighter and heavier ink application, then test pressure or dampness separately if the process calls for it. Examine the prints both soon after printing and after they have had time to settle or dry according to the ink’s handling directions.
Keep brief notes on paper, ink, any dilution, sheet moisture, application and pressure. For an edition, prepare and handle the chosen paper consistently and check an early impression against your approved test. Not every soft edge is a flaw: deliberate feathering can suit an image. The goal is to understand what causes the effect, so you can prevent it when you need crisp lines and use it intentionally when you do not.