Know what you want to change
An ink that feels too stiff, prints too dark or dries on the work surface too quickly can tempt you to add whatever is close at hand. Start instead by naming the problem. Are you trying to make a color more transparent, change how it rolls out, or gain more working time? Each goal calls for a different adjustment, and a single additive may affect more than one property.
An extender is generally a relatively colorless component used to reduce the strength of a pigmented ink while keeping a printable body. It can be useful for lighter color passages or transparent layers, though its appearance varies by product and process. A modifier is a broader term: products sold to change tack, flow, drying or other handling characteristics may all fall under it. Neither term guarantees that an additive will work with every ink. Check the maker’s guidance for your particular ink and printing method before mixing.
Match the additive to the ink and the process
Oil-based, water-based and other ink systems use different binders and require different cleanup and drying conditions. Choose an extender or modifier intended for your ink system rather than assuming that two products with similar names are interchangeable. Even within one system, a product suited to relief printing may not give the handling you want for intaglio, monotype or screen printing.
Think about what the ink must do at the printing surface. Relief ink needs to roll onto raised areas without flooding fine cuts. Intaglio ink needs to sit in recessed marks and wipe in a controllable way. Screen ink must pass through the mesh while retaining the desired edge. Adding too much extender can weaken color and make a print look flat; changing flow or tack can also alter edges and texture. If your first impression is poor, check pressure, ink film, wiping and paper before deciding that the mix needs another additive.
Mix small, measurable test batches
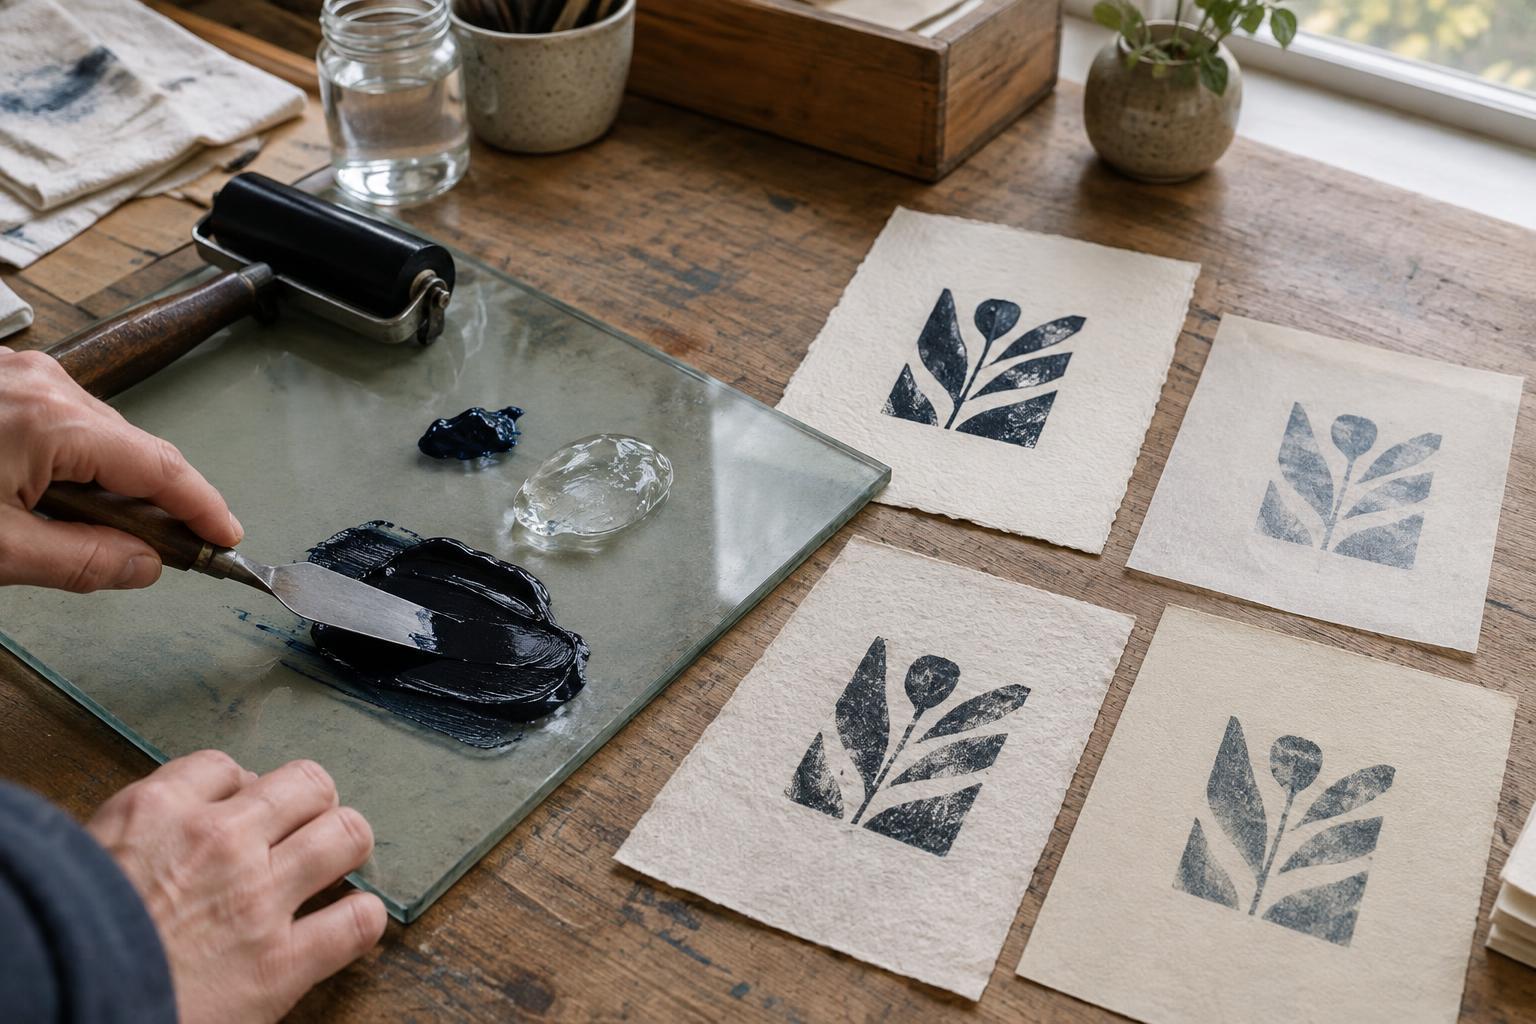
Set aside a small amount of ink and add a little modifier at a time. Fold it in thoroughly on a clean mixing surface, then make a proof. Record the ink, additive and approximate proportions you used. Simple notes such as “one small palette-knife tip added to a measured spoonful of ink” are more useful than trying to recreate a mixture from memory. For edition work, use repeatable measurements whenever possible.
Change one variable per test. If you add extender, switch paper and adjust pressure all at once, you will not know which change caused the result. Keep an unmodified proof beside your tests and compare color strength, coverage, edge definition and the visibility of fine marks. Judge the print after it has had an appropriate opportunity to dry or settle, too: a wet impression may look glossier or darker than the finished print.
Let the paper take part in the test
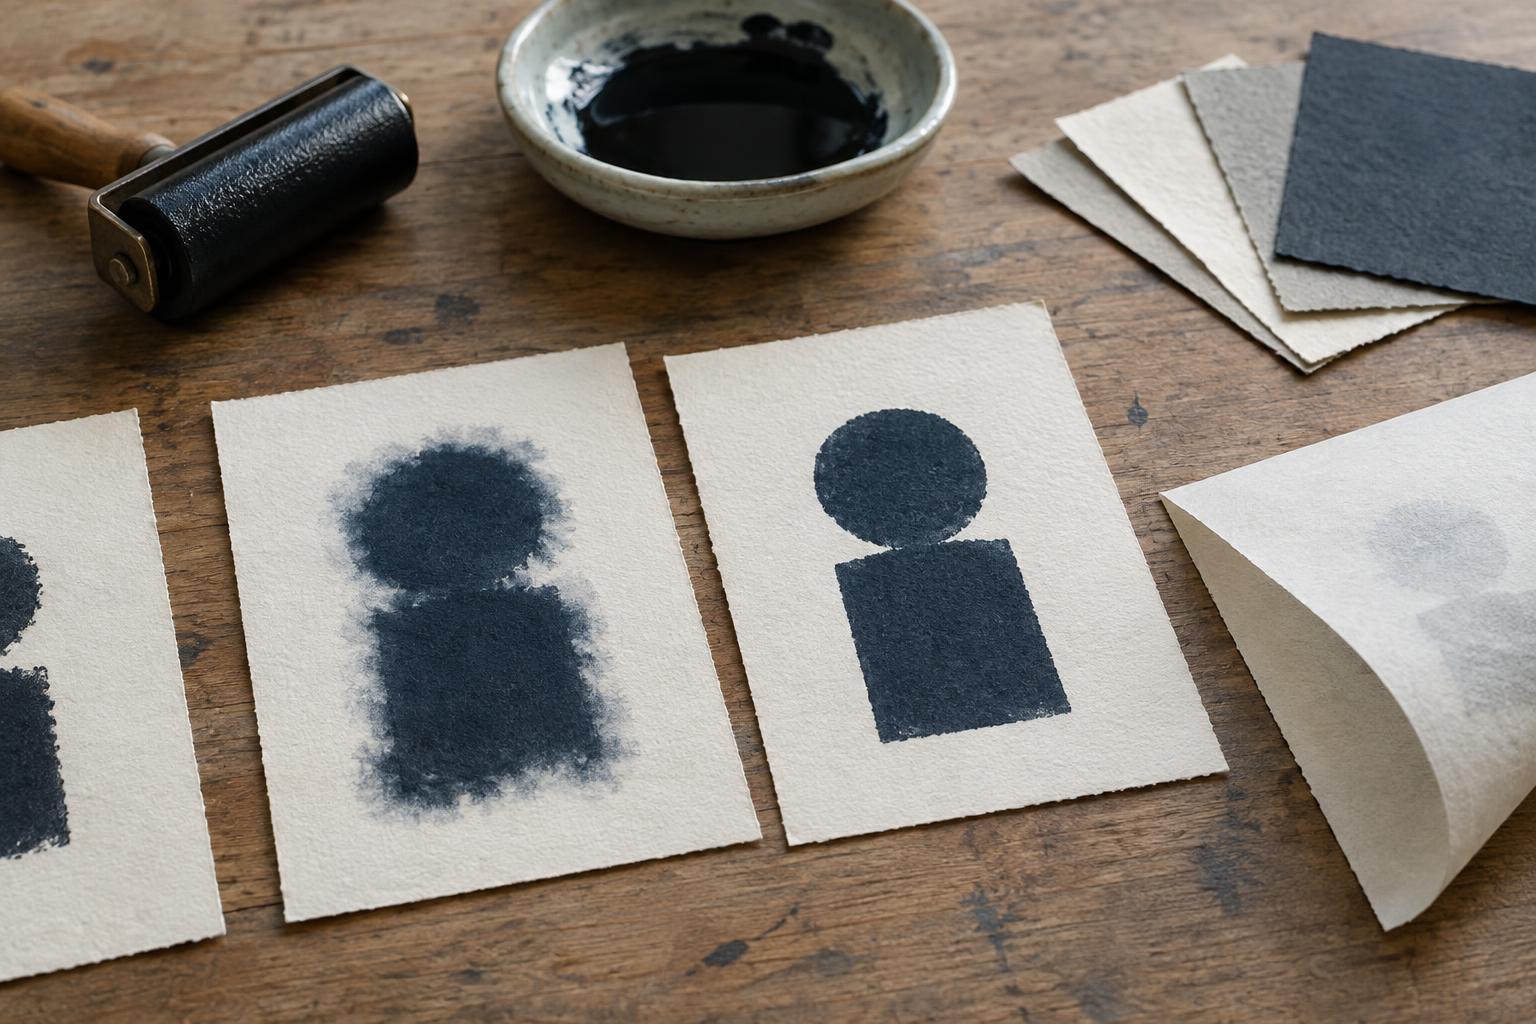
The same ink mix can behave differently on smooth, absorbent, heavily sized or textured paper. A more fluid mix may spread into an absorbent sheet, while a stiff mix may struggle to cover texture evenly. Test on the paper you intend to use, with the same dampening method if your process calls for damp paper. Look closely at small type, fine lines and areas of solid color rather than judging only the overall image.
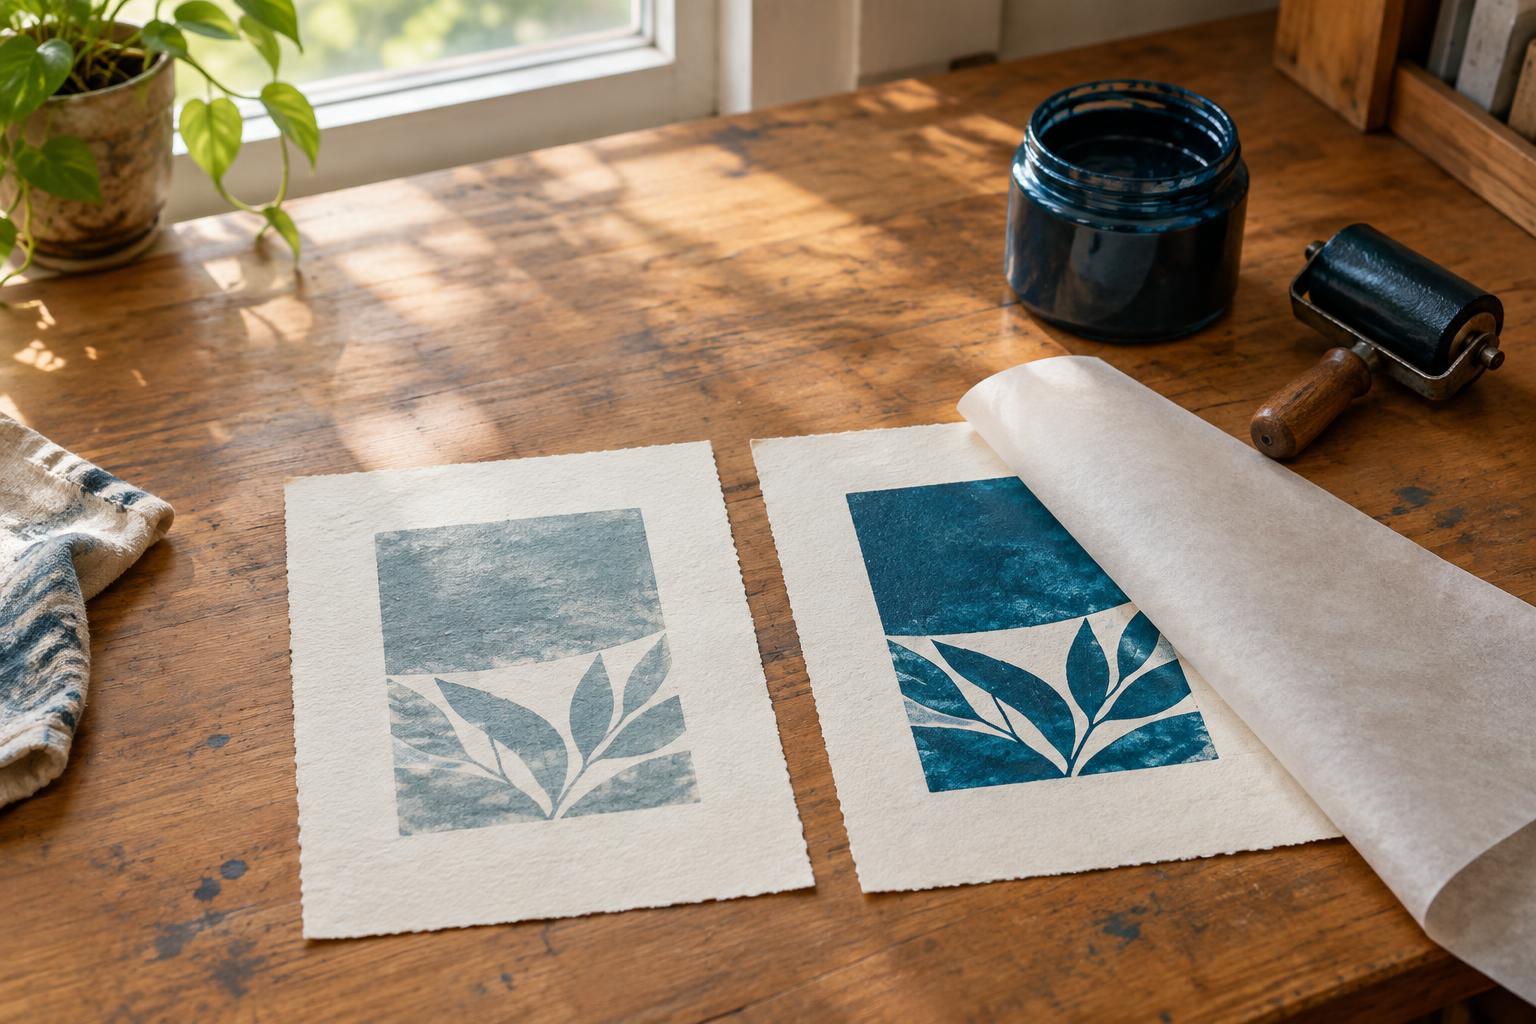
For layered prints, test the sequence as well as each color on its own. An extended color may make a useful transparent overlay, but the underlying layer, paper and drying stage will influence what you see. Print a few small samples with the actual layer order. If the result loses contrast or detail, consider changing the color choice, ink film or order of printing before adding more modifier.
Protect consistency across the edition
Once a mixture works, make enough for the planned run with a modest allowance for proofing. Mix it thoroughly and keep your roller, plate or screen preparation as consistent as you can. Save a labeled proof as a visual reference. If you need to mix more ink later, your notes will help, but compare the new batch directly with the reference before continuing the edition.
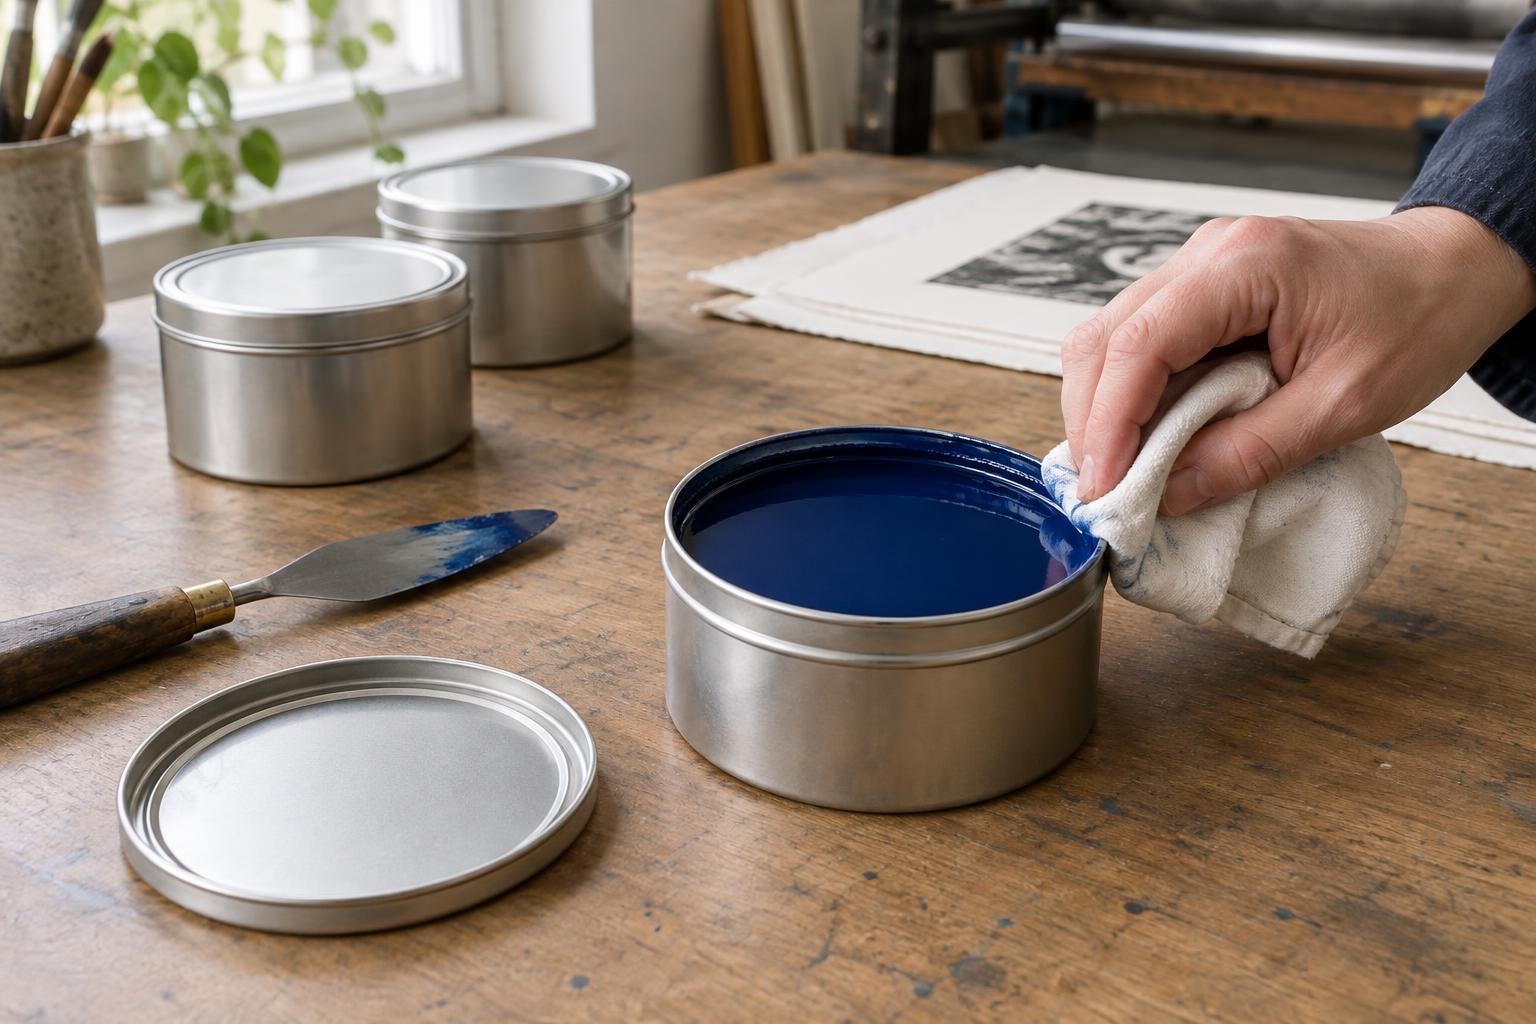
Keep containers closed when not in use, follow product instructions for handling and cleanup, and avoid adding unapproved household solvents or oils to “rescue” a difficult ink. If a print must meet particular durability or archival requirements, consult the ink and additive manufacturers’ guidance rather than assuming a modified mix will perform like the original. The best adjustment is usually the smallest one that solves a clearly observed problem.