Start with a field of ink
Most drawing begins by adding a mark to a blank surface. Subtractive monotype reverses that habit: you cover a smooth plate with ink, then remove ink to reveal lighter shapes. When paper is pressed against the plate, the remaining ink transfers. The result is usually one principal impression rather than a repeatable edition, because both printing and wiping change the image on the plate.
For a first attempt, use a small, flat acrylic plate or other smooth, nonporous surface, a brayer, printmaking ink suited to that surface, and a sheet of printmaking paper. You will also need scrap paper, rags or soft cloth, cotton swabs, and something blunt for finer lines, such as the end of a brush handle. Check the ink maker’s cleanup directions before starting, and protect your work surface. A small plate leaves you time to experiment before the ink becomes difficult to move.
Roll an even layer, then plan the lights
Place a modest amount of ink on a separate rolling surface. Work the brayer back and forth until it carries a thin, fairly even coat, then roll that coat across the plate. Too much ink can fill in delicate marks and make the print look muddy. If the brayer leaves ridges or heavy patches, roll out the ink again rather than trying to solve everything while drawing.
Before touching the plate, decide where the brightest areas will be. A simple subject with a clear silhouette—a cup by a window, a leaf, or a face in profile—makes it easier to see what to remove. Keep a quick sketch nearby if helpful, but remember that the printed image will be reversed. You can also work without a detailed drawing, using broad lights and darks to discover the composition as it develops.
Draw by lifting ink
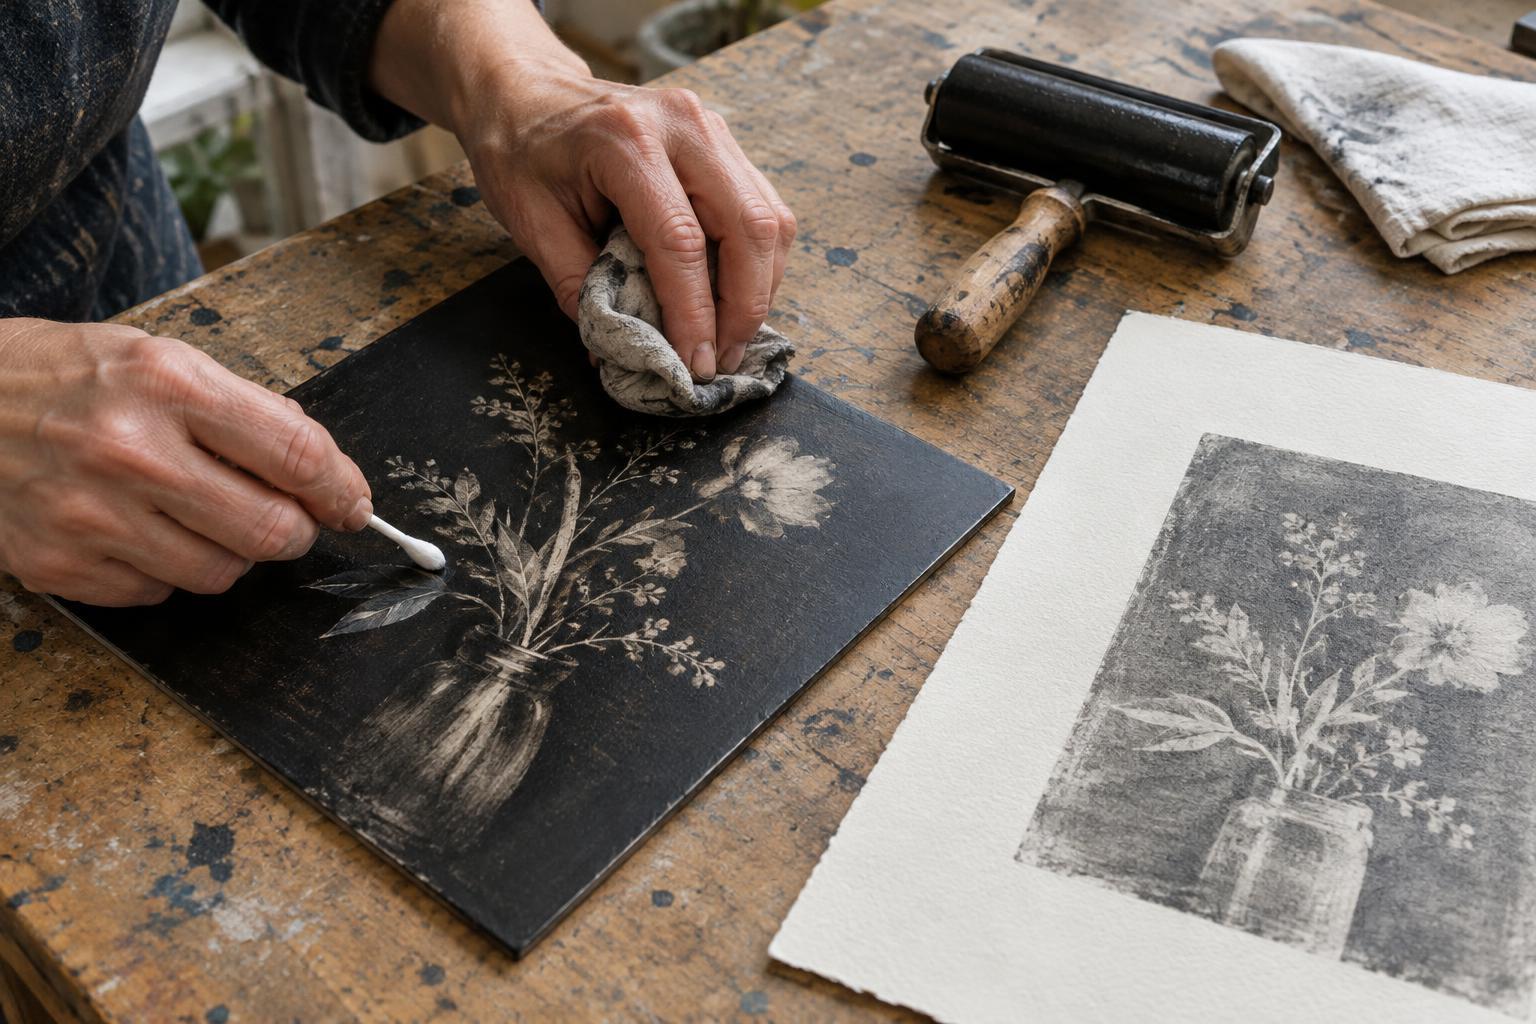
Begin with a folded rag or soft cloth to wipe out the largest light shapes. Change to a clean part of the cloth as it fills with ink; an ink-loaded rag may redeposit color instead of removing it. Cotton swabs can lift small highlights, while a blunt tool wrapped in cloth can make controlled lines. Avoid sharp points on a plate you want to reuse, since scratches may hold ink and appear in later prints.
Think beyond outlines. A firm wipe can produce a bright highlight, while a light pass may leave a gray tone. Dabbing creates broken texture; dragging a cloth can suggest movement, hair, or reflected light. Build a range of values by removing ink in stages, and step back occasionally to judge the whole plate. Leave some of the original dark field intact so the lifted areas have contrast. If a mark becomes too pale, you may be able to roll or dab a little ink back onto that area and work it again.
Make the impression
Choose paper according to your ink and printing method. A flexible printmaking paper is useful for hand printing because it can make close contact with the plate. Some papers print more readily when lightly dampened, but excess water can blur an impression, and not every ink responds well to damp paper. Test a small piece if you are unsure. Mark the intended plate position on a backing sheet so you can place the paper without sliding it.
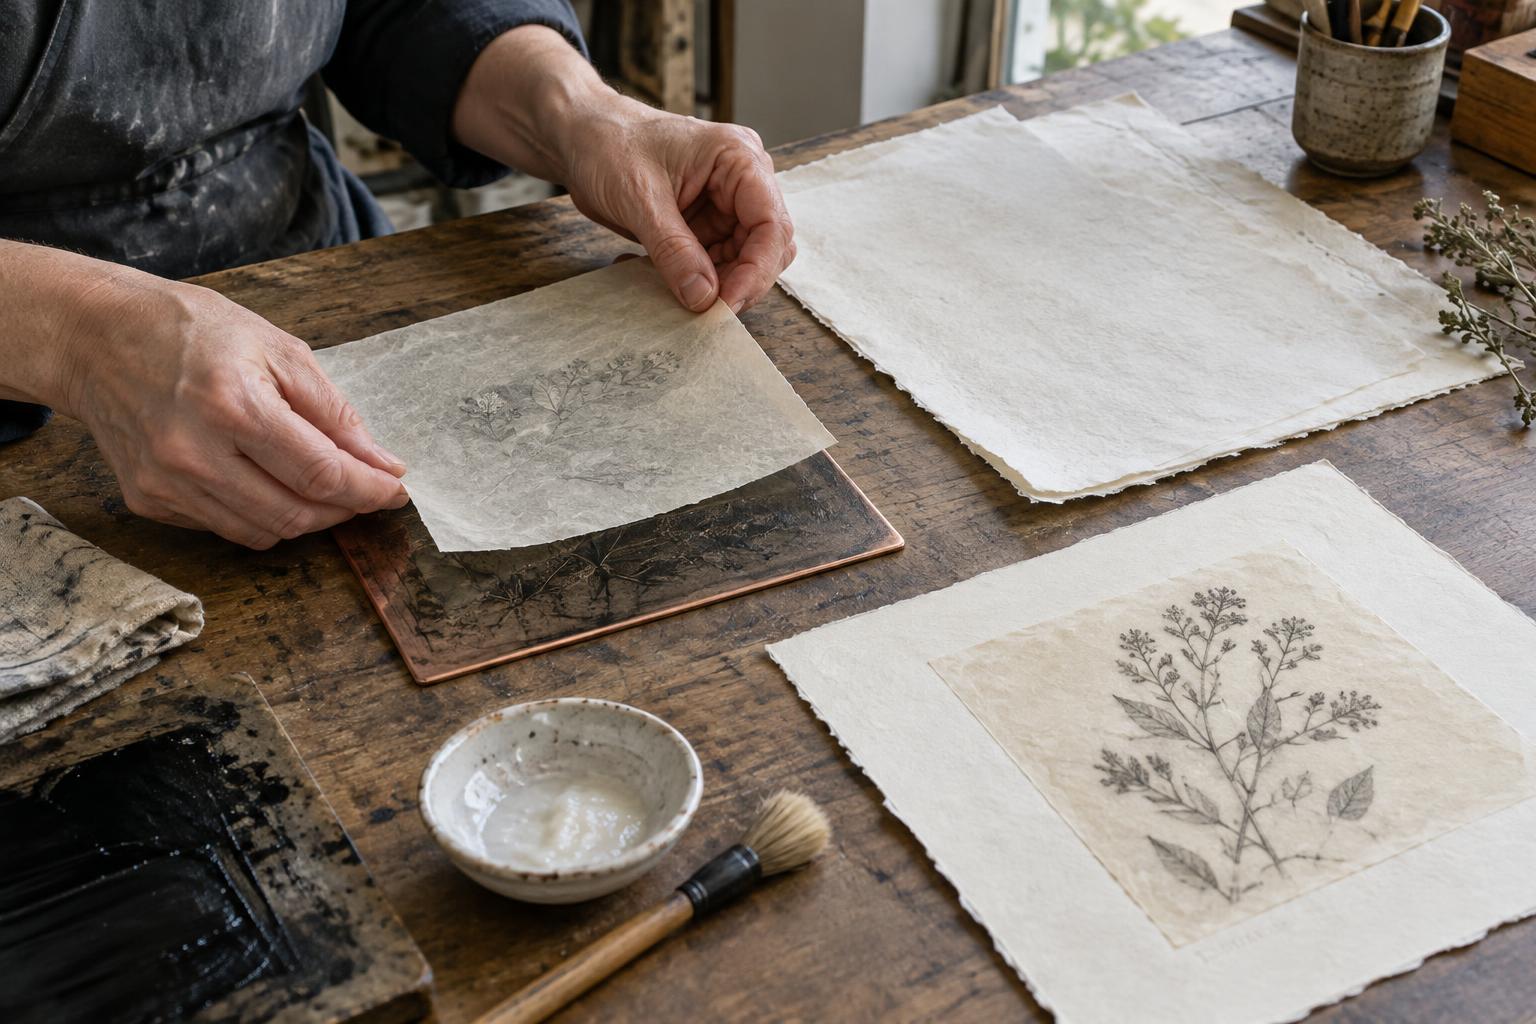
Lay the paper gently onto the inked plate. If you have access to a press, use pressure appropriate to the plate and paper. For hand printing, cover the back of the paper with a clean sheet and rub it steadily with a baren or the smooth back of a spoon. Hold one edge in place and lift a corner carefully to check the transfer; if needed, lower it without shifting and continue rubbing. Peel the paper away slowly, then set the print somewhere clean to dry according to the ink’s requirements.
Read the print and try a second pull
The first impression shows what transferred, not simply what looked good on the plate. Pale areas may have retained a thin ink film, and subtle textures may print more strongly or weakly than expected. Note which wipes, tools, and pressure choices produced the effects you like. If much ink remains on the plate, try a second sheet for a lighter “ghost” print. You can leave that residual image alone or remove more ink before printing it.
Treat these variations as part of the technique rather than mistakes to hide. On your next plate, change just one thing: use a thinner ink layer, lift a larger highlight, or simplify the subject. Comparing the prints will teach you how the plate, ink, paper, and pressure work together. Clean the plate and tools as directed for your ink, and keep any notes with the finished impressions so the experiment is easy to revisit.