Prepare the workspace before printing
The easiest ink to remove is ink that has not had time to dry. Before you begin printing, set out a scraper or stiff card, reusable wiping cloths, a small amount of plain vegetable oil, mild dish soap, and separate containers for clean supplies and soiled waste. Keep these items away from paper and finished prints. A tray or washable mat beneath the inking area will catch stray marks and limit the surface you need to clean.
Check the label or manufacturer’s guidance for your ink, especially if it contains added dryers or has special cleanup instructions. This routine is intended for fresh, conventional oil-based printmaking ink; an ink that has cured onto a tool may need a different approach. Wear gloves if they help you avoid prolonged skin contact, and keep food and drinks out of the work area.
Remove the bulk of the ink first
At the end of a session, put any usable ink back only if you can keep it free of paper fibers, dust, and other colors. Scrape the remaining ink from the slab or palette with a tool suited to its surface. Wipe that tool onto a rag before cleaning anything else. Reducing the amount of ink now means you will need less oil and fewer cloths later.
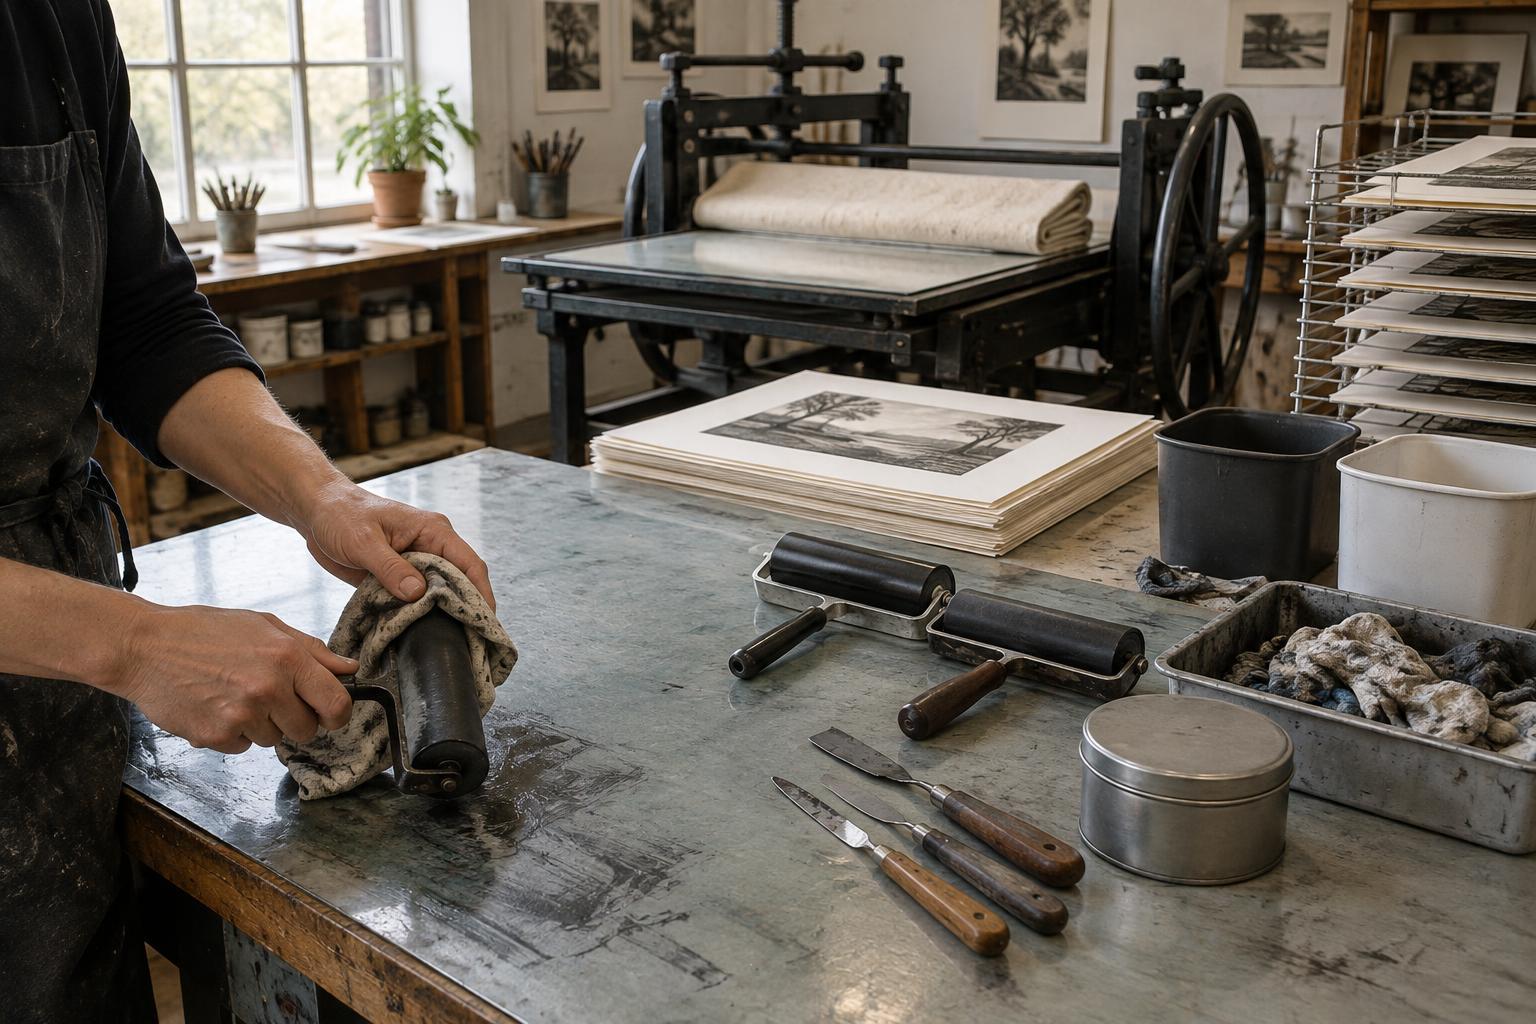
Work from the cleanest surfaces toward the messiest ones. Wipe fresh ink from plates, palette knives, and other nonporous tools with a dry rag. For a brayer, roll it across a clean portion of the slab or scrap paper to transfer excess ink, then wipe the roller gently. Rotate it as you work so that ink does not remain along the edges. Avoid digging at the roller with a sharp scraper.
Use a little oil, then remove the oil
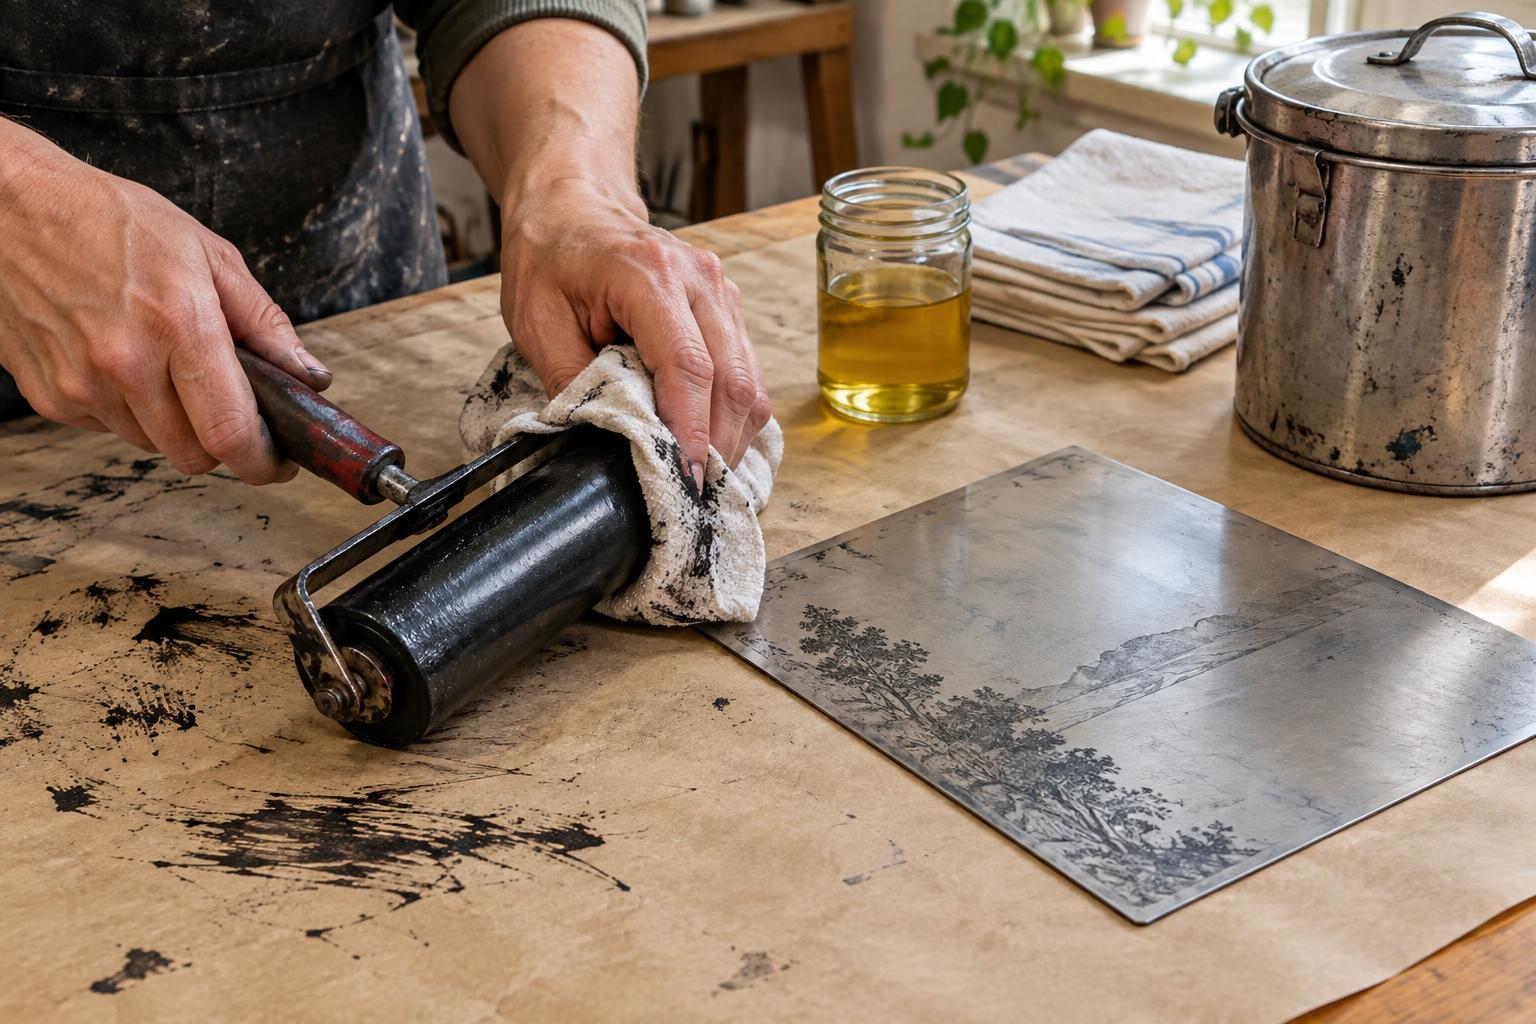
Put a small amount of vegetable oil on a cloth rather than pouring it over a plate or into a brayer. Rub it across the thin ink film left after dry wiping. The oil can help loosen fresh ink so it transfers to the cloth. Use a clean section of cloth for a second pass; otherwise you may spread the ink back onto the tool. A soft brush or cotton swab can help reach shallow texture, but use a light touch on delicate plates.
Once the visible ink is gone, wipe away as much cleanup oil as possible with a fresh rag. On washable, nonporous surfaces, a cloth lightly dampened with mild soapy water can lift the remaining greasy film. Follow with another damp cloth if needed, then dry the surface thoroughly. Do not soak brayers, wooden handles, or tools with bearings. If a plate is prone to rust, prompt drying matters; follow any care instructions specific to that material.
Keep ink, oily residue, and the first soapy wipe out of the sink. Capture them on cloths or in a suitable waste container instead. Before using water on a tool or disposing of cleanup waste, check the ink instructions and the rules that apply to your studio.
Handle cloths and waste deliberately
Do not leave oil-soaked rags crumpled in a pile or in an open bin. Some oils and oil-based products can generate heat as they dry, creating a fire hazard in accumulated rags. Put used cloths in a suitable covered, fire-safe oily-waste container and follow the container instructions and local disposal requirements. Keep reusable cloths separate from paper scraps and clean towels until they can be handled safely.
Use small amounts of oil and change to a clean part of the rag before adding more. This makes it easier to see when a tool is clean and reduces the volume of contaminated waste. If you share a studio, label the cleanup materials and agree on who empties the waste container; a routine is only useful when everyone knows the final step.
Finish with a brief tool check
Run a clean cloth over the plate edges, the brayer ends, and the underside of the inking slab. These are easy places to miss. Check that the brayer rolls freely and that no ink has collected where the roller meets its frame. Let cleaned tools dry before storing them, and keep plates protected according to the needs of their material.
For a beginner, a good goal is not a spotless studio achieved through vigorous scrubbing. It is a consistent sequence: scrape, dry-wipe, loosen the remaining ink with a little oil, remove the oil, and store waste safely. Repeating those steps after each printing session keeps the next setup simpler and gives you a chance to notice wear or damage before it affects a print.