Know what a sharp gouge feels like
A well-maintained linocut gouge should enter the lino with controlled pressure and leave a clean channel. If it begins to skid, tears the edge of a cut, or needs an unusually hard push, inspect it before continuing. A dull tool can be tiring to use and harder to control; pushing harder is not a substitute for a sound edge.
Wipe the blade clean and examine it under a steady light. Look for a continuous cutting edge, rather than bright spots that may indicate a flat area or a nick. Then make a short test cut in a scrap of the same material you plan to use. Firm lino and softer carving blocks can feel different, so a test cut gives more useful feedback than judging the blade by sight alone. Do not test sharpness against your finger.
Set up a safe, simple honing routine
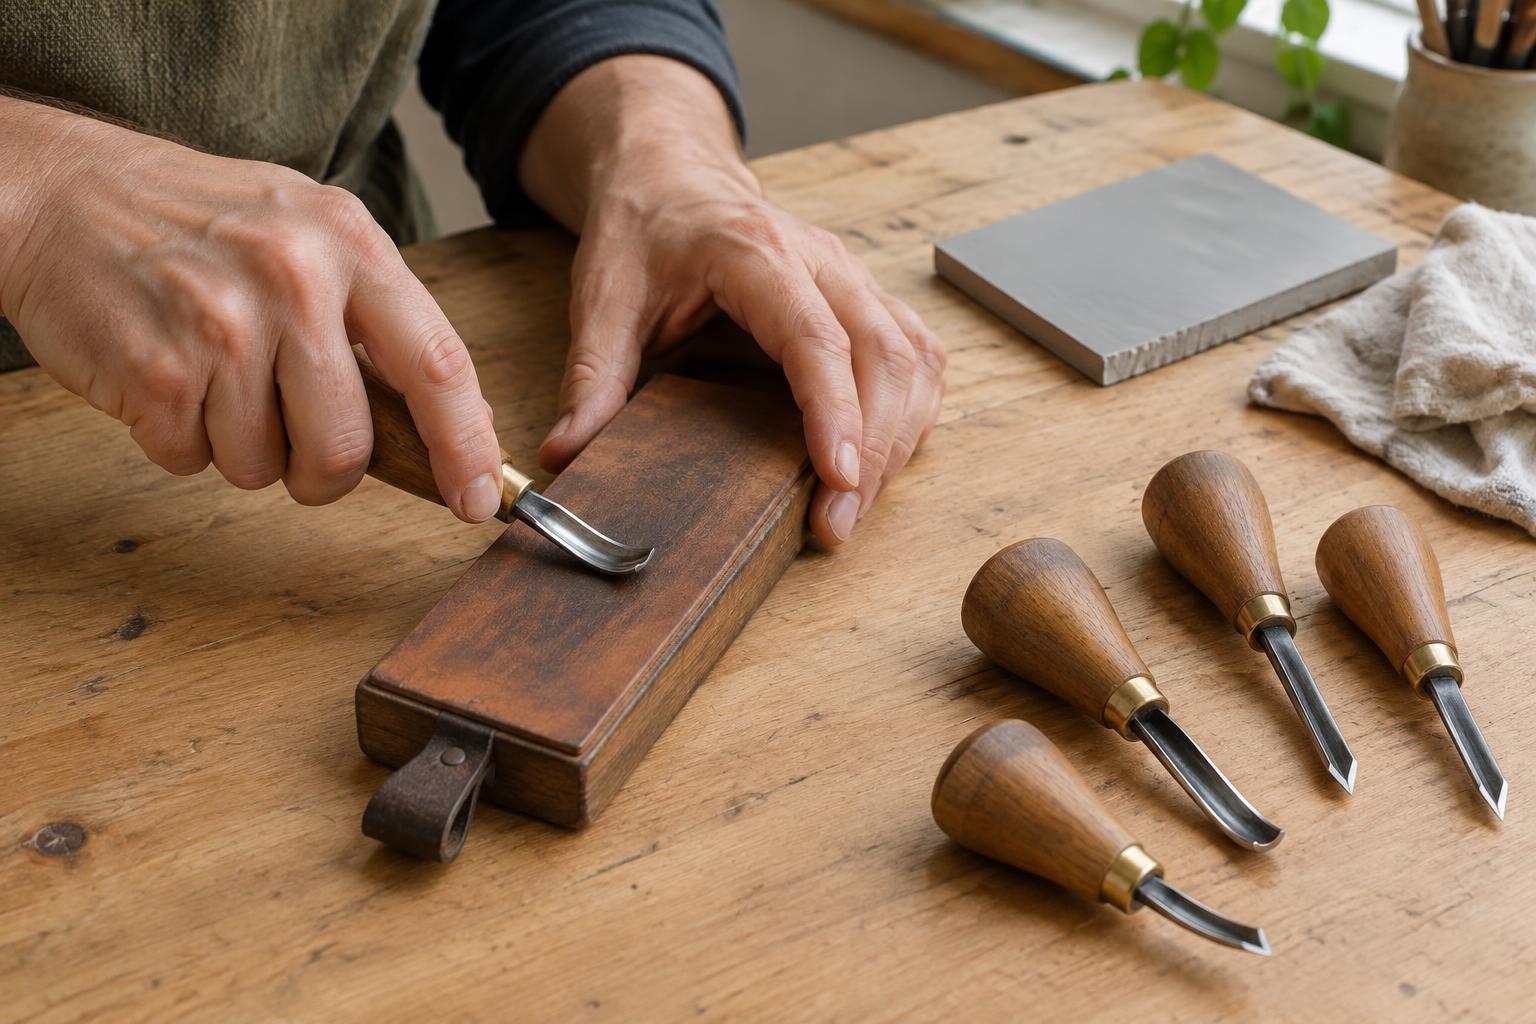
For routine maintenance, you need a stable work surface, an abrasive suited to the blade, and a way to reach its curved or angled interior. A small sharpening stone or fine abrasive sheet on a flat backing can serve the outer bevel; a narrow honing slip or shaped abrasive can reach inside a U-gouge. A V-gouge needs an abrasive that can contact each inner face without rounding the point. Follow the tool maker’s guidance where available, especially for blades with unusual bevels or coatings.
Clean grit and carving debris from the bench before you begin. Secure the abrasive so it will not slide, keep your hands clear of the edge’s path, and work slowly enough to see where the blade touches. If you use water or oil with a sharpening stone, use only the lubricant appropriate to that stone. Avoid a powered grinder for ordinary touch-ups: it can remove metal quickly and makes it easy to change a small blade’s shape.
Hone without changing the profile
Begin with the existing outer bevel. Rest it against the abrasive and make light, controlled strokes while maintaining its angle. On a U-gouge, roll the tool gently through the stroke so the whole curved edge receives attention. On a V-gouge, work each side evenly, taking care not to flatten or blunt the point. The aim is to refresh the edge, not to create a new bevel every time you sharpen.
Honing may leave a thin burr on the inside of the blade. Remove it with a few light passes of a correctly shaped slip or abrasive, keeping contact close to the inner surface. Do not grind deeply into the flute: enlarging or rounding it can alter the way the gouge cuts. Alternate light work on the bevel and inside only as needed, then clean the blade and try another scrap cut. A clean cut is a better stopping point than an arbitrary number of strokes.
A chipped edge, badly uneven bevel, or tool that still tears lino after careful honing may need more substantial reshaping. That is a different job from a quick touch-up. If you cannot clearly see how to preserve the blade’s profile, seek hands-on guidance or use a suitable replacement rather than removing metal by guesswork.
Protect the edge while you carve
Edge care starts before sharpening. Clear hard objects from the cutting area, and avoid driving a gouge into the bench, a metal ruler, or another tool. A bench hook or other stable support can help keep the block from moving. Position your free hand behind or to the side of the blade’s travel, and make several shallow cuts when a deep one would require force.
Pause to wipe buildup from the blade when material begins to cling to it. When you switch between gouges, place them where their edges cannot knock against one another. Keeping a scrap block nearby also makes it easy to check a questionable tool before using it on a nearly finished print.
Clean, store, and check tools regularly
At the end of a session, remove carving residue and dry the metal before putting tools away. Store gouges in a rack, divided case, or protective sleeves so their edges do not rub against other blades. Keep the handles dry and check occasionally for looseness or cracks; a sharp edge is of little help if the tool is uncomfortable or unstable to hold.
You do not need to sharpen every gouge after every session. Check the tools you use most often, hone when their performance begins to change, and reserve heavier sharpening for damage or persistent dullness. This small routine protects the blade’s shape and lets you return to carving with less interruption.