Start with the path a print takes
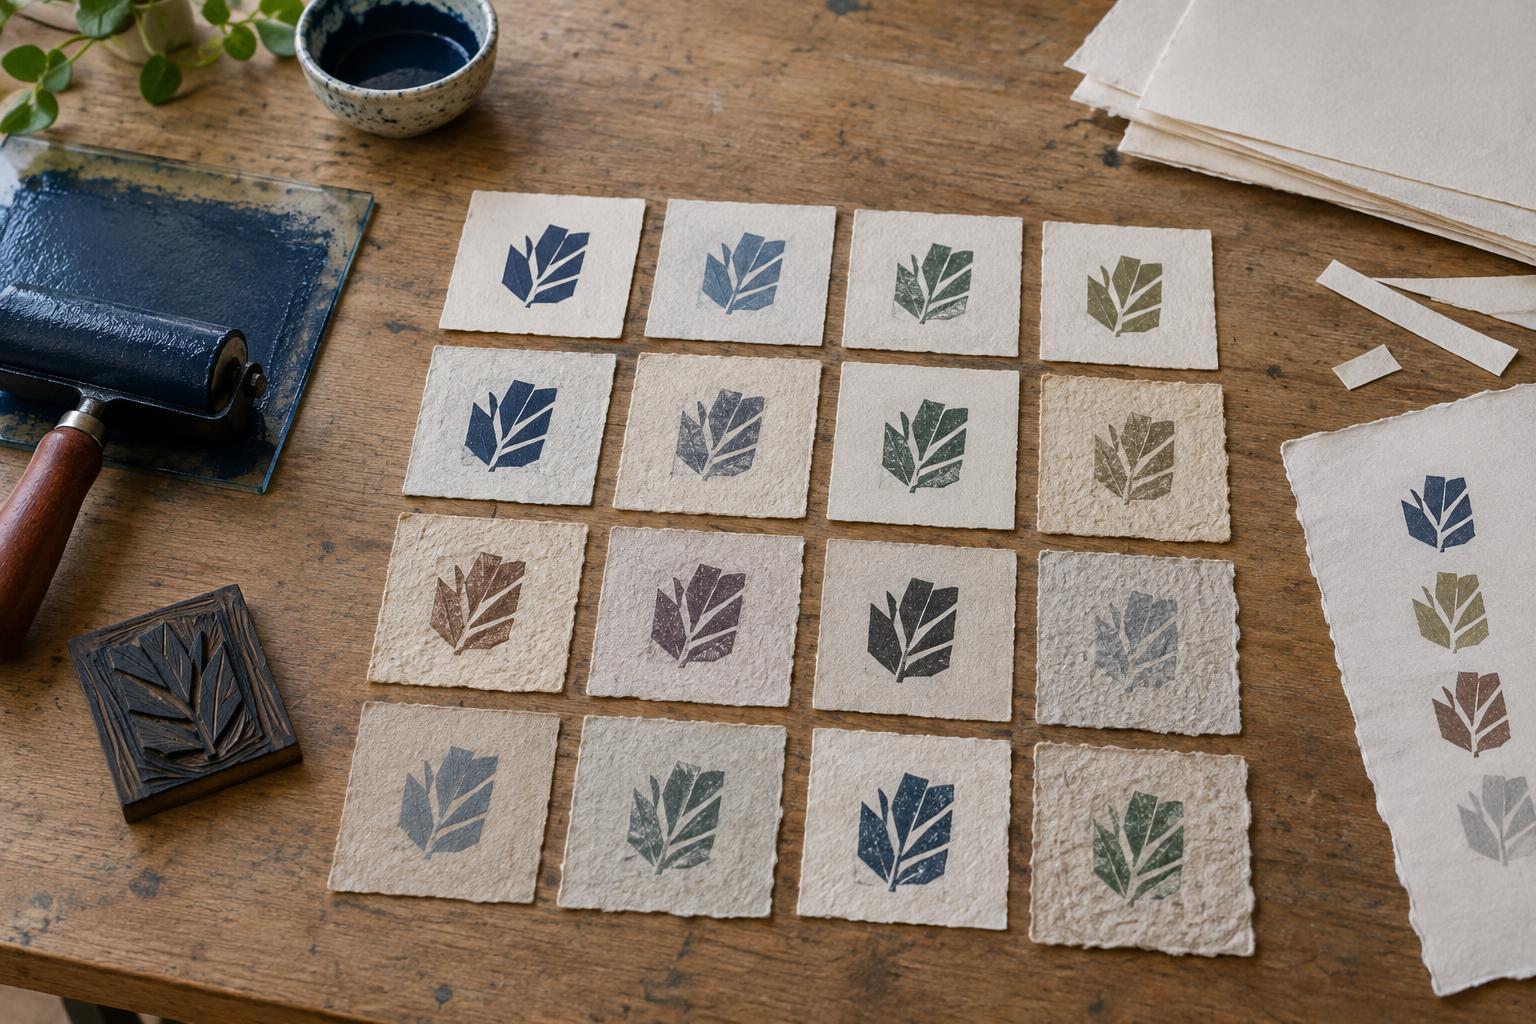
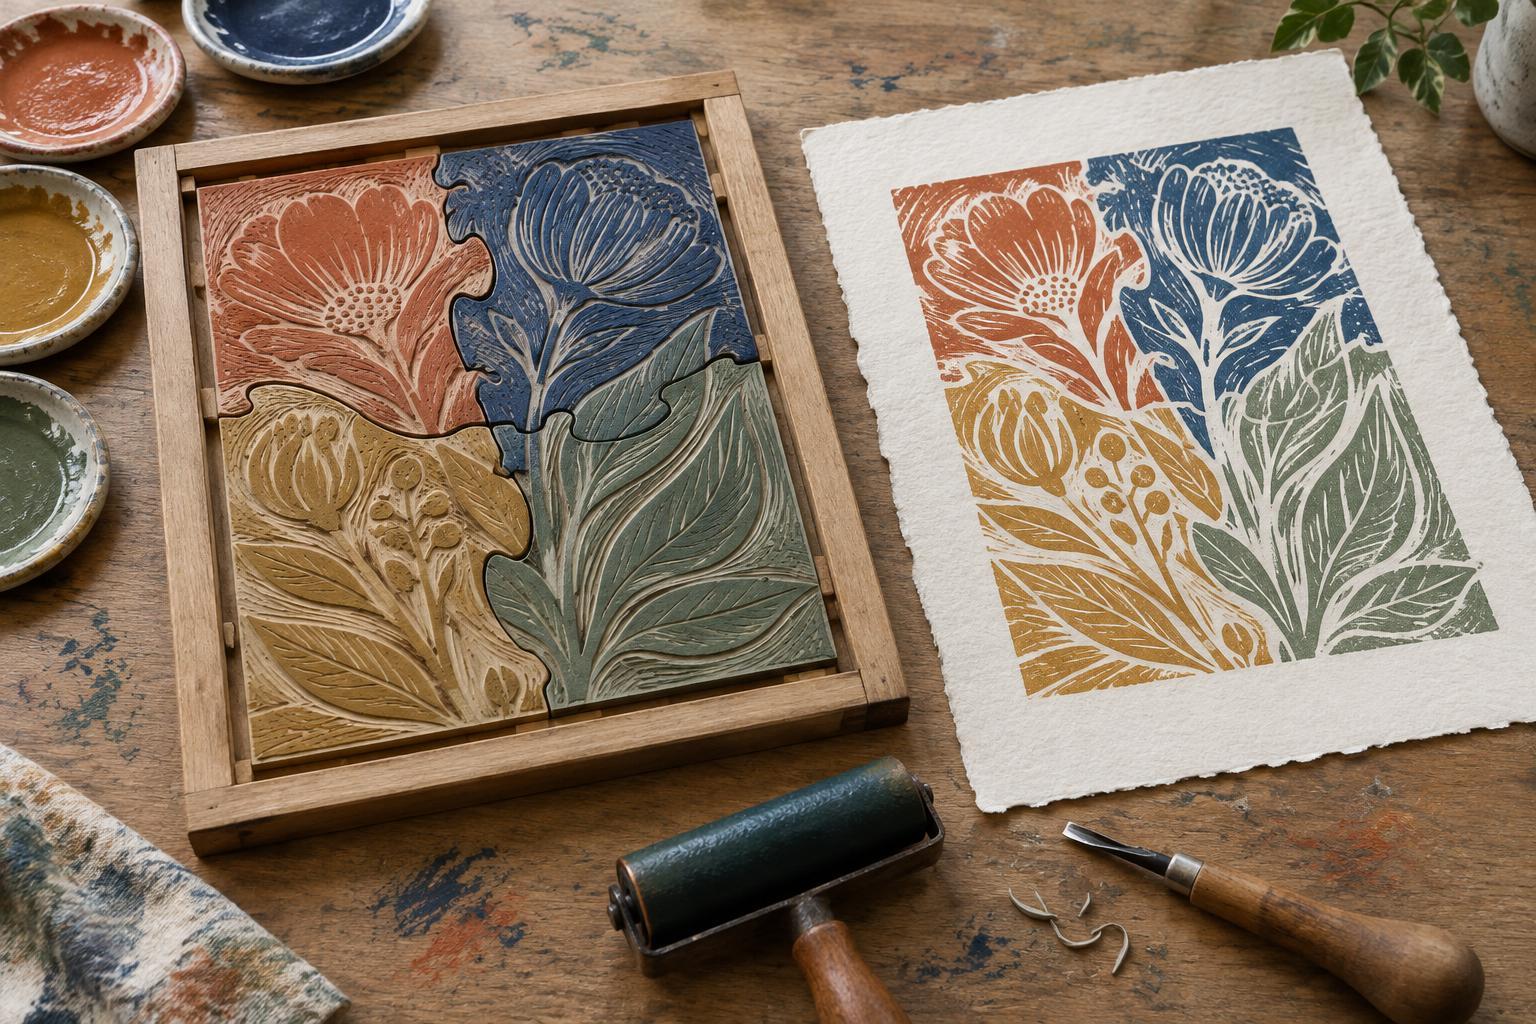
A print moves through a simple sequence: prepare the block or plate, apply ink, place clean paper, print, then set the impression aside to dry. In a small studio, problems often arise when those steps compete for the same surface. An inked brayer ends up beside a stack of good paper, or a fresh print has to be moved before there is a safe place to put it.
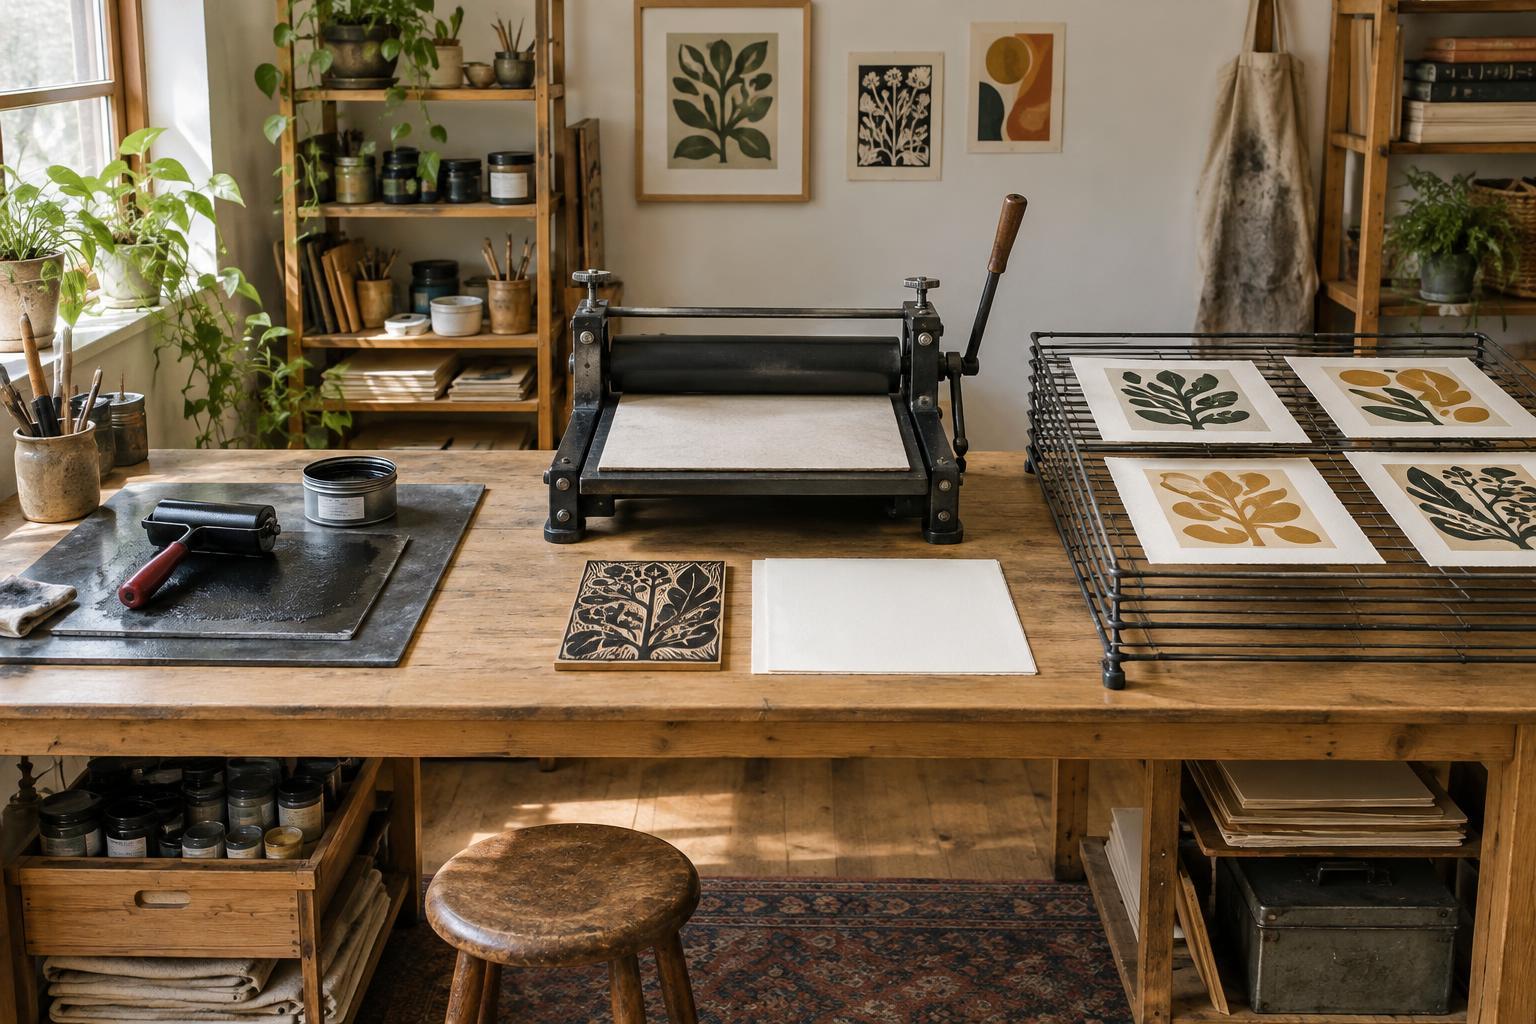
Before buying furniture, walk through that sequence in your available space. Identify one spot for messy work, one clean spot for handling paper and making the impression, and one protected spot for drying. These are zones rather than necessarily separate rooms or tables. A sturdy table, a shelf and a portable drying surface may be enough. The goal is to let work move forward without carrying an inked tool across clean supplies.
Keep the inking zone contained
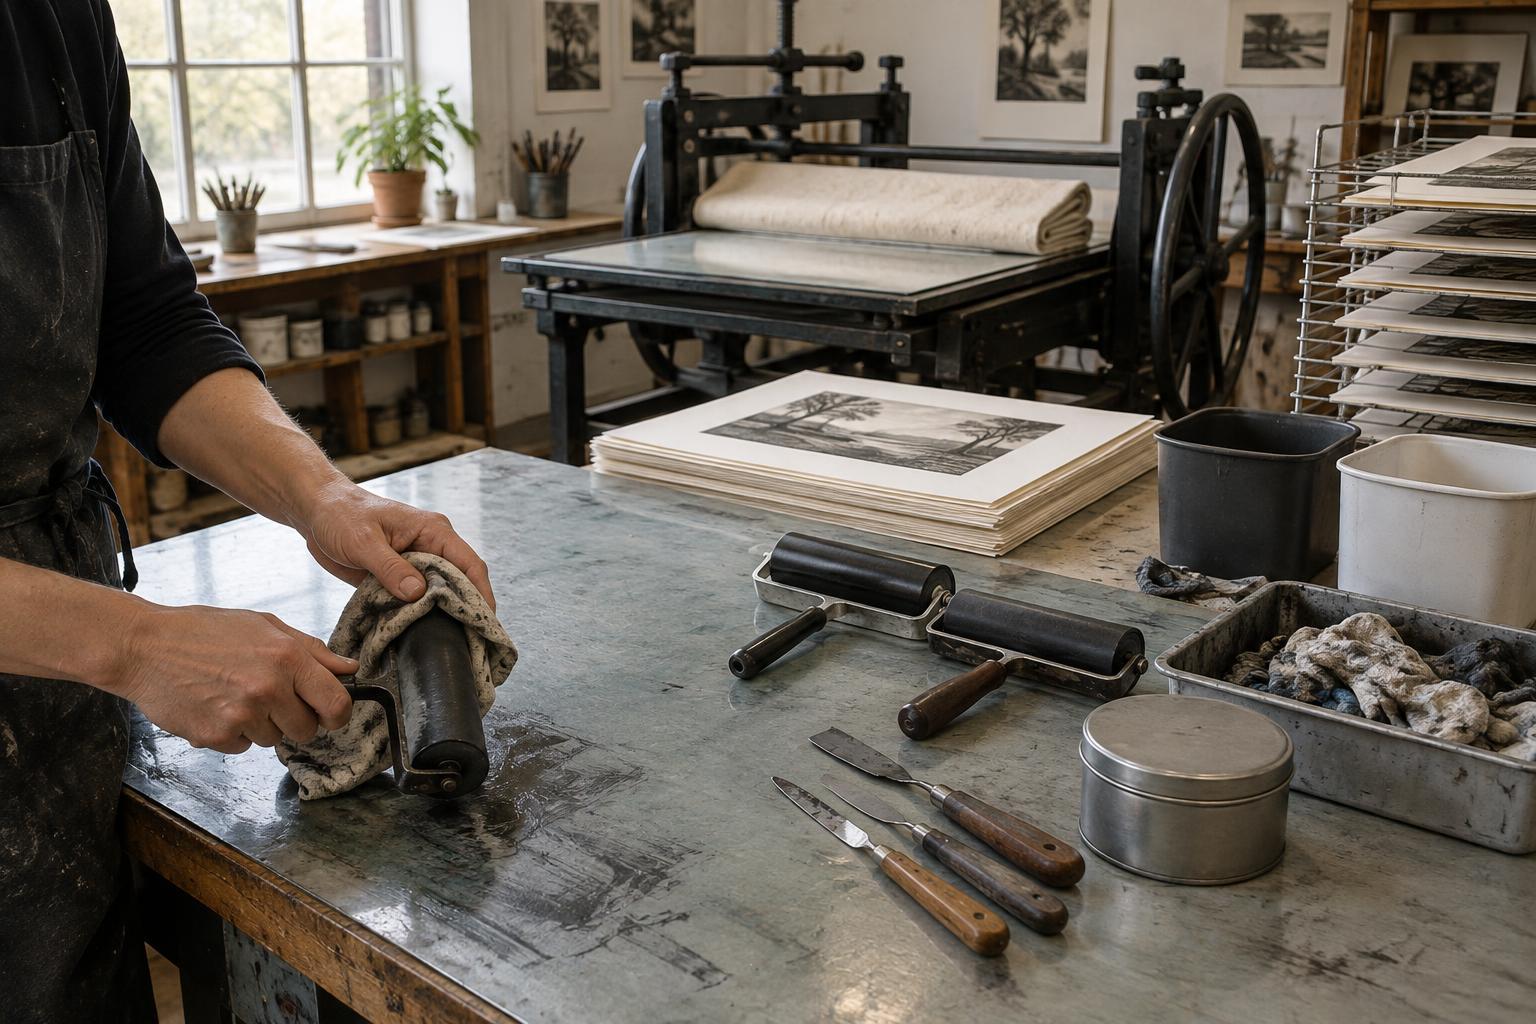
Place the inking zone on a stable, easy-to-clean surface with room for an ink slab or plate, brayers, ink and the block or plate being inked. A washable mat or other suitable surface covering helps define its boundary. Keep a place for used tools and wiping materials within reach so you do not need to set them down on the printing area. If you share the table with other activities, a tray can make the zone easier to set up and put away.
Store ink according to its label, and choose cleanup methods suited to the materials you use. Water-washable products are not necessarily appropriate to pour down a drain; check the maker’s instructions and local disposal guidance. If a process calls for solvents, sprays or fine powders, read its safety information and consider whether your space has the ventilation and controls it requires. For a compact home setup, choosing methods that are easier to manage may be more practical than trying to accommodate every process.
Protect the printing zone from stray ink
The printing zone is where clean paper meets the inked surface, whether you use a press, a baren or hand pressure. Give this step a clear, level area large enough for the sheet and for your hands to work without brushing against the inking zone. If one table serves both purposes, leave a gap between them or use a clean board that comes out only when you are ready to print. Check the board and your hands before touching fresh paper.
Keep paper in a folder, drawer or covered stack rather than leaving it exposed beside the ink. Put registration guides, a pencil and any clean handling materials near the printing spot. Separate clean and used newsprint or other protective sheets so a marked sheet cannot accidentally become the backing for the next print. These small habits help you tell whether an unwanted mark came from the block, the pressure surface or your handling.
Give drying space a plan of its own
Drying is part of production, not an afterthought. Set aside enough space for the number and size of prints you intend to make in one session. A drying rack is useful, but a clean shelf or flat boards can also work if sheets can lie without touching one another. Place the drying zone away from the inking area, foot traffic, direct spills and anything likely to brush across a wet surface. Keep it accessible so you can transfer each print without bending or balancing it.
Different inks, papers and room conditions can change how a print dries. Rather than relying on a fixed time, test a spare impression and handle the edition cautiously. If you expect to print more sheets than your drying space can hold, work in smaller batches or prepare additional protected surfaces before you begin. Make a clear route from the printing area to the drying area; in a tight room, that may matter more than the distance between them.
Make the layout easy to reset
A workable studio should still function at the end of a session. Keep clean paper and finished prints apart from inks and cleanup supplies, and give frequently used tools consistent homes. Labeling a few containers or shelves can make the boundary between clean and messy supplies easier to maintain. Leave enough open surface to wipe down rather than filling every corner with equipment.
For a first setup, try making a short run of test prints and notice where you pause, reach across a clean area or struggle to put something down. Adjust the zones around that experience. If you cannot keep all three zones active at once, work in stages: finish inking and printing, clean and clear the table, then use a protected area for sorting or storing dry work. A good small studio is not one with the most equipment; it is one whose layout helps each print move safely from ink to paper to drying space.