Start by following the ink
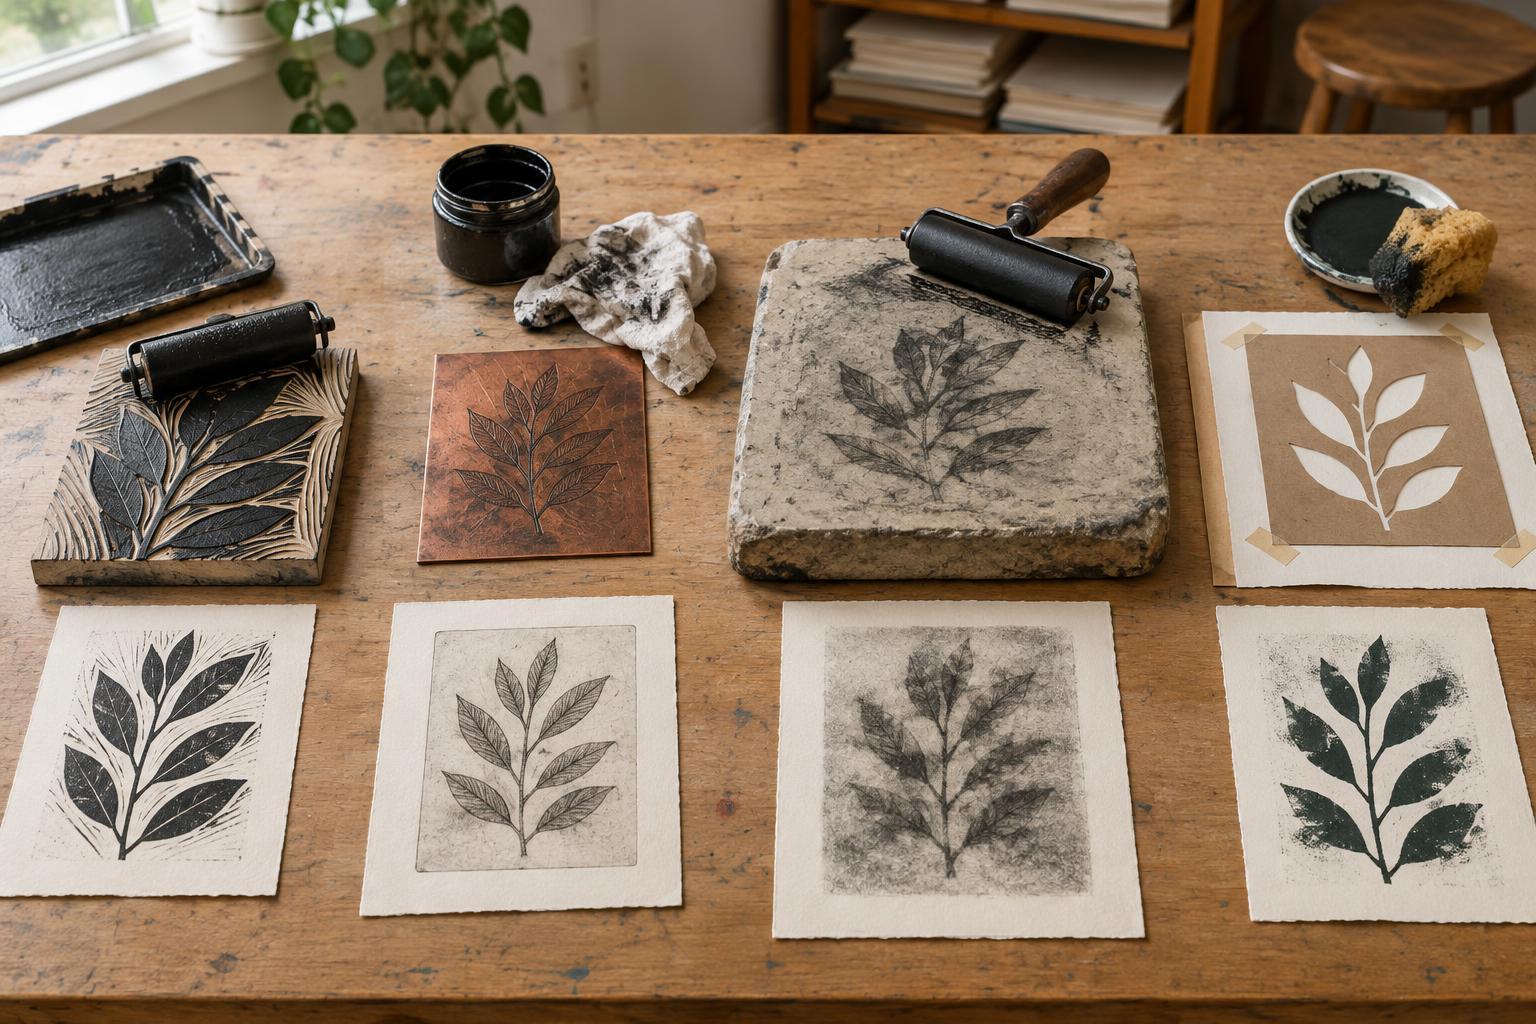
A print begins with a prepared surface, ink and something to receive the image, usually paper. What distinguishes the four main printing methods is where the ink remains on that surface just before printing. It may sit on raised areas, settle into recesses, occupy selected areas of a flat surface or pass through openings. Thinking about the ink’s location makes unfamiliar processes easier to understand.
These families describe methods of transfer, not styles of artwork. A bold shape can be made with any of them, although the marks and working steps will differ. The image on a block or plate also needs planning: in many direct printing setups, it appears reversed on the paper. A letter or other directional detail is a useful test before committing to a larger design.
Relief: ink on the raised surface
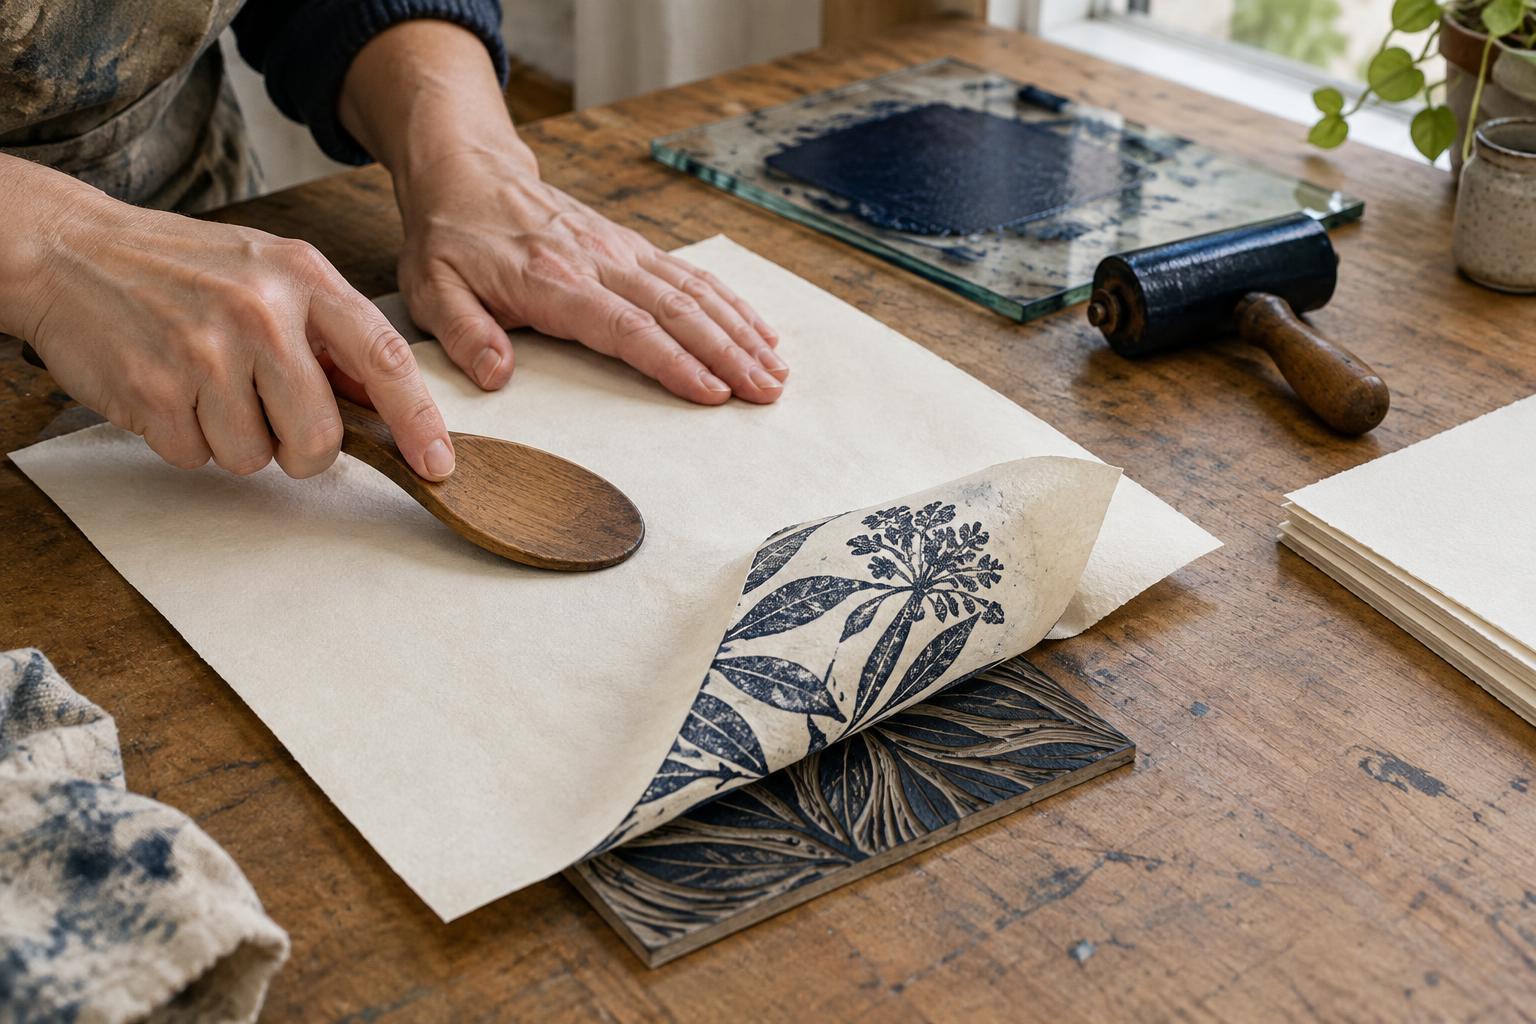
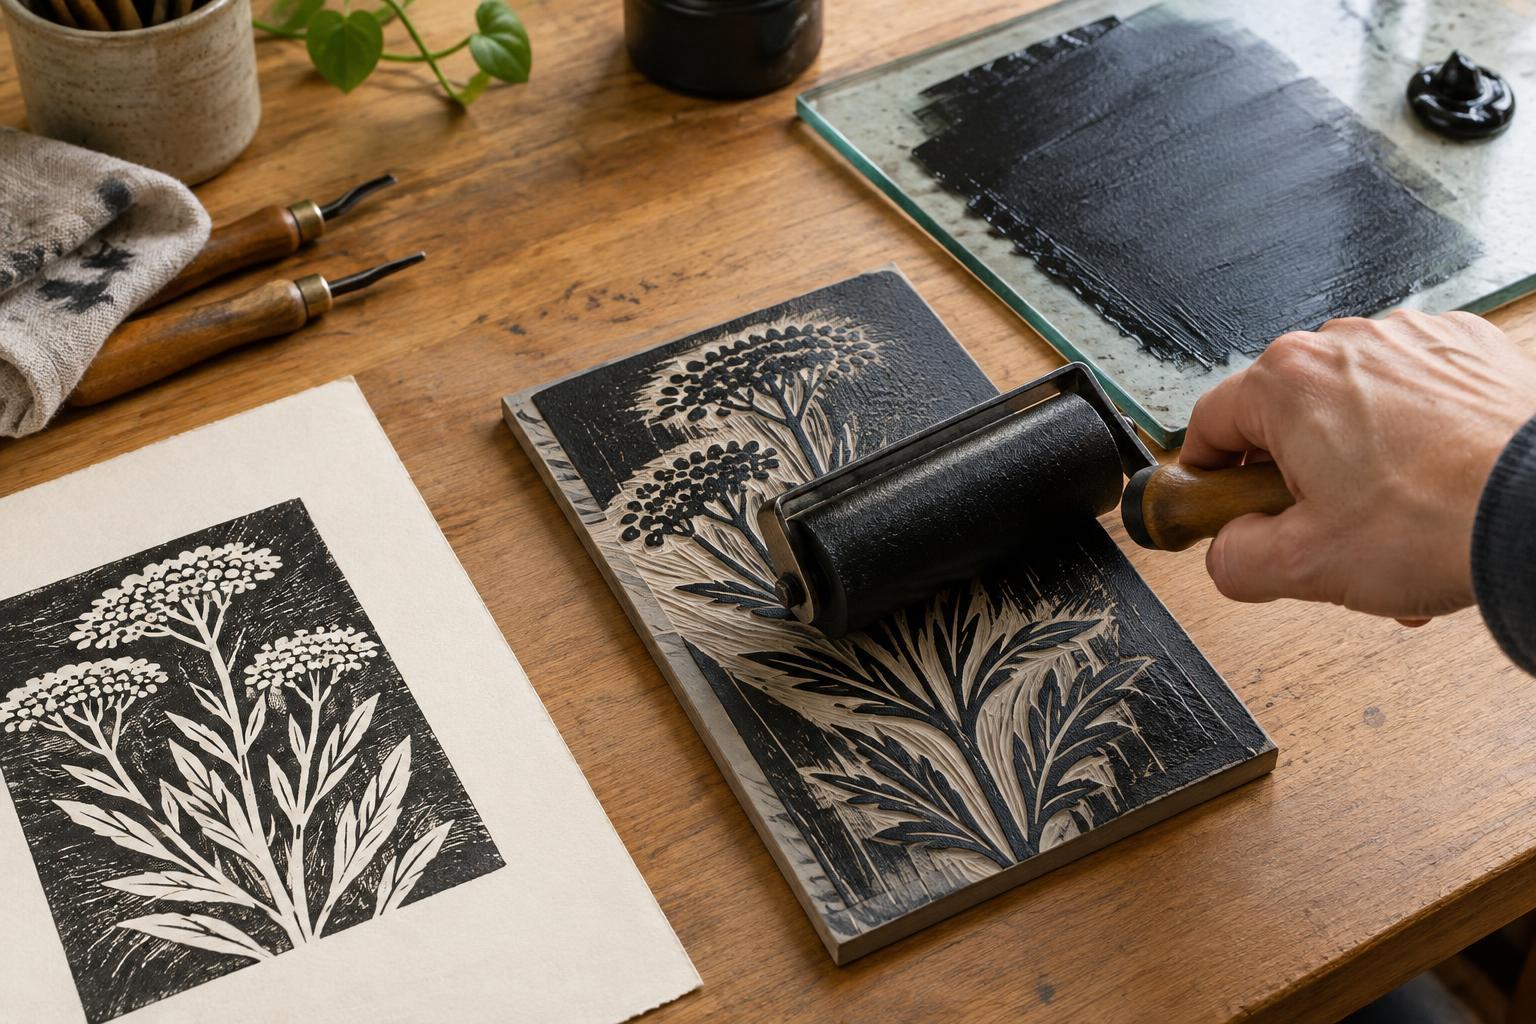
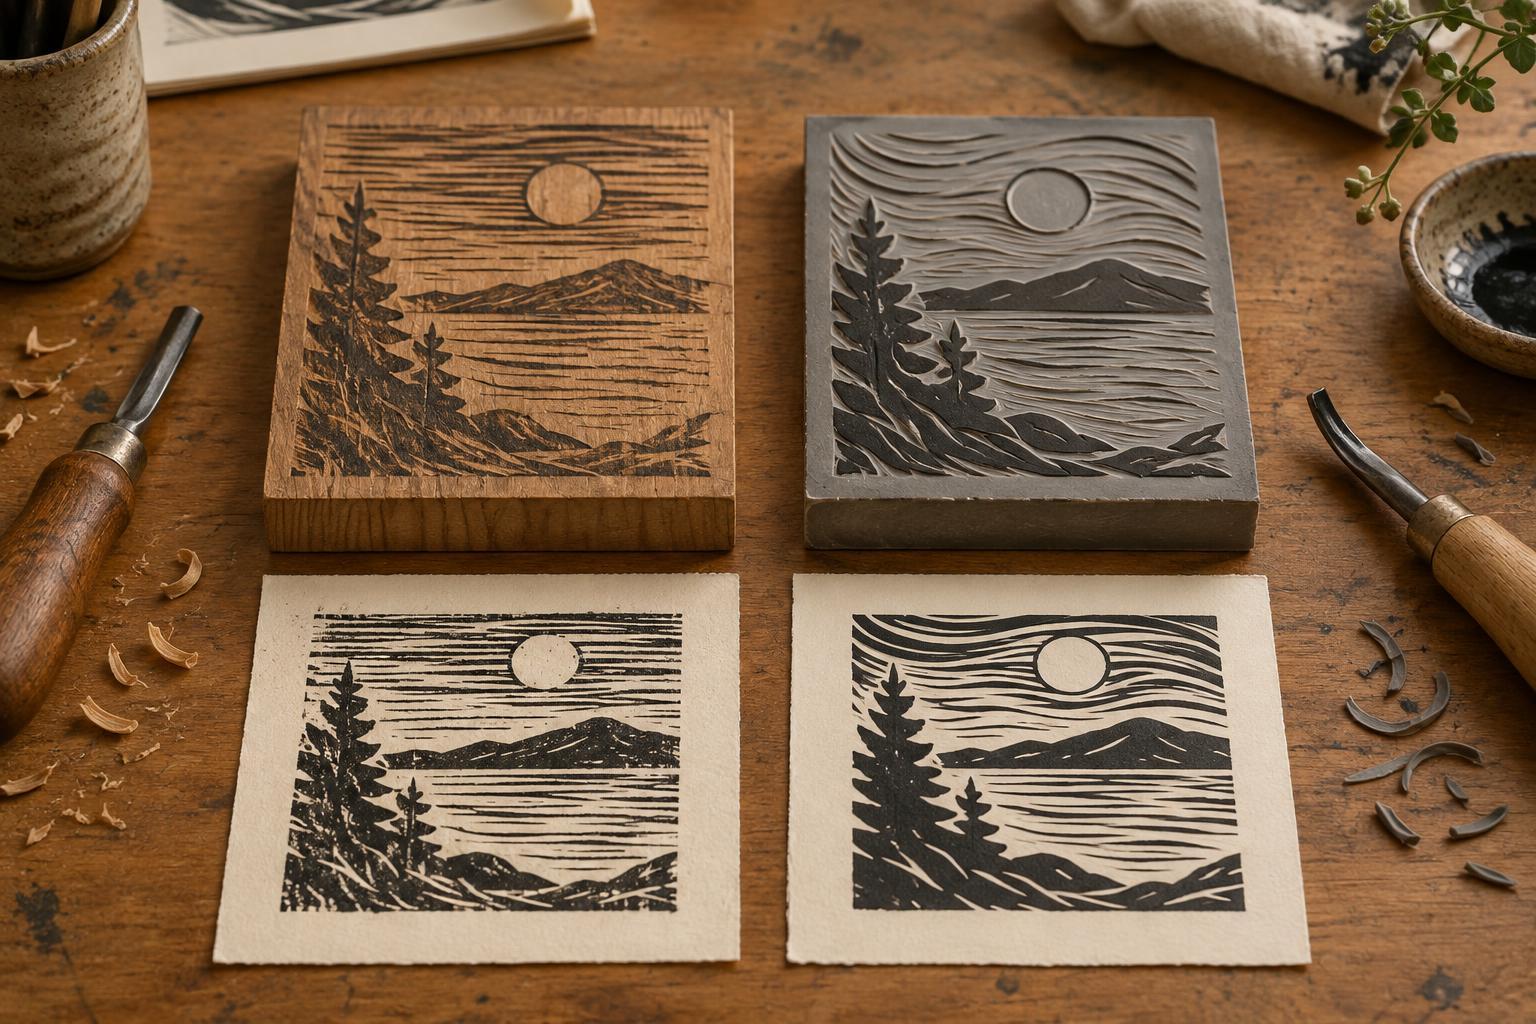
In relief printing, the parts that receive ink stand higher than the parts that do not. A printer cuts away unwanted areas of a woodblock or linoleum block, rolls ink across the remaining surface and places paper against it. Pressure transfers ink from the raised areas. A carved line will generally print as the color of the paper, while an uncarved area will print in ink.
Relief is a clear introduction to positive and negative space. Try drawing a simple leaf on a small block, then decide whether the leaf itself or the space around it should print dark. An uncomplicated shape lets you focus on cutting direction, even inking and consistent pressure. Cutting tools are sharp, so secure the block and keep your hands out of the tool’s path. For a no-carve comparison, a textured surface inked on its high points can demonstrate the same principle.
Intaglio: ink held below the surface
Intaglio reverses the relief principle. Its printing marks are recessed into a plate, commonly metal or another suitable plate material. The printer works ink into those recesses and wipes much of it from the upper surface. Dampened paper and substantial pressure then help draw the ink out of the marks. Etching and engraving are two ways to make intaglio plates, though their plate-making steps differ.
The depth, width and texture of a mark affect how it holds and releases ink. Wiping also matters: a cleaner wipe can emphasize crisp lines, while ink left on the surface may add a veil of tone. Because traditional intaglio often involves specialized equipment and, in some approaches, hazardous materials, beginners can first study the transfer principle through a supervised, non-etching plate exercise. The essential question remains the same: which grooves will carry the image?
Planographic: an image on a flat surface
A planographic printing surface is largely flat; the image does not depend on raised peaks or cut grooves. In lithography, selected areas accept greasy printing ink while other areas are kept ink-repellent through the preparation and dampening of the surface. Ink is rolled over the prepared stone or plate, and the image areas receive it for transfer to paper.
This distinction explains why planographic methods can preserve drawn-looking marks without carving each line. It does not mean that any drawing on a flat sheet can be printed as a lithograph: the surface must be prepared so image and non-image areas behave differently during inking. If you encounter a planographic print in a studio or collection, look for the variety of marks it permits, then ask how the printer kept the surrounding areas free of ink.
Stencil: ink passes through openings
Stencil printing places a barrier between ink and paper. Ink reaches the paper only through open areas. In screen printing, a mesh supports a stencil, and a squeegee pushes ink through the unblocked parts of that mesh. A cut-paper stencil can show the same underlying idea without a screen: cover part of a sheet, apply color through an opening and lift the barrier to reveal the image.
Unlike an inked block or plate, the stencil controls where ink can travel rather than carrying the entire image on its surface. This makes it useful for clear shapes and repeated areas of color. Openings that sit inside another shape, such as the center of a letter O, need a connection or a supported stencil system so they stay in place.
Compare the methods with one small image
Choose a simple motif, such as a circle crossed by two lines, and imagine preparing it in each method. For relief, keep the parts you want to ink raised. For intaglio, make the desired marks recessed. For planographic printing, designate image areas on a flat, properly prepared surface. For stencil printing, open the areas through which ink should pass. This mental exercise separates the design from the mechanism that prints it.
When choosing a first hands-on project, work with the equipment and guidance available to you rather than trying to reproduce every process at once. A small relief block or cut-paper stencil can make ink placement visible quickly. Proof the image, note what transferred and adjust one variable at a time. That habit of looking closely at the printed result serves every method.