What makes a reduction print different?
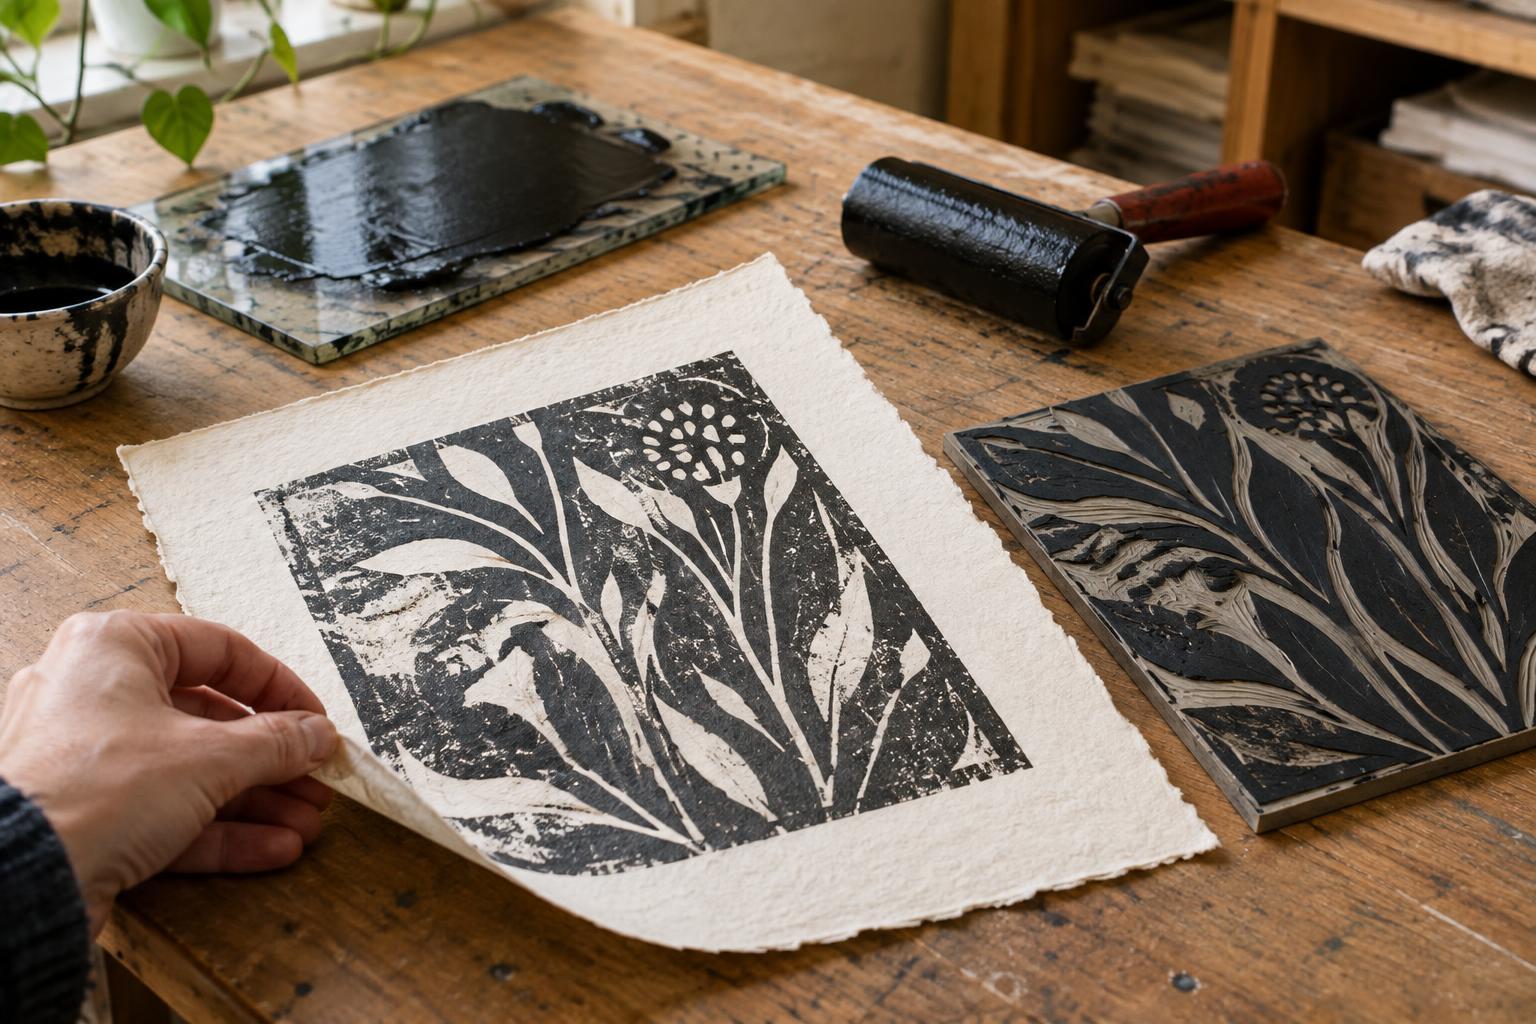
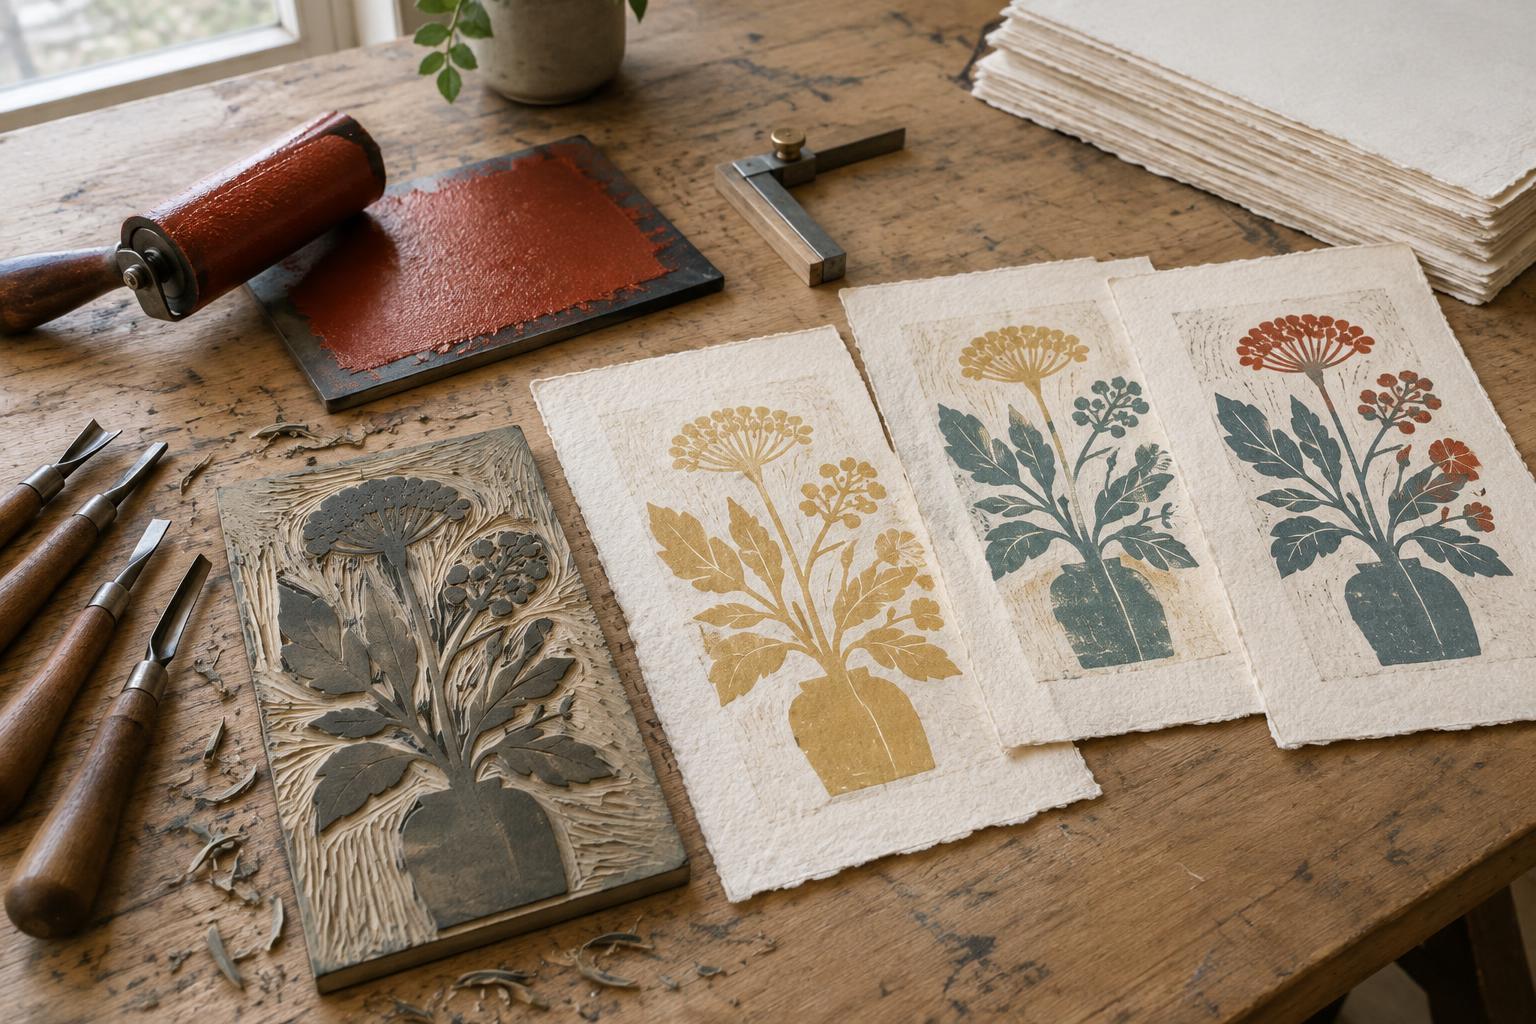
In a reduction linocut, you print several colors from a single piece of lino. After each color is printed on every sheet, you carve more of the block and use what remains to print the next layer. Each cut removes a surface that could carry ink, so the block gradually becomes smaller in its printable areas. Unlike a set of separate color blocks, you cannot return to an earlier stage once you have carved it away.
Imagine a pale yellow flower against a blue background with dark outlines. You might first print yellow across the flower and other areas where you want it to show. Then you carve away the parts that must stay yellow and print blue from the remaining surface. After another round of carving, a final dark layer adds outlines and shadows. The exact order depends on the image: later layers can cover earlier ones, but translucent inks and thin coverage may let underlying colors influence the result.
Plan the image before the first cut
Choose a small design with two or three colors for a first attempt. Bold shapes are easier to carve and align than fine details. Make a simple color plan showing what will print at each stage and what must be removed before the next one. Number the stages, and keep the plan beside you as you work. Remember that any area carved out before the first printing will remain the color of the paper.
Decide how many finished prints you want before you begin. Print more sheets at the first stage than you hope to keep: a few may be lost to uneven inking, slips in registration or experiments with color. Set aside one or two extra sheets for testing later layers. Keep all edition sheets the same size and orientation, and mark the back lightly so it is easy to tell which edge is the top.
Set up registration and print the first color
Registration is the method you use to place each sheet in the same position for every color. A simple setup is an L-shaped corner guide fixed to a printing board. Put the block in a repeatable position, then place each sheet snugly against the guide before printing. Test the setup with scrap paper, and avoid shifting the guide or trimming your edition sheets until all layers are complete.
Carve only the areas intended to stay unprinted paper, then roll a thin, even coat of your first color onto the block. Print the entire group of sheets using consistent pressure. Lay them out or hang them where they can dry without touching one another. Drying time varies with ink, paper and conditions, so check that a print is ready to handle before stacking or overprinting it. Follow the ink maker’s directions for cleanup and drying.
Carve away one color, then build the next
Once the first layer is complete, look at your color plan and carve away every area that should retain that first printed color. The untouched lino will carry the second color. Cut gradually and pull a test print before working through the edition; the test can reveal missed cuts or a color that does not read as expected. You can remove more lino, but you cannot replace a cut area.
Ink and print the next layer on each sheet, using the same registration setup. Small alignment differences are common. You can make them less noticeable by designing later shapes to overlap earlier ones slightly, rather than requiring every edge to meet exactly. Let this layer dry as needed, then repeat the carve-and-print cycle for any remaining colors. Keep your hands behind the path of the carving tool and secure the block so it does not slide.
Finish the edition and learn from the block
When the final layer is dry, compare the prints and select the ones you want in the edition. Minor variations in coverage and alignment are part of hand printing, but set aside impressions that fall outside the standard you chose. If you number the edition, do so only after you know how many finished prints you have. Keep a stage proof or photograph of each layer if you want a record of how the image developed.
The finished block cannot reproduce the earlier colors on its own; that irreversible sequence is the defining challenge of reduction printing. It also makes planning useful without demanding that every decision be fixed in advance. Start with broad shapes, test each new layer and leave room for small adjustments. Your first reduction print will teach you as much about color and timing as it does about carving.