Start with the work you actually plan to do
A kitchen table can be a useful place to carve a small block or print a short edition, but it needs a different setup from a dedicated studio bench. Before laying anything down, list the materials you will use and where they might travel. A dry carving session mainly calls for a stable, scratch-resistant surface and a way to catch chips. Inking and printing add the possibility of stains. Washing tools introduces drips and damp cloths.
Give each activity a place: a clean area for paper, a working area for ink and tools, and a spot for used materials. This separation matters more than covering every inch of the room. Keep food and drink away from the work, and follow the handling and ventilation directions supplied with your inks and cleaners.
Build a table covering in layers
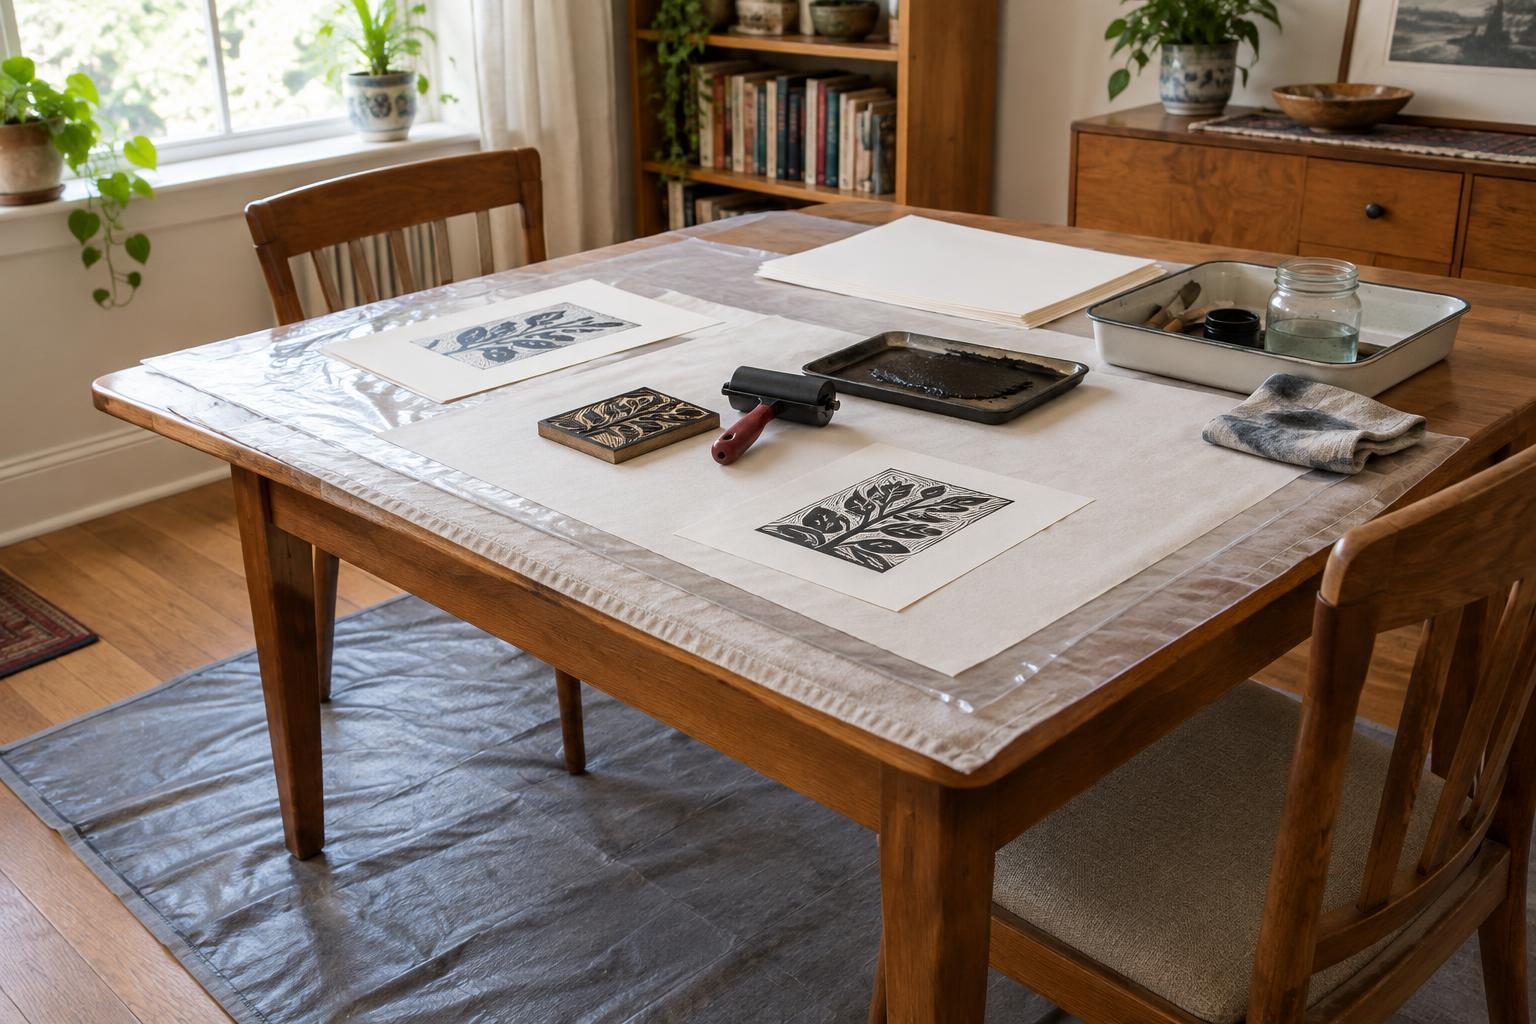
Begin with a clean, dry table. For a finish that scratches easily, add a smooth, nonabrasive layer, such as a clean cloth, beneath a rigid work board. A cutting mat or sturdy board gives carving tools a defined landing area; never rely on a thin plastic sheet to stop a blade. Check that the board sits flat and cannot slide while you work.
For inking, place a wipeable covering under the slab, roller, and ink containers. A reusable plastic mat or tray is easier to manage than a loose sheet whose edges can bunch up. If you use a disposable covering, secure it so it cannot shift, and avoid adhesive that could mark the table. On unfamiliar finishes, test any tape or protective material in an inconspicuous spot before a full session.
Keep printing paper off the inking surface. A separate clean board, folder, or tray protects it from stray fingerprints and gives finished impressions somewhere to rest. If you hand-burnish prints, put a firm, smooth board beneath the block so pressure is distributed without grinding grit into the table.
Protect the floor where spills are likely
Floor protection is most useful beneath the chair, worktable, and route to the cleanup area. Choose a covering that lies flat and is unlikely to become slippery when damp. A rigid chair mat may suit a seated workspace; a washable, non-slip mat can catch small drips near an inking station. Thin plastic sheeting is inexpensive but can shift or crease, so it should not be the only safeguard in a busy walking area.
Extend the protected area far enough that you can set down a tray or step back from the table without leaving ink on an uncovered surface. Leave doorways and walking routes clear. On carpet, a stable work surface with raised edges is especially helpful: preventing a spill at the table is simpler than trying to remove ink from fibers later. Check underneath floor coverings during a long session so trapped moisture does not sit against the floor.
Contain mess before it reaches the coverings
Put ink tubes, wash water, and damp tools inside shallow trays or containers with raised sides. Use only as much ink and liquid as the task requires, and close containers when they are not in use. Keep a few rags or paper towels within reach so a drip can be lifted promptly rather than spread by a sleeve or shoe.
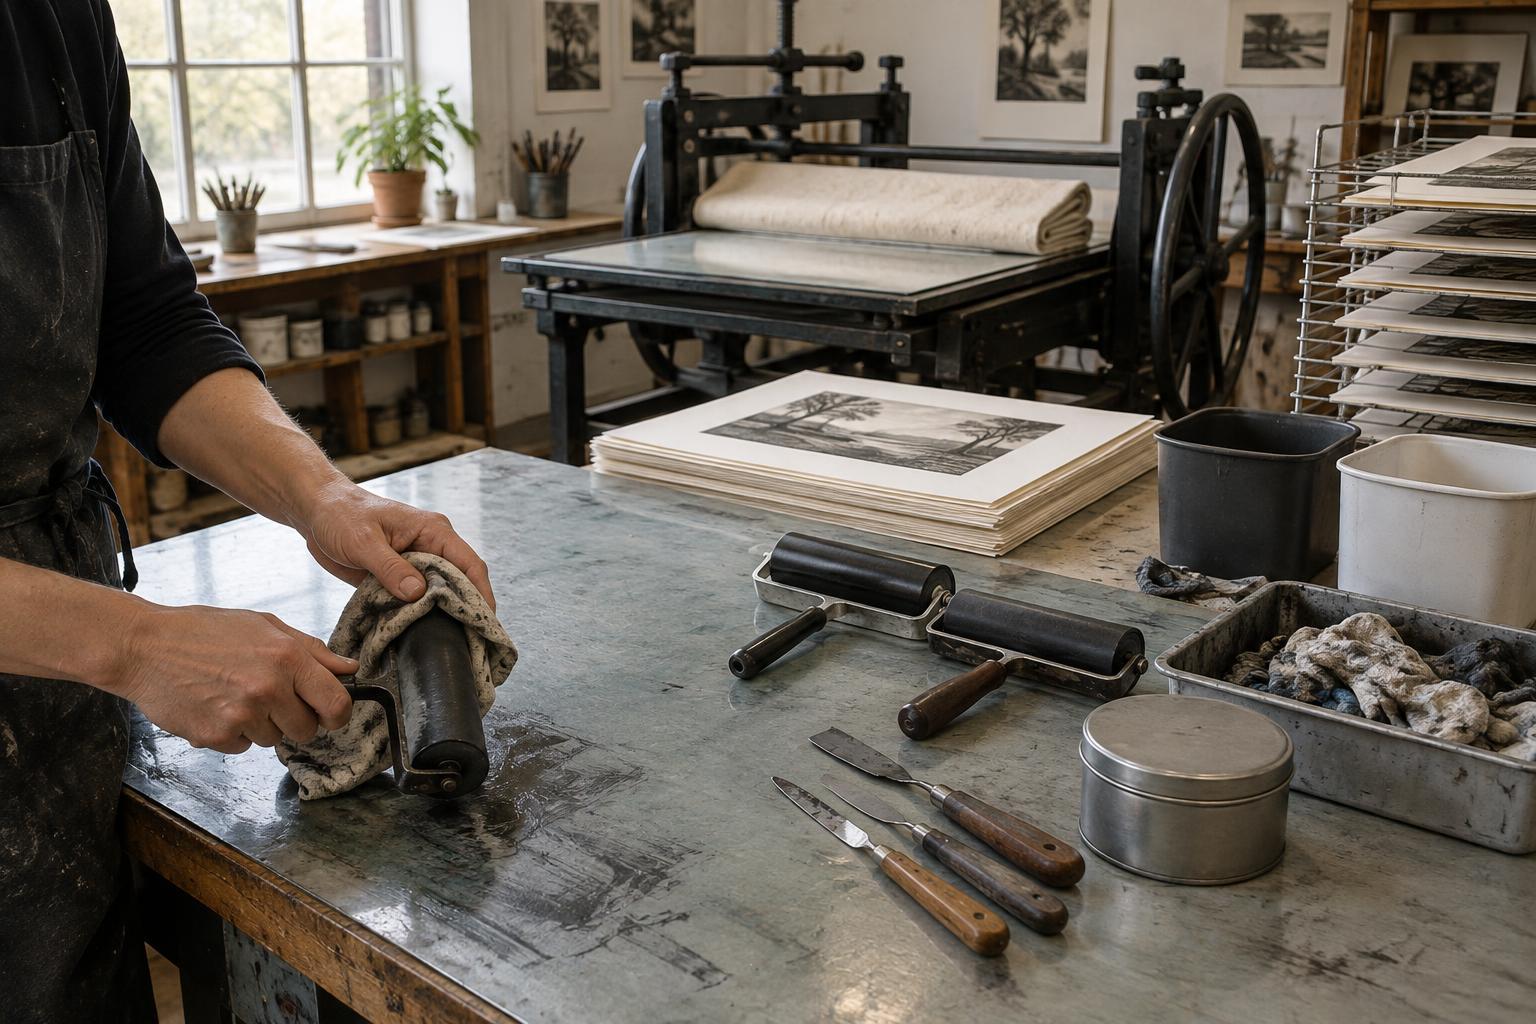
Make a separate place for carving chips and used wiping materials. A small bin beside the worktable is more reliable than a pile at the table edge. For cleanup, first remove excess ink from tools with a suitable rag or scrap paper, then clean them according to the ink maker’s directions. Disposal and drain guidance can vary by material and location, so check the product label and local rules rather than assuming every ink or cleaner can be washed down a sink.
End each session with a surface check
A temporary workspace works best when packing away is part of the printing routine. Move clean prints to a safe drying location before wiping the inking area. Then inspect tool handles, container bottoms, and the edges of boards; ink hiding there can transfer to a shelf or cupboard later. Wipe protective surfaces, let them dry, and check the table and floor before putting everything away.
Store coverings flat or loosely rolled when possible, with clean and ink-marked sides clearly separated. Keep a compact setup kit together—work board, mat, trays, cloths, and bin—so the next session starts with protection already accounted for. The aim is not a spotless process, but a contained one: a workspace you can set up confidently, use comfortably, and return to its everyday purpose.