Decide what belongs in the edition
An edition is a group of impressions made from the same image according to a shared set of choices. Before printing, write down what you intend those choices to be: the image and its orientation, paper, ink colors, printing method, margins and approximate finished size. This gives you a reference when you are deep into a session and a useful description when you later present the work.
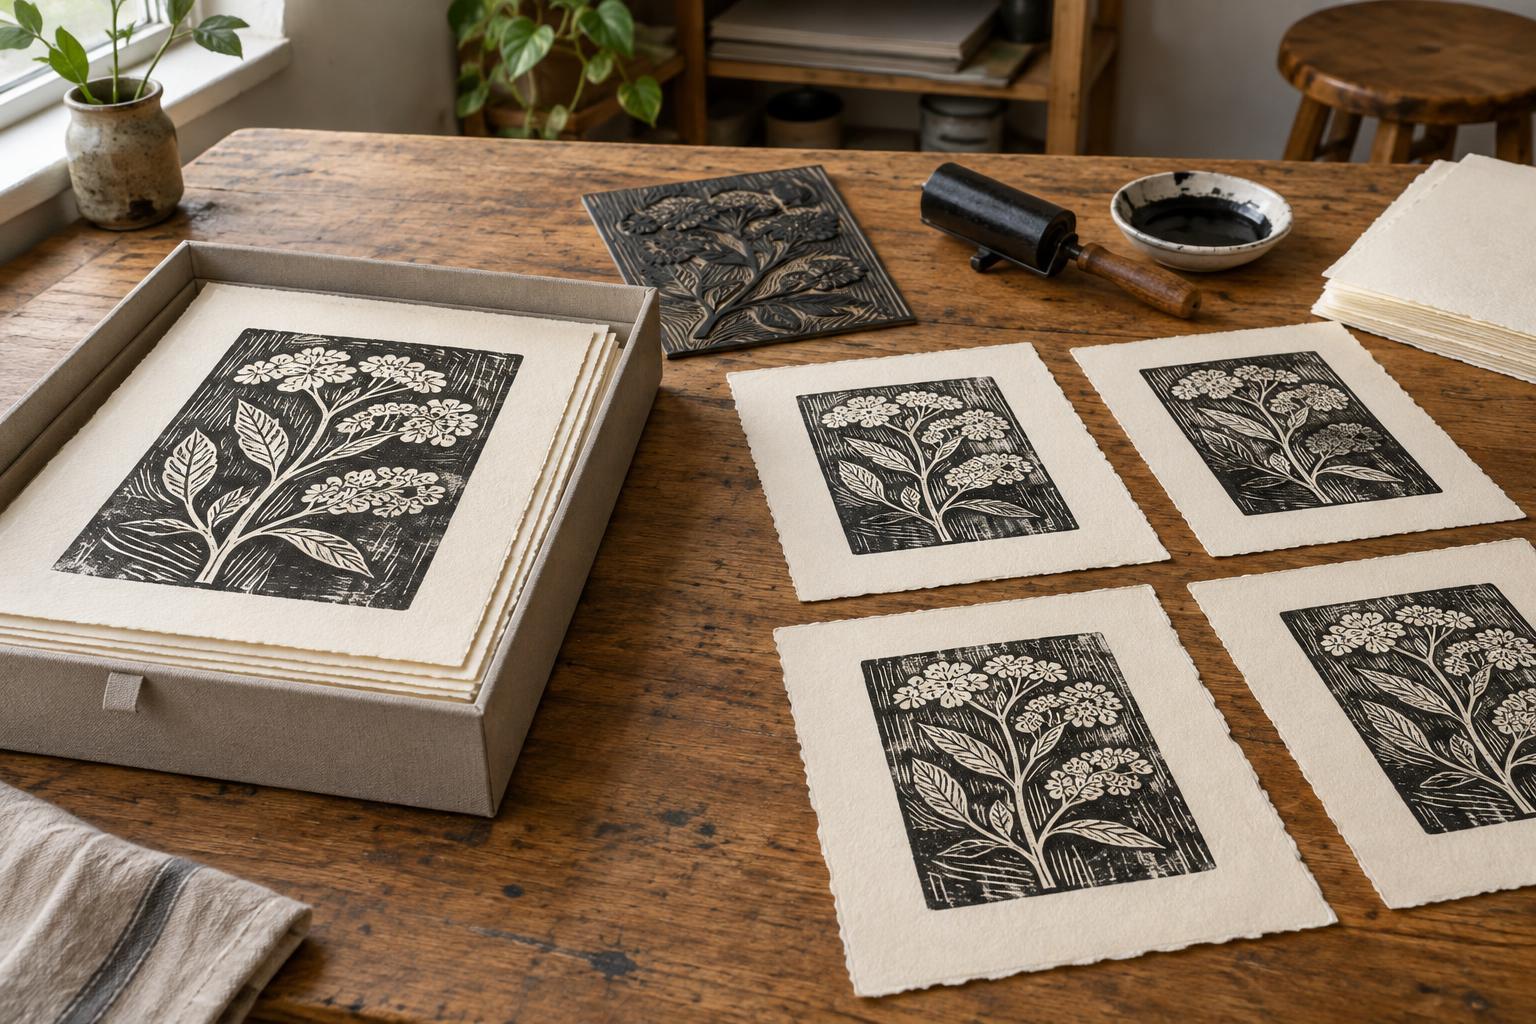
Choose a target edition size that suits your materials, time and stamina. If you want ten finished prints, prepare more than ten sheets to allow for setup, testing and impressions you may reject. The extra sheets are a working allowance, not a promise to produce a larger numbered edition. If you are new to the process, a small edition can make it easier to learn what consistent printing requires without turning practice into a marathon.
Make a proof before committing
A proof lets you test the print rather than rely on how the block, plate or screen looks. Check whether the image reads as intended, whether fine details hold, and whether the paper and ink work together. Note how much ink you used, any changes in pressure, and how you positioned the sheet. For a multicolor print, test the registration method as well as the colors: a strong single layer does not guarantee that the layers will align.
Expect to revise your setup during proofing. You might adjust the ink, change packing, deepen an area of a block or move a registration guide. Keep these experiments separate from the numbered edition. Once a proof looks right, place it near the printing area as a reference impression. It can help you notice gradual changes in color, coverage or alignment that are easy to miss when you examine each new sheet on its own.
Set standards you can repeat
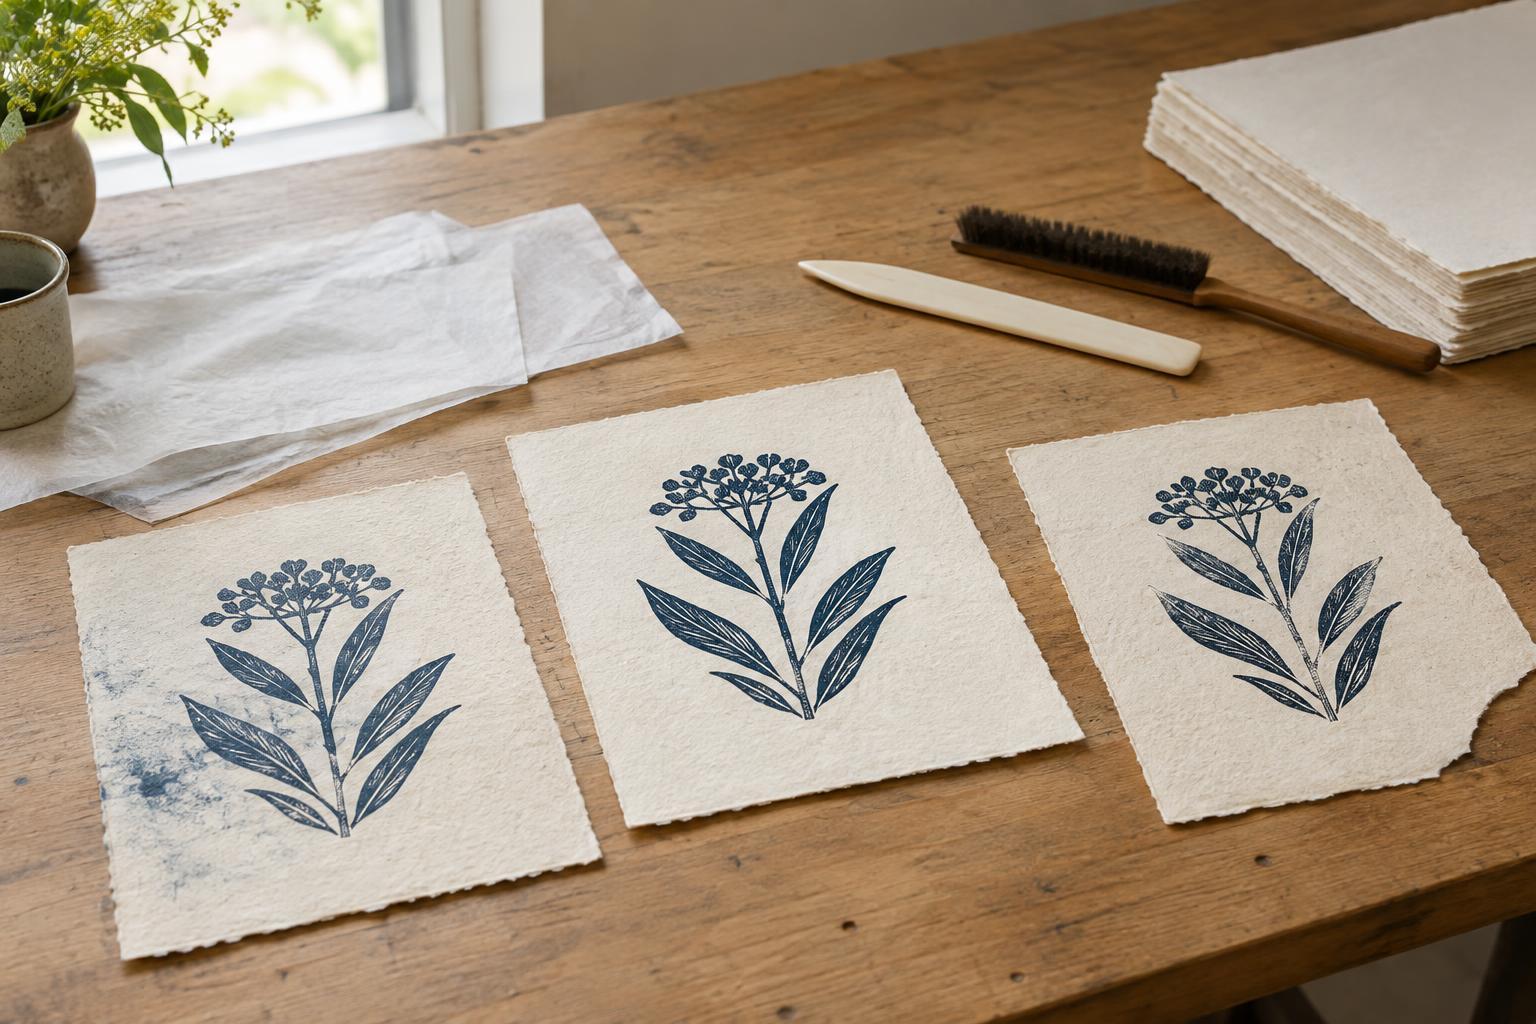
Consistency does not mean every impression must be mechanically identical. In many hand-pulled editions, slight differences are part of the process. Decide which variations are acceptable for this particular work. A little texture may suit a relief print, for example, while a missing shape or a visibly shifted color layer may not. Make these decisions before you have a pile of prints in front of you; it is harder to judge fairly when you are tired or running short of paper.
Arrange the workspace to support those standards. Put clean paper where it will stay clean, keep a clear place for inking and printing, and provide enough flat space or drying capacity for fresh impressions. If margins matter, use a simple placement guide and check it periodically. Plan how you will label and separate proofs, acceptable prints and rejected impressions so that none are confused during cleanup or later trimming.
Allow time for checking and finishing
Printing is only one part of making an edition. Ink may need time to dry before sheets can be stacked or handled freely; the time depends on the ink, paper, amount applied and studio conditions. Build a pause into your plan rather than assuming you can inspect, trim and sign everything immediately. Check dry prints in good, even light, since marks and differences in density can become easier to see after printing.
Review the impressions together and select the ones that meet your standard. Count those prints before you assign edition numbers. If fewer succeed than you hoped, you can make more impressions if the process and materials still allow it, or finish with a smaller edition. Do not number rejected sheets just to reach a target. Keep any retained proofs clearly identified, and record intentional variants separately if a change in color, paper or image makes them distinct from the main edition.
Number the work and keep a simple record
A common way to identify a numbered print is a fraction such as 3/10, meaning the third numbered impression in an edition of ten. The numbers identify the impression and the declared edition size; they do not necessarily describe the order in which the sheets came off the press. Along with the number, artists often add a title and signature. Practices for marking proofs vary, so choose a clear convention and use it consistently.
Keep a brief edition record even for a small project. Include the final edition size, paper and ink, image dimensions, printing dates for your own reference, and notes on proofs or variants. You can also record where individual prints go. That record helps you answer practical questions later without relying on memory. Planning these details before the first pull does not remove spontaneity from printmaking; it gives you a dependable framework in which to experiment, print and present the finished work.