Prepare the print before packing
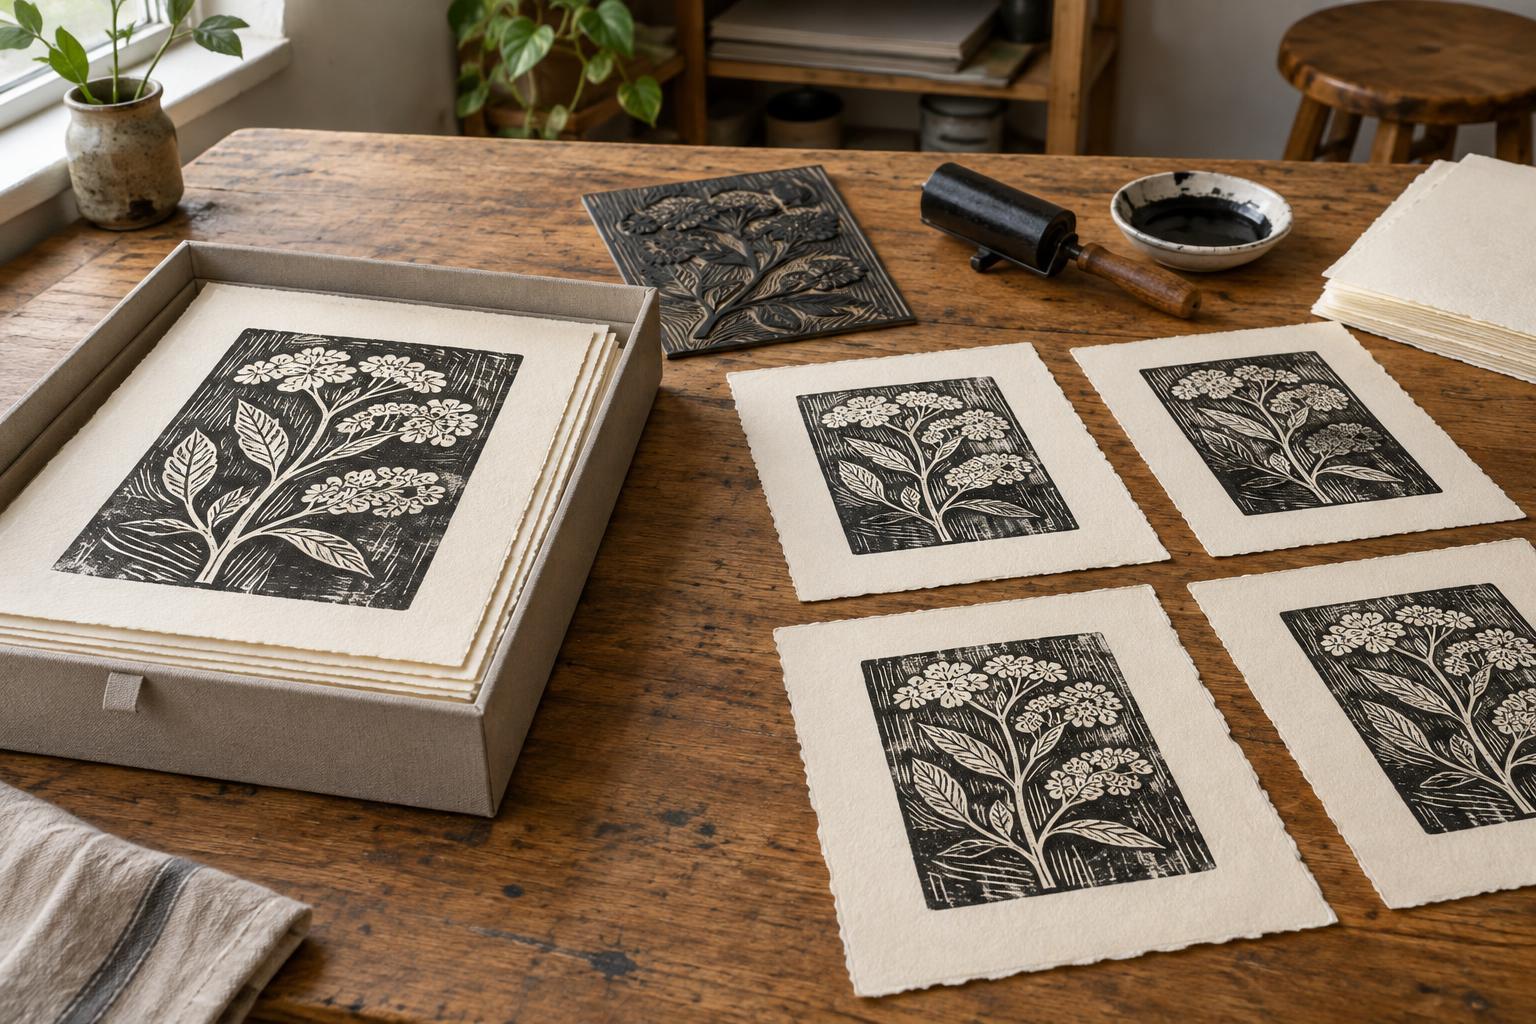
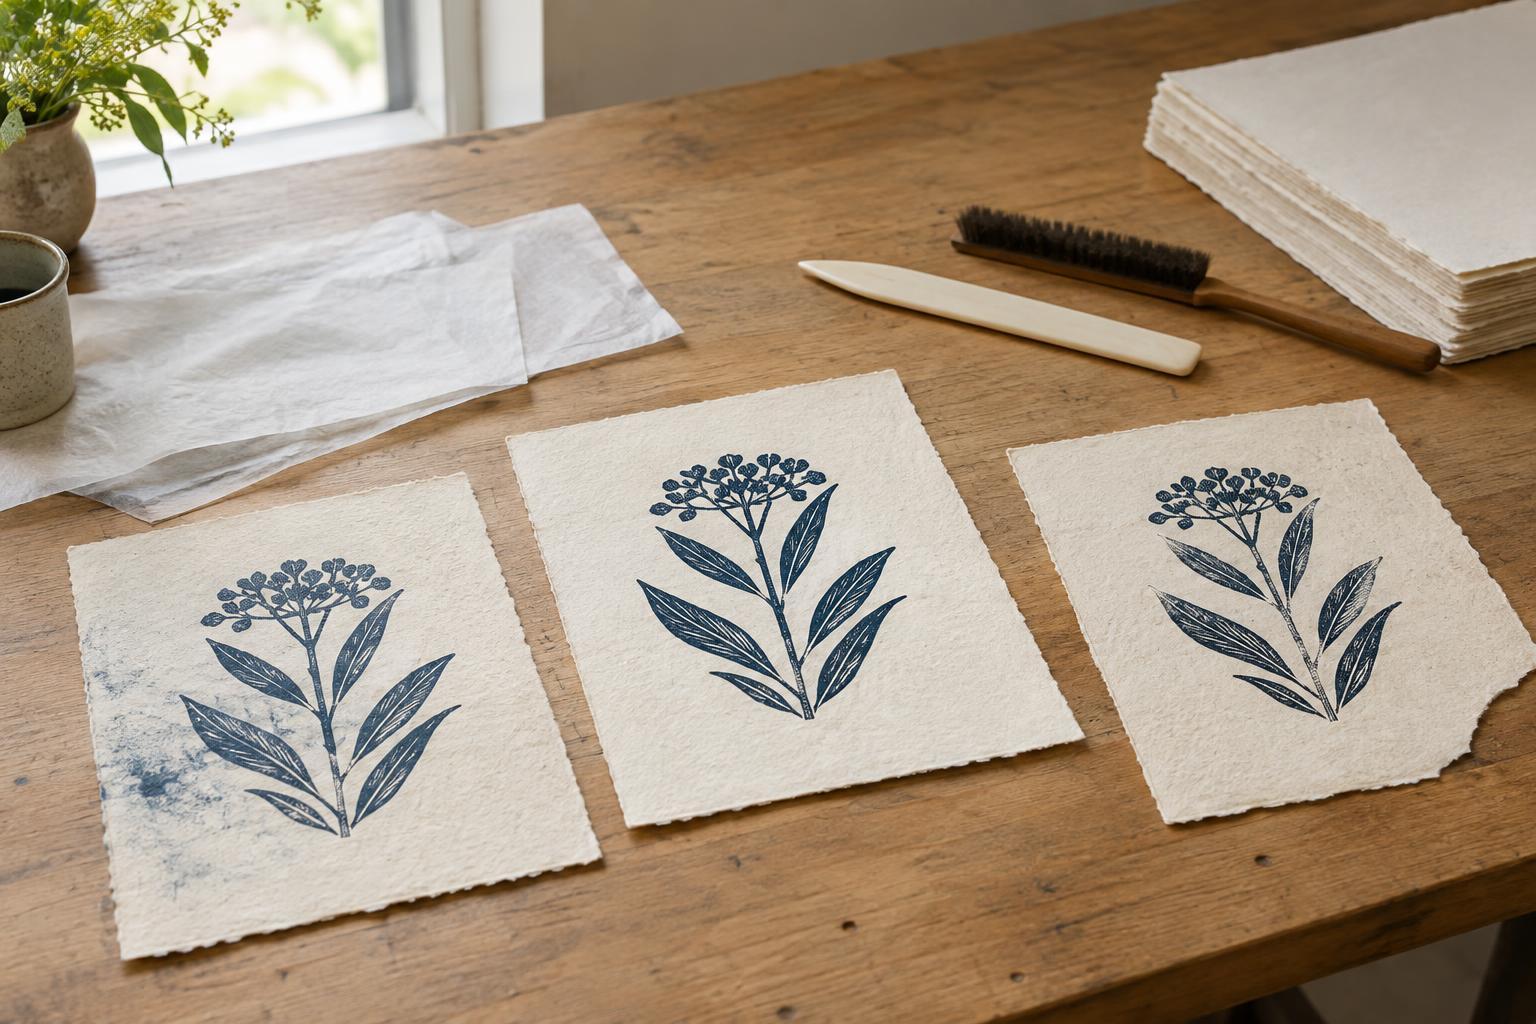
Packing begins only when the print is ready to be handled. Make sure the ink is thoroughly dry, including any heavy deposits or later hand-coloring. Drying time varies with the ink, paper, application and studio conditions; a surface that feels dry at an edge may still mark under pressure. If you are unsure, allow more time and test a spare impression rather than the print you intend to send.
Work on a clean, dry table with enough space to support the entire sheet. Remove grit from the work surface and your hands, and lift the print by its margins where possible. Check the condition of the sheet before it goes into a package. A quick photograph and a note of the print’s title, edition number and dimensions can help you keep track of what you packed, particularly when sending several works.
Keep the image surface from rubbing
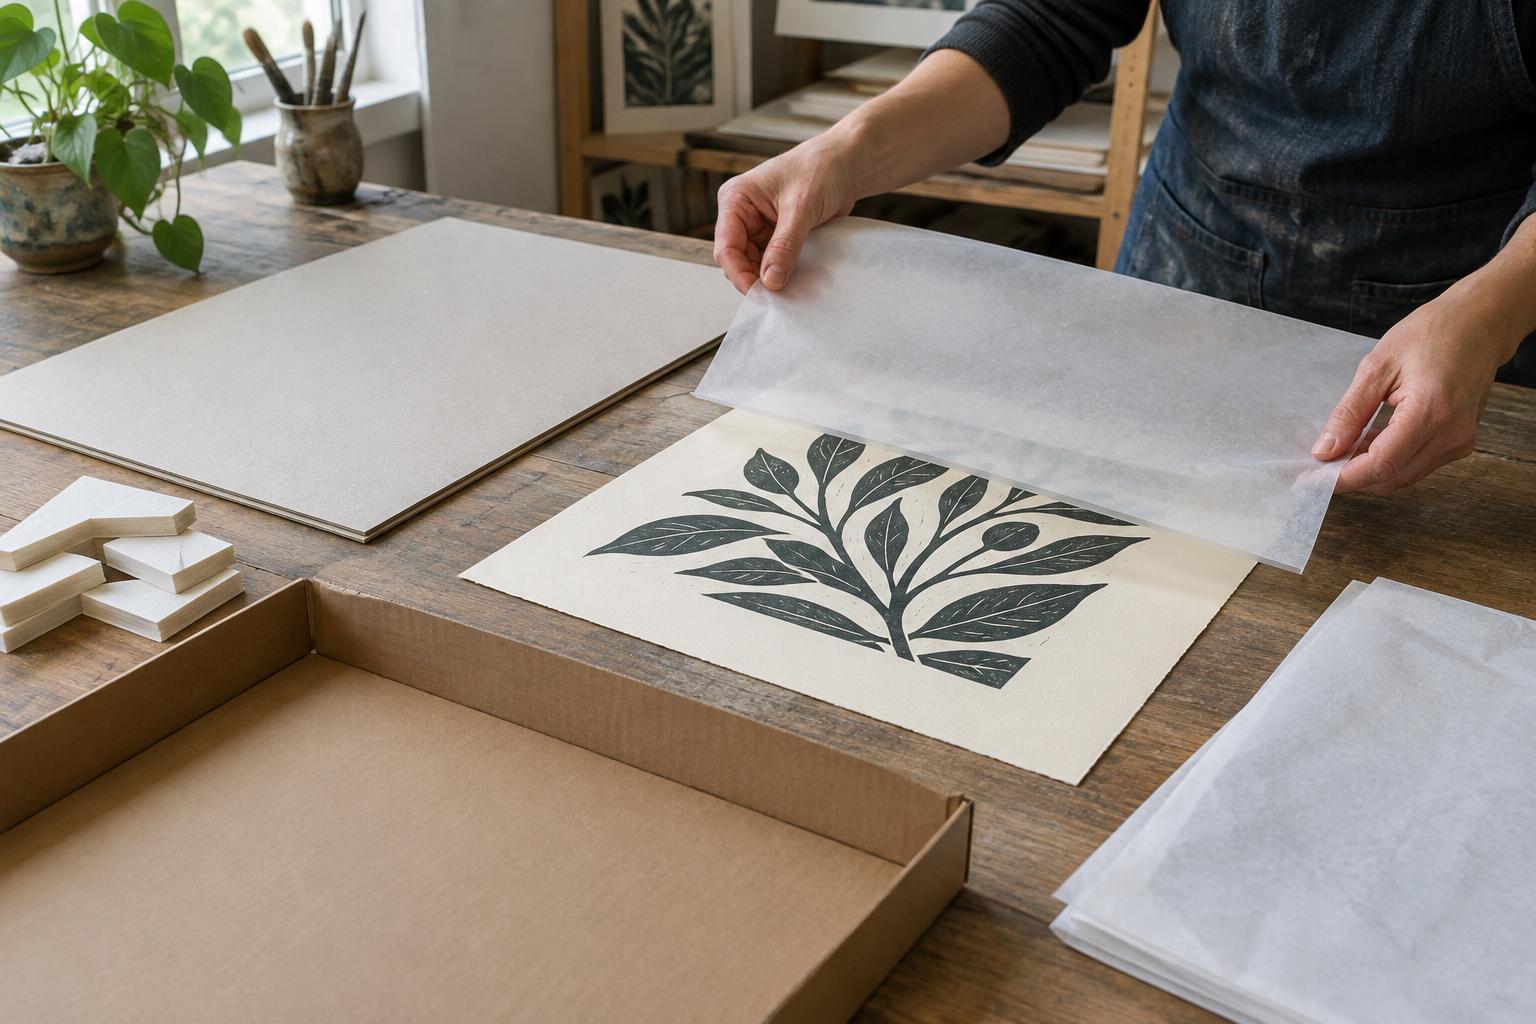
The first layer should protect the print without sticking to it or abrading it. For a fully dry, stable print, a clean sheet of suitable archival interleaving paper can separate the image from other materials. Glassine is often used for this purpose, but it is not a cure for insufficiently dry or delicate ink. If a surface is raised, powdery or easily marked, avoid pressing a covering directly against it. A window mat or a simple spacer that holds packing material away from the image may be safer.
Keep adhesive tape, sticky labels and plastic wrap off the artwork. Tape can catch a margin when a package is opened, while plastic placed directly against a print may trap moisture or cling to some surfaces. If you use a protective sleeve or outer moisture barrier, first give the dry print its appropriate paper protection, then secure the barrier to a backing or outer board rather than to the sheet itself. Make the package easy to open without cutting close to the image.
Pack most prints flat
Flat packing is usually the simplest choice for small and medium-sized prints. Sandwich the protected sheet between two smooth, clean boards that extend beyond every edge. The boards should be stiff enough to resist bending; thin card that flexes easily offers little protection against a crease. Hold the boards together outside the print area so the sheet cannot slide, but do not clamp them so tightly that pressure transfers texture to the image.
Place this sandwich inside a larger, sturdy mailer or box, with cushioning or additional board around the edges. The aim is to prevent both bending and movement: an exposed corner can be crushed even when the faces are well supported. If sending multiple prints, separate each one and consider packing them as a single supported stack rather than letting individual sheets shift against one another. A useful final check is to gently move the closed parcel. Nothing inside should rattle or slide.
Roll large sheets only when they can tolerate it
A large, flexible print may travel more safely in a tube than in an oversized flat parcel, but rolling is not suitable for every work. Thick paper, brittle sheets, embossing, heavy ink or attached elements may crack, flatten or scuff when curved. If rolling would force the sheet, choose a flat box instead.
When rolling is appropriate, use a wide-diameter, rigid tube and make a loose roll rather than a tight coil. Protect the dry image with suitable interleaving, and place the roll in a clean inner wrap so it cannot rub against the tube wall. Secure the wrap around itself, never to the print. Use end padding to stop the roll from sliding, and choose a tube long enough that the sheet edges cannot strike the caps. An outer box can add protection if the tube might be crushed.
Plan for arrival as well as departure
Before sealing the parcel, imagine how someone unfamiliar with your packing will open it. Put any opening instructions where they will be seen, and avoid hidden tape near the artwork. Include the information needed to identify the print, but keep loose paperwork from resting against an unprotected image. Marking a parcel “Do Not Bend” communicates your intention, though the rigid structure of the package should do the actual protective work.
Finally, check that the outer packaging is closed against ordinary rain exposure and that the address label is secure and legible. Record the packed dimensions and keep your condition photograph until the recipient confirms arrival. Good packing cannot remove every transit risk, but it can give the print three strong defenses: a stable surface, room around its edges and an outer package that resists bending and impact.