Start with the work, not the storage bins
A tidy shared studio is useful only if people can find what they need while making a print. Before buying containers or printing labels, follow the path of a typical session: preparing a block or plate, inking, printing, drying, and cleaning up. Note where tools collect, which items travel between stations, and which supplies should stay near a particular process. This gives you a storage plan based on actual work rather than an ideal-looking shelf.
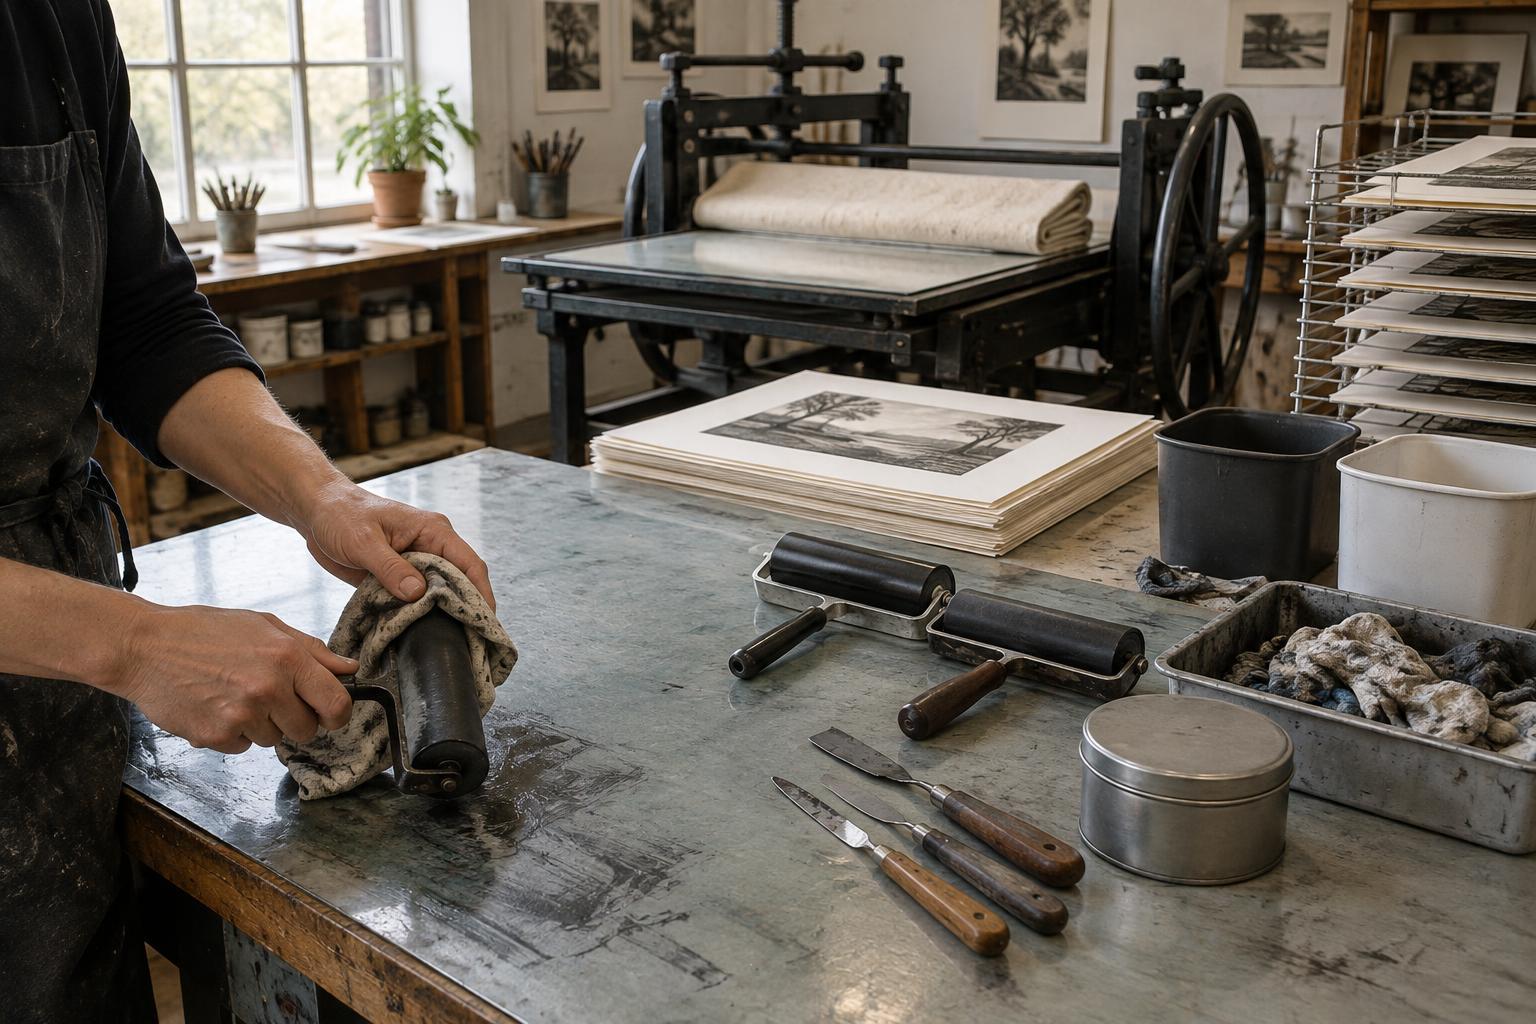
Divide the room into a few recognizable zones, such as clean paper handling, cutting or plate preparation, inking, printing, and cleanup. Keep clean materials away from inked tools and wet surfaces. Place frequently used items within easy reach of their station; reserve higher or less accessible storage for occasional equipment. If a tool belongs at a specific press or table, give it a home there rather than in a distant general cupboard.
Give every shared tool a visible home
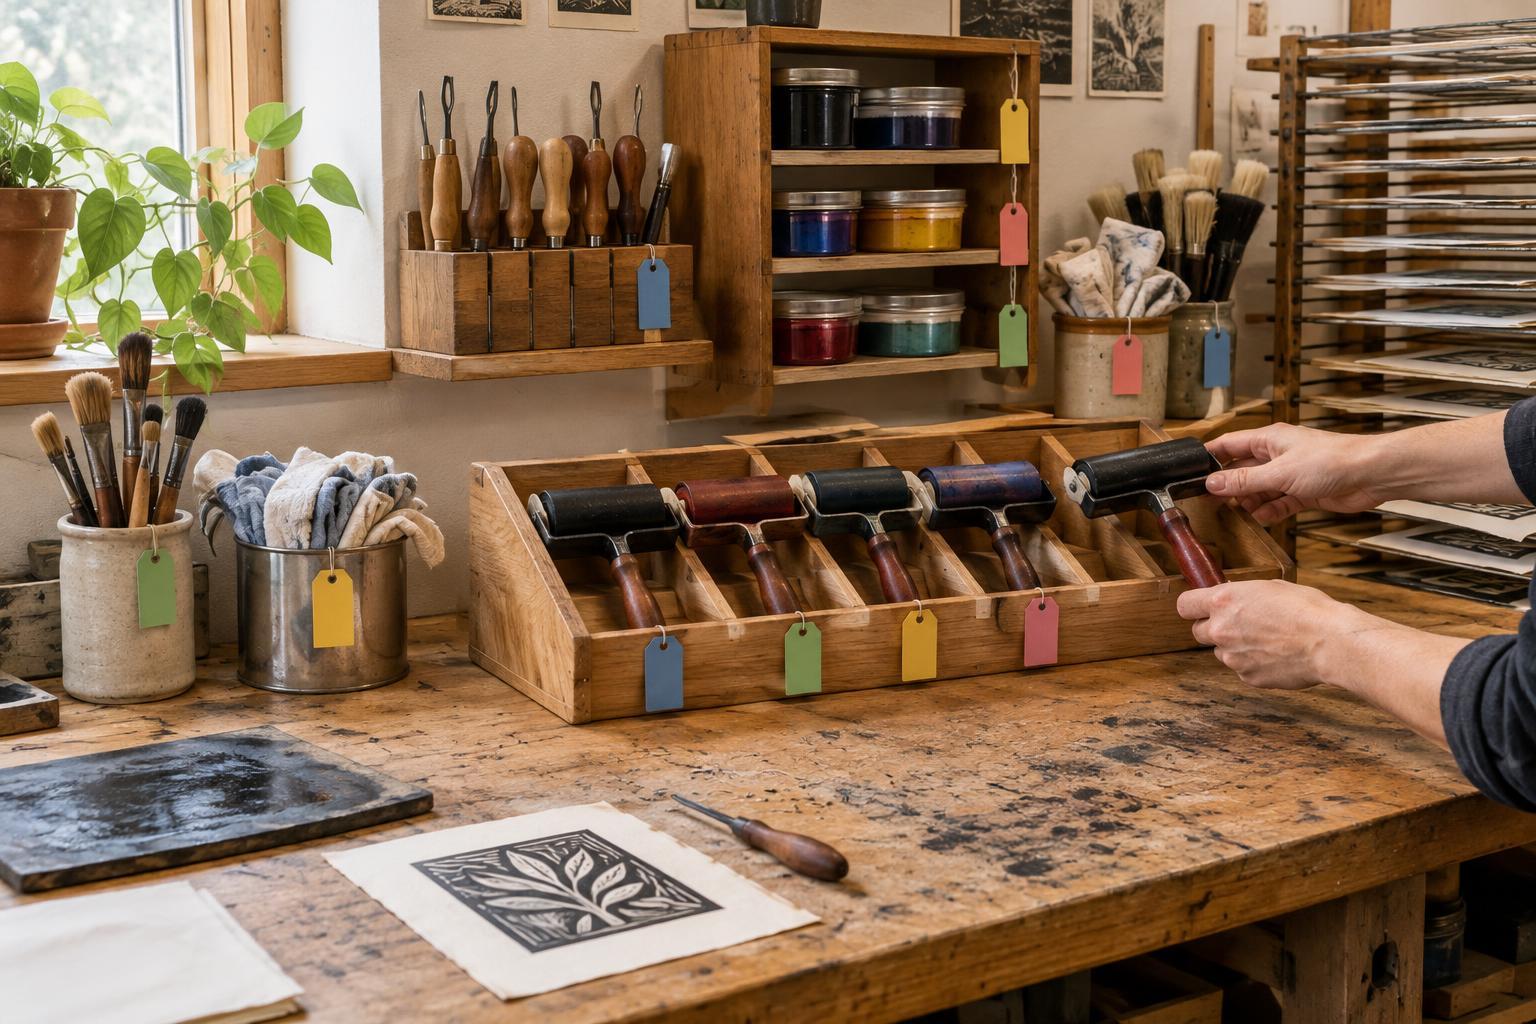
Group tools by use and size so that putting them away requires little guesswork. A shallow tray might hold barens, while upright holders keep rollers from being buried under heavier objects. Dividers help separate small items such as registration tabs, clips, and measuring tools. Store sharp tools so their edges are protected and they can be picked up without reaching blindly into a container. Leave enough space in each holder for someone to return an item without rearranging everything else.
Label the storage location as well as the container. A drawer marked “clean brayers” is helpful, but a label on the shelf where the drawer belongs makes the system easier to restore after a busy session. Use ordinary names that a newcomer will recognize, with a more specific term where needed: “relief-printing rollers (brayers)” is clearer than an unexplained abbreviation. For unfamiliar tools, a simple outline or small picture beside the name can help without turning the wall into a detailed manual.
Make labels answer the next question
The best labels do more than name objects. They tell a user what belongs together and what condition it should be in before it goes back. On a roller holder, for example, “clean and dry before returning” may prevent confusion later. On a tray reserved for clean registration materials, “no inked tools” sets a useful boundary. Keep instructions brief enough to read at a glance, and put longer process notes where someone can consult them without blocking a drawer.
Ink and cleanup supplies need especially clear separation. If your studio uses different inks or cleaning methods, identify the intended use of brushes, rollers, containers, and wiping cloths so residue is less likely to move between processes. Match any cleanup instructions to the products actually used in the studio, and keep their original product information available. A color code can reinforce written labels, but do not rely on color alone: names should still make sense to someone unfamiliar with the code.
Plan for work in progress and personal tools
Not everything on a shared table has been abandoned. Provide a marked space for works in progress, with room for a removable note showing the maker’s name, the project, and when the space is needed again. Agree on a reasonable studio practice for reviewing unfinished work, especially where drying racks and presses have limited capacity. A designated area makes it easier to clear a work surface without moving someone’s print to an unsuitable place.
Personal tools also need a clear boundary. Give members a defined shelf, drawer, or portable box rather than asking everyone to remember which unmarked items are private. Mark shared equipment plainly and avoid treating an unlabelled tool as communal by default. If a tool must be borrowed, a simple sign-out note can help it find its way home. The aim is not to track every movement; it is to prevent uncertainty when several people use the room.
Keep the system easy to maintain
Test the arrangement during a normal studio session. Can someone find a scraper without asking? Is there an obvious place for a used tool that still needs cleaning? A small, clearly marked “needs cleaning” spot can be more useful than hoping every item returns immediately to its clean storage. Keep it separate from ready-to-use tools, and make responsibility for emptying it part of the studio’s regular routine.
Review the setup when tools accumulate or a new process is introduced. Remove outdated labels, replace ones that have become hard to read, and adjust storage that people consistently avoid. Ask regular users and newcomers where they hesitate: repeated questions often reveal a missing label or an awkward location. A shared studio does not need a perfect catalog. It needs a system that makes the next sensible action—finding, using, cleaning, or returning a tool—easy to see.