What the labels tell you—and what they do not
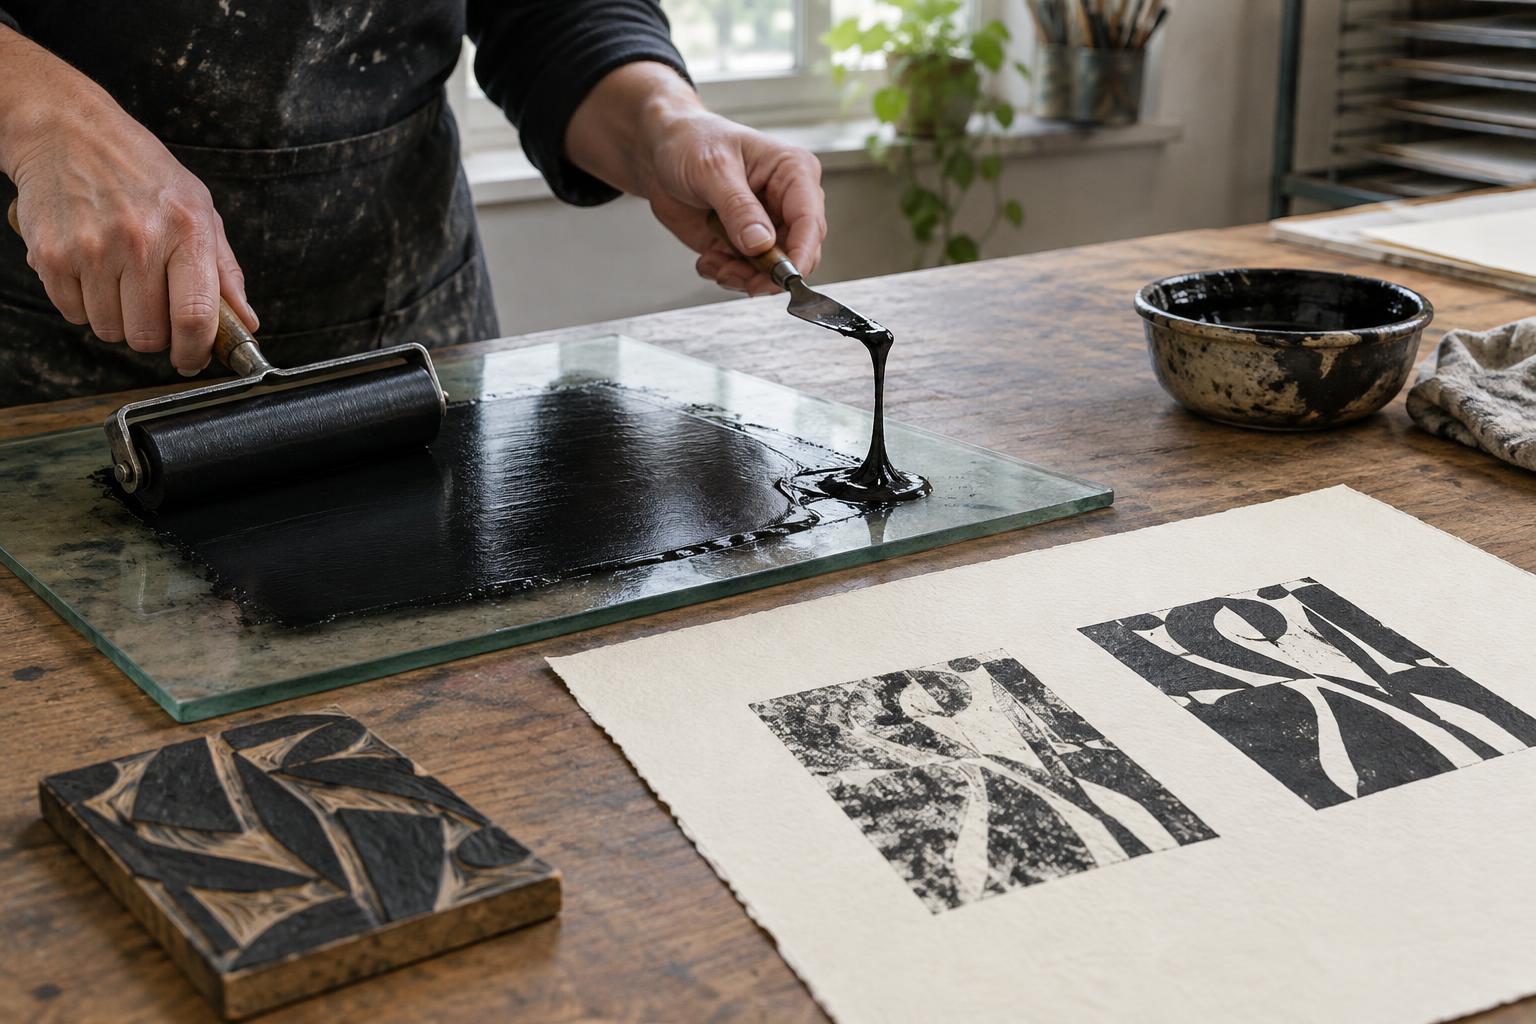
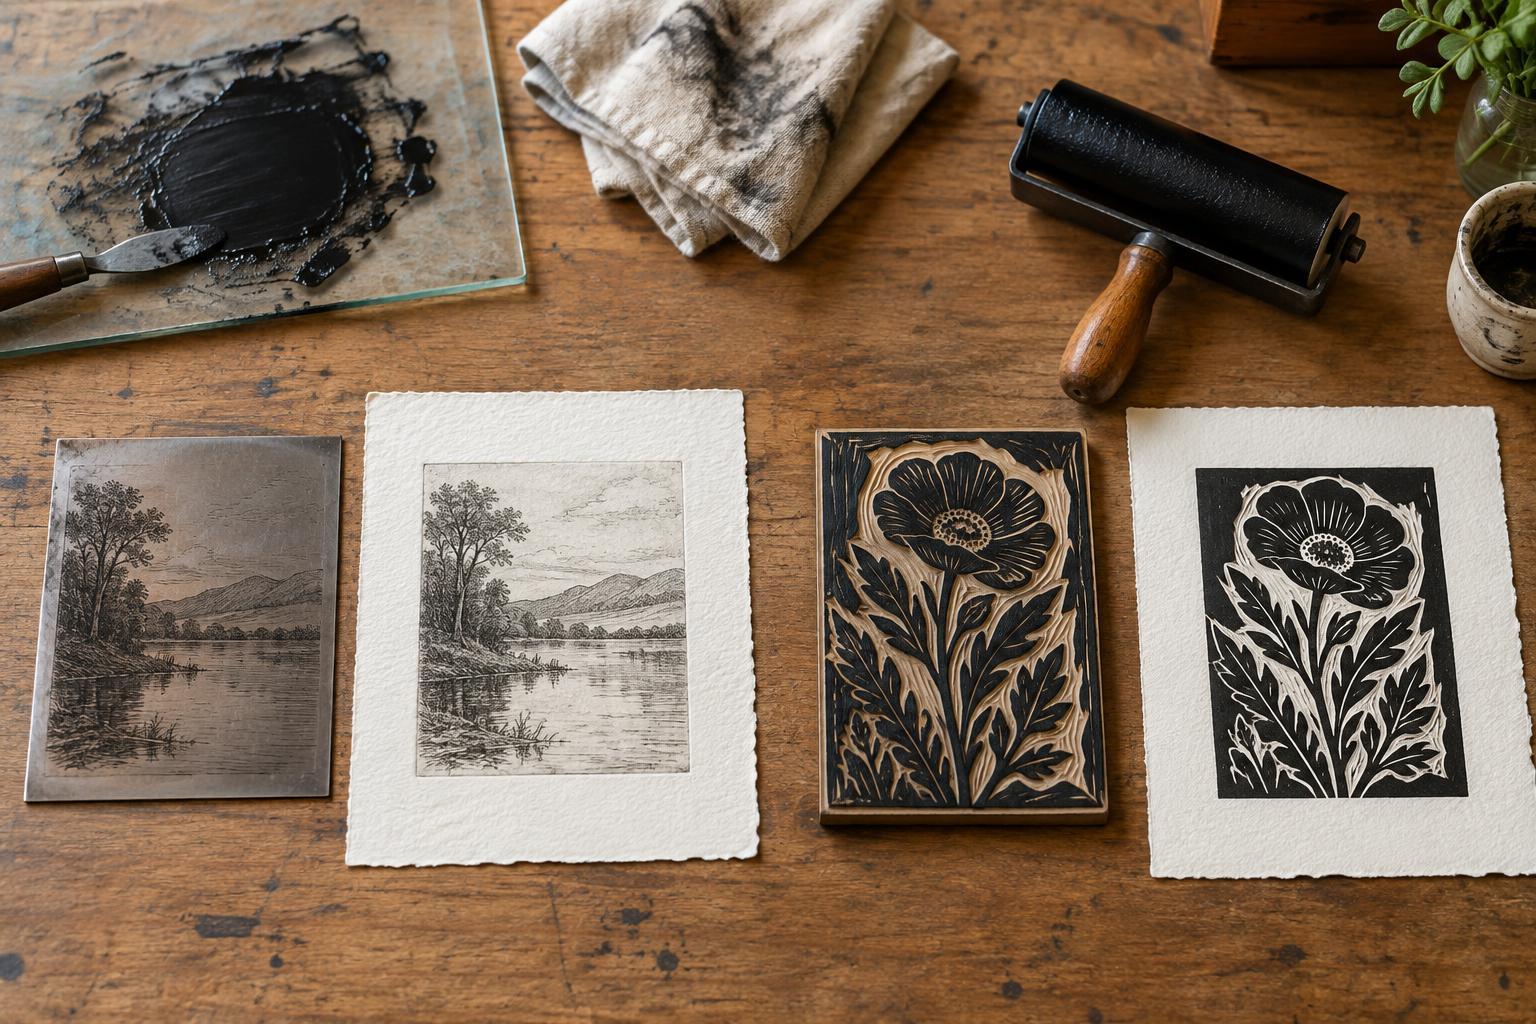
Relief printing starts with a raised surface, such as a carved linoleum block. A roller spreads ink over that surface, and pressure transfers the image to paper. Both oil-based and water-based relief inks can make satisfying prints, but they behave differently on the roller, block and page. Neither type is automatically the better beginner choice.
The names describe broad families rather than identical recipes. Many water-based inks dry as water evaporates; many traditional oil-based inks take longer to set. A water-washable oil-based ink is another option: it retains some characteristics of oil-based ink but is formulated for water-assisted cleanup. Always check the particular product’s directions for suitable surfaces, drying and cleaning. “Water-based” does not mean harmless, and “oil-based” does not always mean that a solvent is needed.
How each ink feels while you print
Working time is often the most noticeable difference. A typical water-based relief ink may begin to dry on the slab or block during a long session, especially in a warm, dry room. That can be convenient when making a quick print, but it may require you to roll out fresh ink more often. Use a modest amount at a time, and follow the maker’s guidance before adding water or a compatible extender; changing an ink without guidance can affect coverage.
Traditional oil-based relief ink generally stays workable longer. This gives you time to adjust the ink film, place paper carefully and print several impressions without rushing. The trade-off is patience afterward: a print that feels dry on the surface may still mark another sheet if stacked too soon. Drying time varies with the ink, how thickly it was applied, the paper and the room.
With either type, begin with less ink than you think you need. Roll it into a thin, even film on a smooth slab, then make a proof. If fine carved lines fill in, reduce the amount of ink before blaming the block. If solid areas look patchy, check that the roller has even coverage and that you are applying steady pressure.
Match the ink to your paper and printing method
Paper changes the result as much as ink does. An absorbent, uncoated sheet may take up ink readily, while a smoother sheet can preserve crisp detail but reveal uneven inking or pressure. Thin papers are often easier to print by hand because you can rub the back with a baren or spoon. Heavier papers may need more deliberate pressure, depending on the block and ink.
Do not assume that one paper belongs exclusively with one ink family. Instead, try small proofs on two or three papers you can obtain again. Look at the edges of fine lines, the density of large dark areas and whether the paper wrinkles or shifts as you work. Let the proofs dry according to the ink’s directions before judging smudging or planning to store them together. Keep notes on the paper, ink and amount of pressure so you can repeat a result you like.
Plan for drying and cleanup before opening the tube
Your workspace may make the choice clearer than any comparison chart. If you have a short session and limited space for prints to dry, a water-based ink may be convenient. If you want a relaxed pace for registration or a small edition, the longer open time of an oil-based ink may be worth the additional drying space. Set out a clean area where prints can lie flat without touching one another.
Cleanup depends on the specific formulation. Some water-based inks clean up with water; traditional oil-based inks may call for a particular cleaner; and water-washable oil-based inks have their own instructions. Wipe excess ink from tools before washing, follow the label, and avoid sending quantities of ink or cleaner down a drain. Protect your work surface, allow suitable ventilation, and use gloves if the product directions recommend them. Store and dispose of ink-soiled materials as the manufacturer advises.
A small test that makes the decision easier
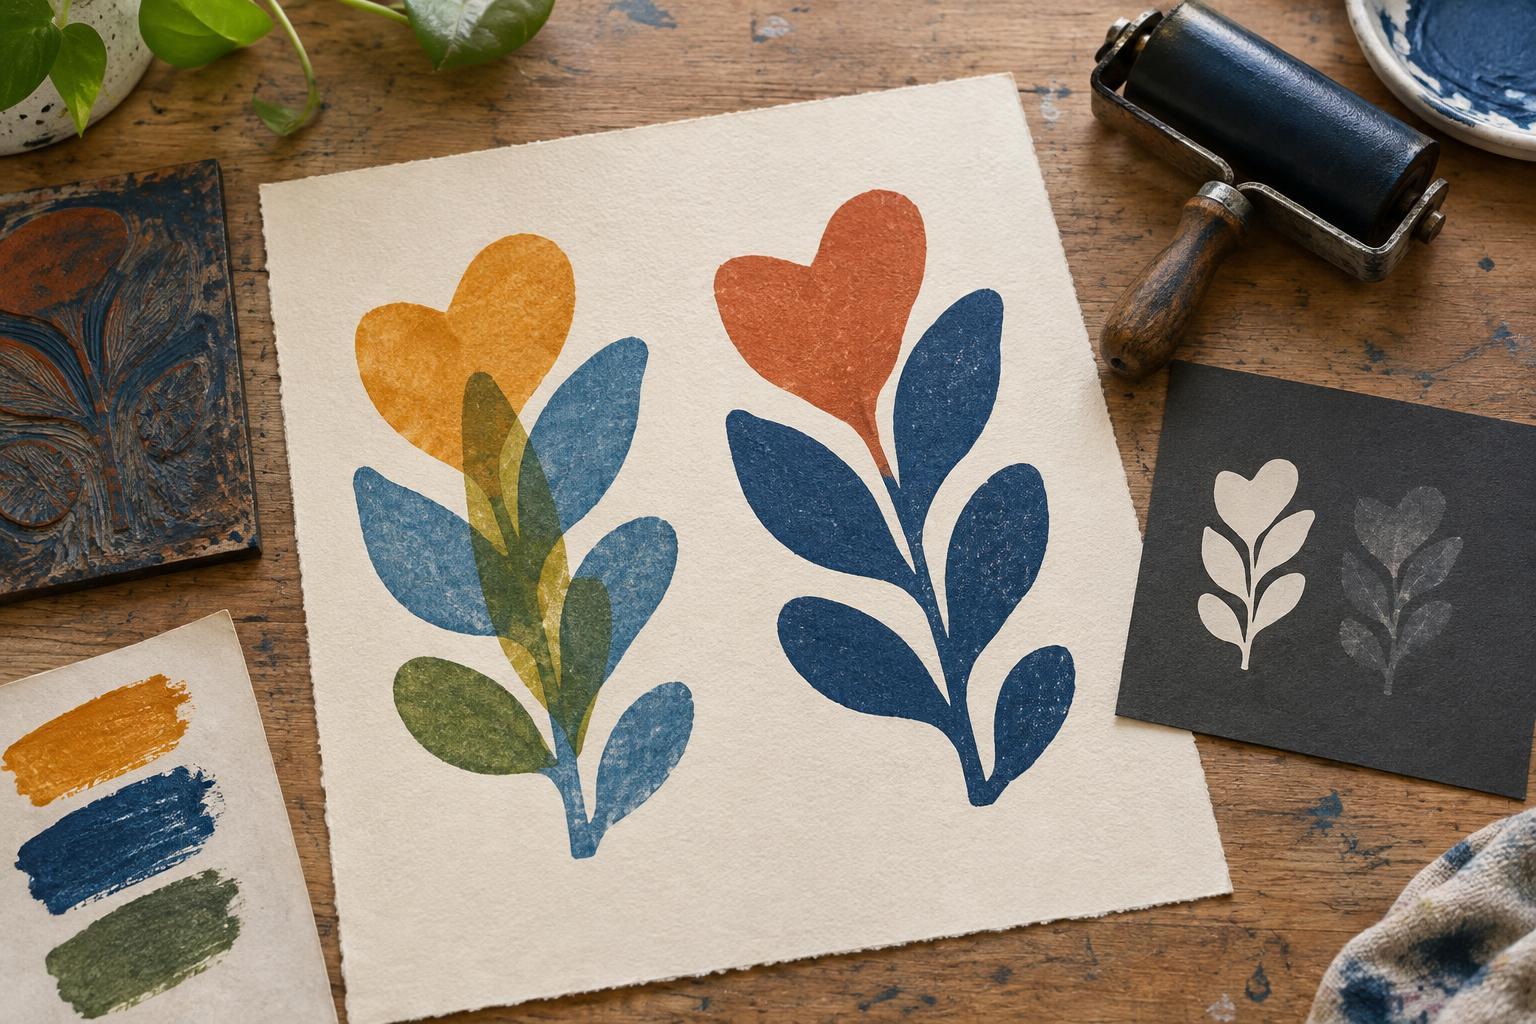
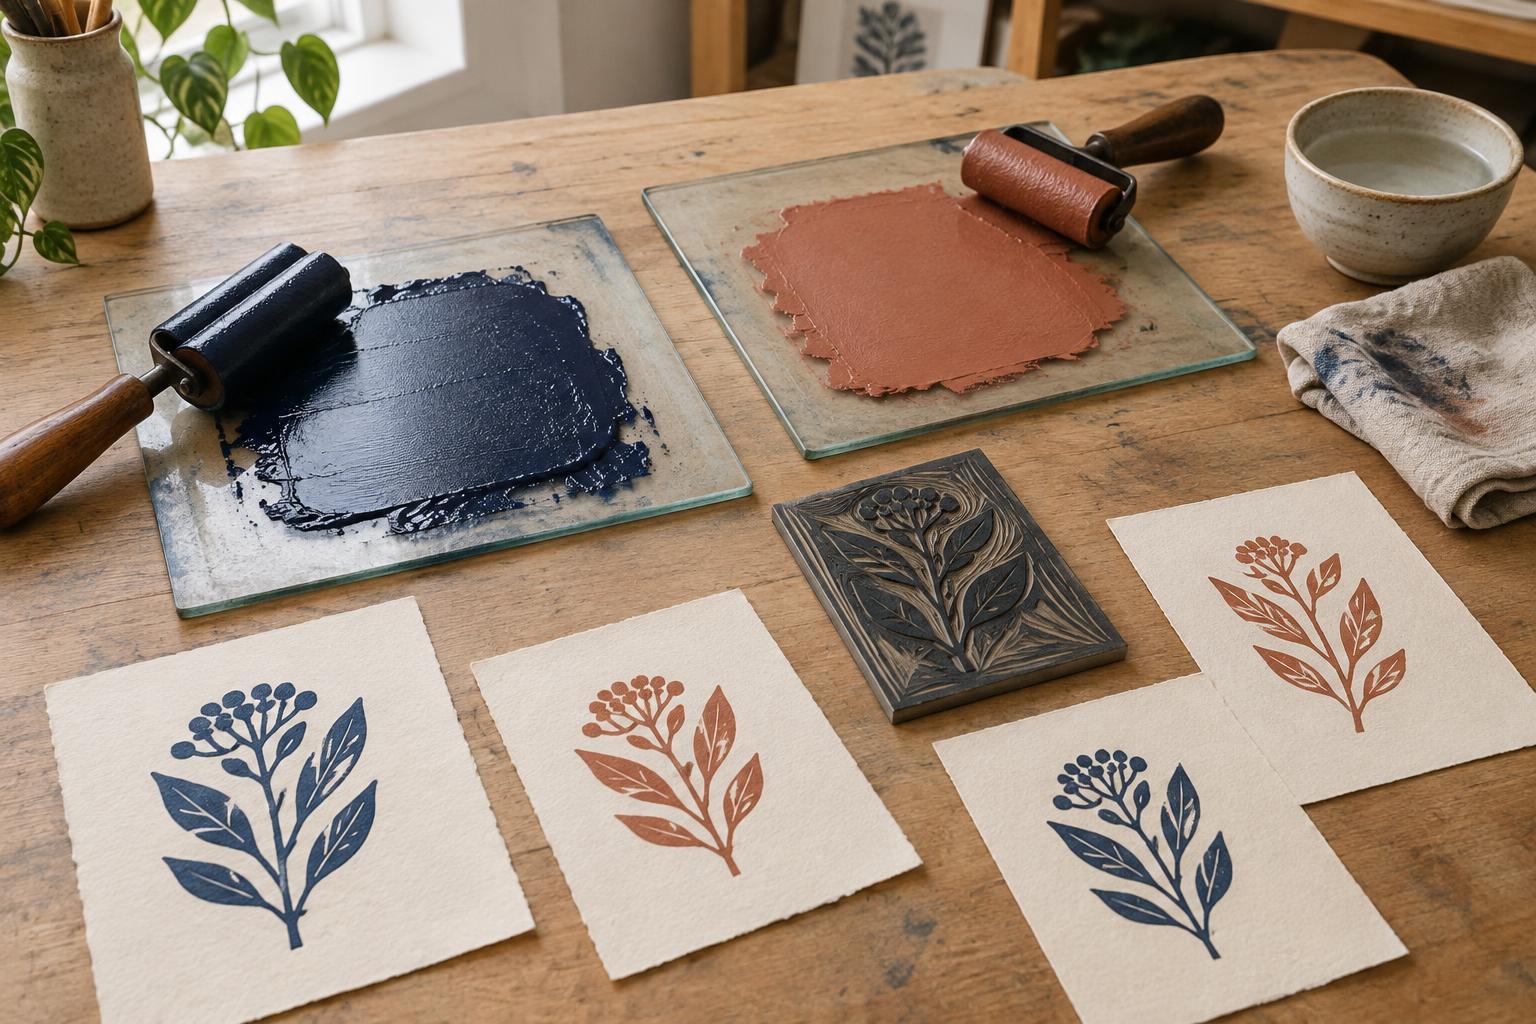
To compare inks without committing to a full edition, print one simple block twice on the same paper: once with a relief ink from each family. Choose an image with a solid shape, a few narrow lines and an open area. Keep the roller, paper and printing pressure as consistent as you can. Note how easily each ink rolls out, whether it stays workable while you print, and how clearly the details transfer.
Then consider the whole process, not just the freshest impression. Which ink gave you enough time to work comfortably? Which cleanup can you manage in your space? Can you leave the prints undisturbed until they are ready to handle? For a beginner, the best ink is the one whose results you enjoy and whose routine you can repeat safely. A few careful proofs will teach you more about that choice than a label alone.