What makes drypoint lines different
Drypoint is an intaglio technique: ink held in lines below a plate’s surface transfers to paper under pressure. Instead of using acid to make those lines, you draw directly into the plate with a sharp point. The point cuts a groove and pushes up a tiny ridge of material called a burr. Ink caught by the groove and burr can give a printed line a soft, velvety edge.
That burr is also fragile. Wiping and printing gradually flatten it, so a drypoint plate may change noticeably over a small run of impressions. For a first project, treat each print as a chance to learn rather than aiming for identical copies. A small, simple image—such as a leaf, a cup or a view through a window—makes it easier to see what each scratched mark contributes.
Choose a plate and plan the image
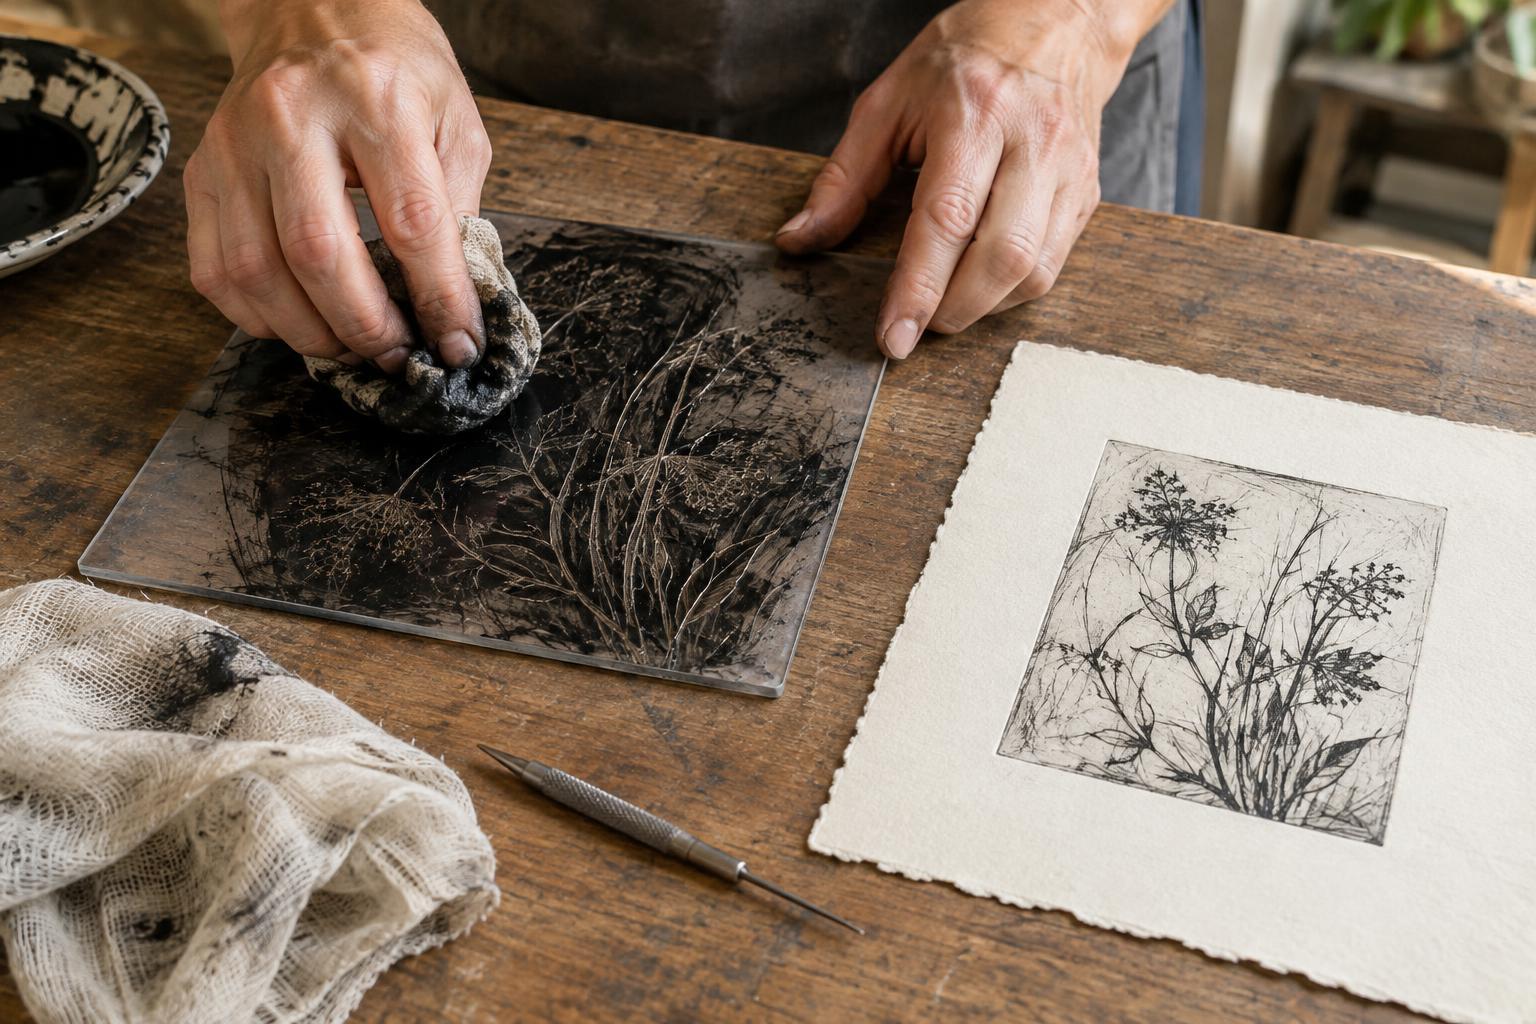
A smooth acrylic sheet or a plate sold for drypoint is approachable for beginners because you can see a drawing placed beneath it. Metal plates are another option, but they need suitable preparation and can have particularly sharp edges. Whichever material you use, choose a plate intended to withstand the pressure of your printing method, and smooth or protect any sharp corners before working.
You will also need a drypoint needle or other suitable scribing tool, intaglio ink, wiping cloth or paper, printmaking paper and access to an intaglio press. A simple outline drawing can serve as a guide under a transparent plate. Remember that the print reverses the image on the plate: lettering and other directional details need special planning. Keep your supporting hand clear of the point, and scratch on a stable surface so the plate cannot slide.
Scratch with the printed line in mind
Remove any protective film, then begin with a few test marks near an edge or on a spare piece of plate. Hold the needle like a drawing tool and pull it steadily through the surface. You need a definite scratch, not a deep trench. Try a light line, a firmer line and a close group of short marks; later, compare how each prints. Excessive force can make marks harder to control and may damage a thin plastic plate.
Build the image in stages. Establish the main contours first, then add texture or shadow with hatching. Lines close together will often read darker than isolated lines, but a crowded patch can fill with ink and lose detail. Drypoint is especially good at showing the movement of a hand, so leave some open areas instead of scratching every part of the plate.
Ink, wipe and pull a first proof
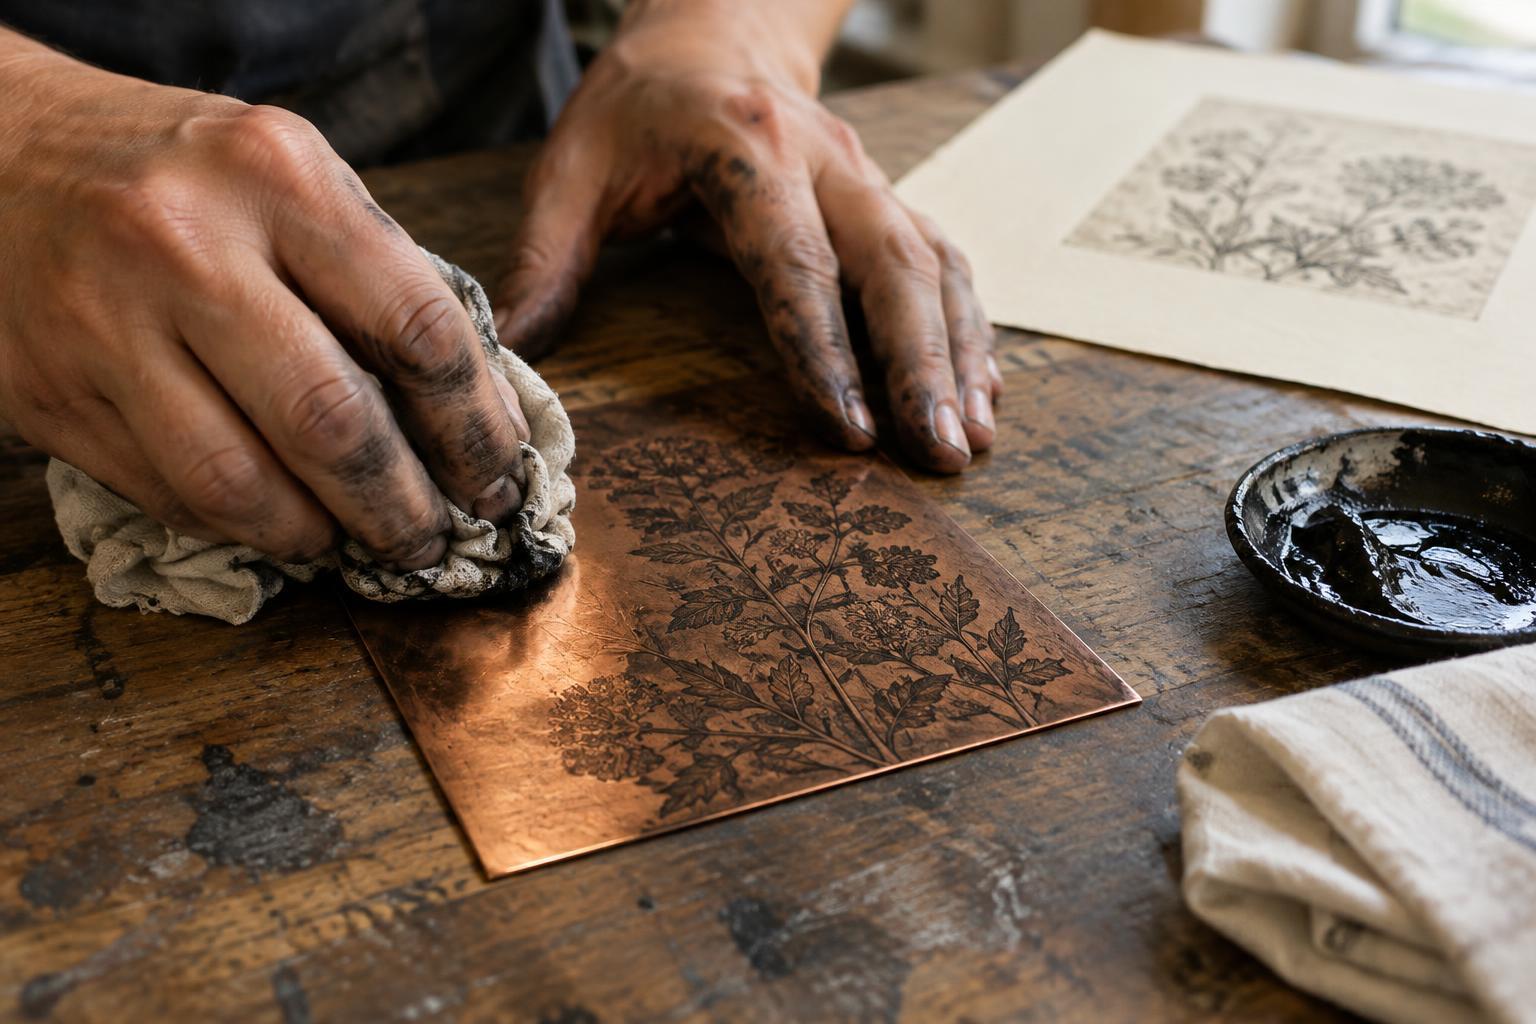
Work ink across the plate with a card or small piece of stiff material, pressing it into the scratches. Then wipe the surface with appropriate wiping cloth or paper, using light, controlled passes. The goal is to clear most ink from the smooth areas while leaving ink in the lines. A final gentle wipe with a clean part of your hand or paper can brighten selected areas, but repeated heavy wiping may strip ink from the marks and wear down the burr.
Prepare printmaking paper according to its type and the ink you are using; many intaglio papers print well when lightly dampened and then blotted so they feel pliable rather than wet. Put the inked plate on the press bed, lay the paper over it without shifting, and use the press blankets and pressure recommended for your setup. Lift one edge of the paper carefully to reveal the proof. If you do not have a press, a spoon or baren can sometimes transfer an image from a lightly scratched plate, but results may be faint or uneven because drypoint usually benefits from substantial, even pressure.
Adjust the plate and keep track of impressions
Let the first proof guide your next step. Pale lines may need more ink, gentler wiping or a change in pressure; muddy areas may need more thorough surface wiping. If a passage remains weak, add a few deliberate scratches rather than reworking the entire image. Make one change at a time when possible, so you can tell what helped.
Set each print aside to dry as directed for your ink, and clean tools and the plate using the ink maker’s recommended method. If you plan a small edition, print a proof first, choose the impressions you consider part of the edition, and record their order. Because the burr wears, later prints may look different from early ones. That changing line is not necessarily a flaw: it is part of the character of a scratched drypoint plate.