Why test a combination before printing an edition?
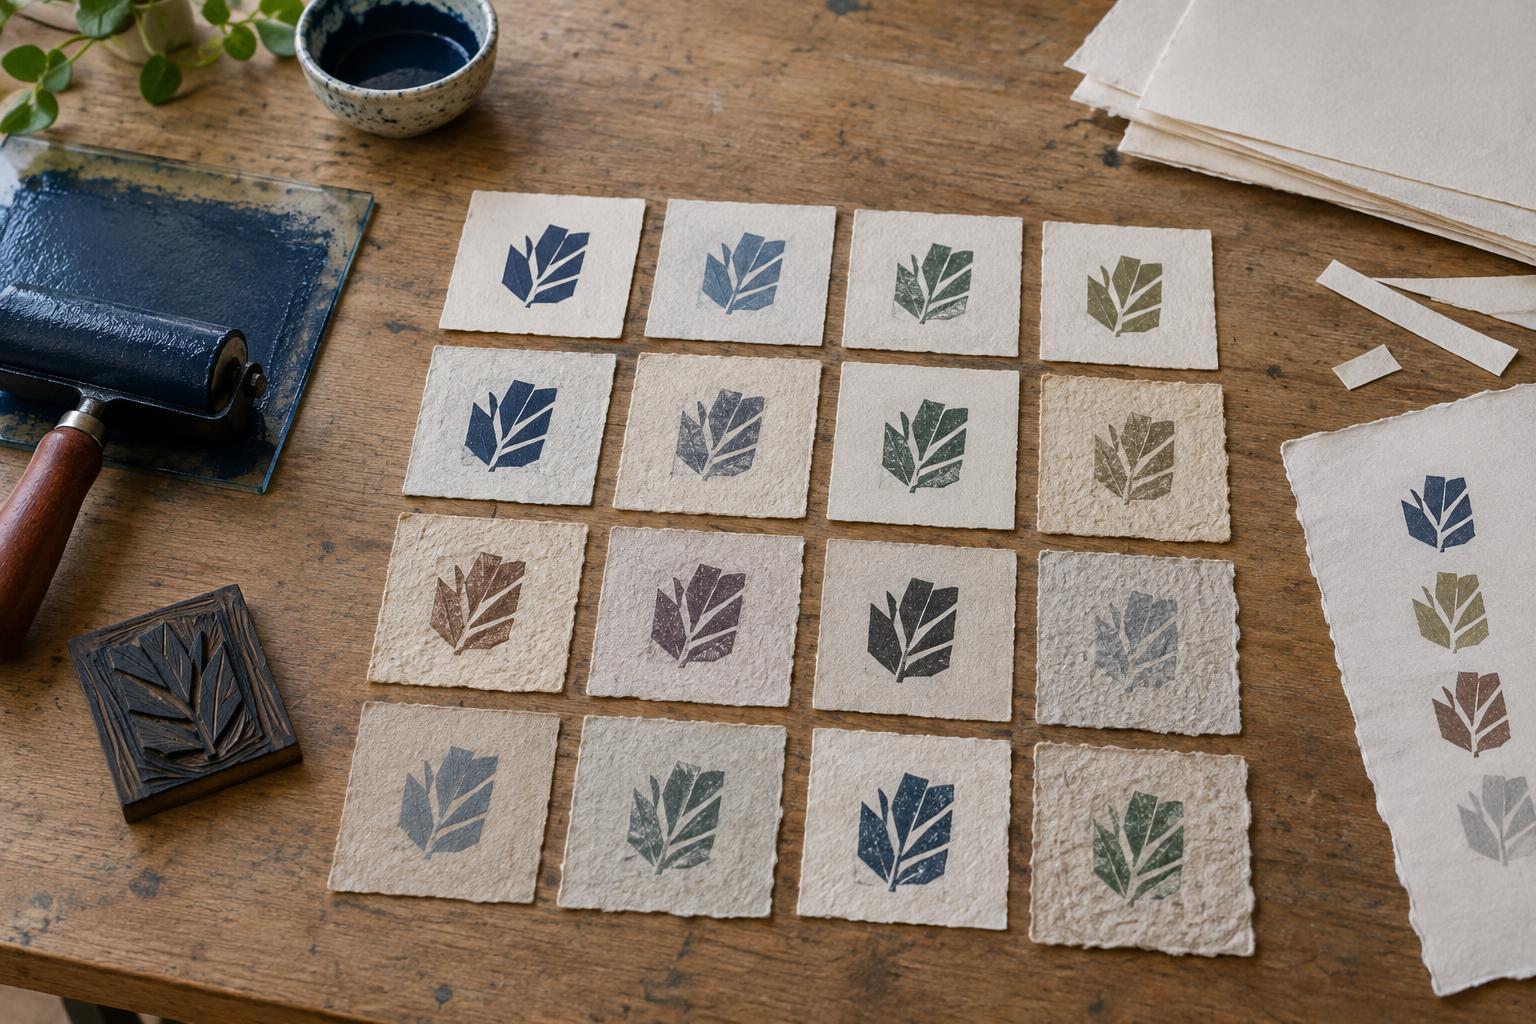
A paper may feel promising in your hand, and an ink may look right on the slab, yet the printed result can surprise you. Fine lines may look softer than expected, a solid area may print unevenly, or a color may appear different against the paper’s natural tone. A test grid gives you a way to notice those differences while you can still change your materials or process.
The goal is not to find one universally best combination. It is to find one that suits a particular image. A textured sheet might add character to a bold relief print but interfere with a delicate line. A test also helps you separate material choices from printing adjustments: if every sample is patchy, the problem may be in the inking or pressure rather than the paper.
Build a small, repeatable test
Choose a small block, plate or screen image that includes the kinds of marks in your planned print. A useful test image might have a fine line, a broad solid area and a lightly inked or open area. If you do not have a dedicated test image, use a small portion of the actual work. Cut enough pieces of each candidate paper to make at least two impressions, leaving room to hold the sheet without touching the printed area.
Keep the trial manageable. Compare two or three papers with one ink first, or one paper with two or three inks. Label each sheet lightly on the back before printing, recording the paper, ink, side printed and any preparation such as dampening. Mark a direction arrow if orientation matters. Change only one variable at a time: switching paper, ink and pressure between impressions makes the results difficult to interpret.
Print fairly, then observe the fresh impressions
Use the same image, ink application and printing method for each sample as closely as you can. For hand printing, try to keep your rubbing pattern and time consistent. At a press, start with a suitable setting for the process and record any adjustments. Make a second impression when possible; one unusually heavy or light pass should not decide the whole comparison.
Look at the samples in the same lighting. Check whether fine marks remain distinct, solid areas look as intended, and the paper surface contributes something you want. Notice the edges of printed shapes and any unexpected texture. Do not assume the darkest impression is the most successful: an image with quiet tones or exposed paper may benefit from a less forceful result. Write down what you see before relying on memory.
Let the tests dry before making a final choice
A fresh print is only part of the story. Set the sheets aside in a clean, well-ventilated space appropriate to the ink you used, following its handling guidance. Avoid stacking wet impressions against one another. Once they are sufficiently dry to handle, check whether the appearance has changed and whether the paper has curled, cockled or developed unwanted marks. Drying time varies with ink, paper, coverage and studio conditions, so use handling checks rather than a fixed timetable.
If your finished prints will be mounted, folded or packaged, try that handling on a spare test sheet. Check for offsetting onto a clean interleaving sheet before stacking prints. A combination that looks attractive on the drying rack may be inconvenient for the way you intend to present the work. This small rehearsal is especially useful when your edition will require repeated handling.
Keep the results useful for the next project
Choose your combination by returning to the needs of the image: mark clarity, color, surface character and practical handling. Keep at least one labeled sample of each serious candidate, including combinations you rejected. Note what you would change on another attempt, such as ink application or the amount of pressure, without treating those suggestions as proven fixes.
Store the dry tests together in a folder or box where they will not rub against unfinished prints. A brief note with the image, materials and process settings can turn a one-day experiment into a studio reference. The next time you face a similar choice, you can start with impressions you have actually made rather than trying to remember how a sheet or ink behaved.