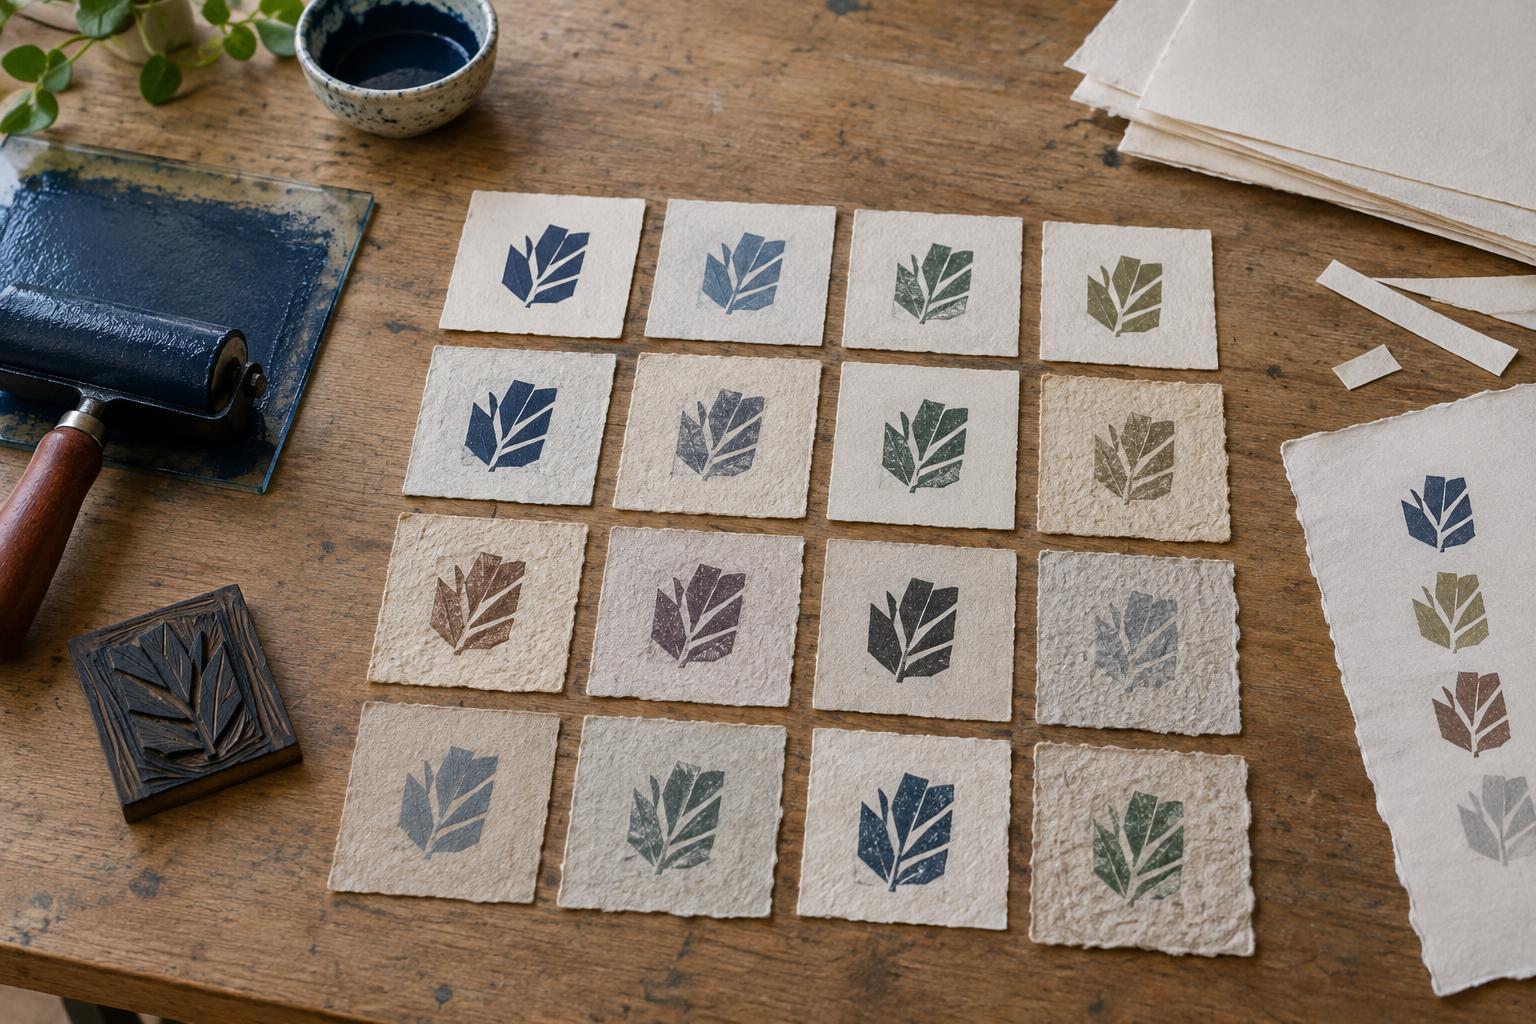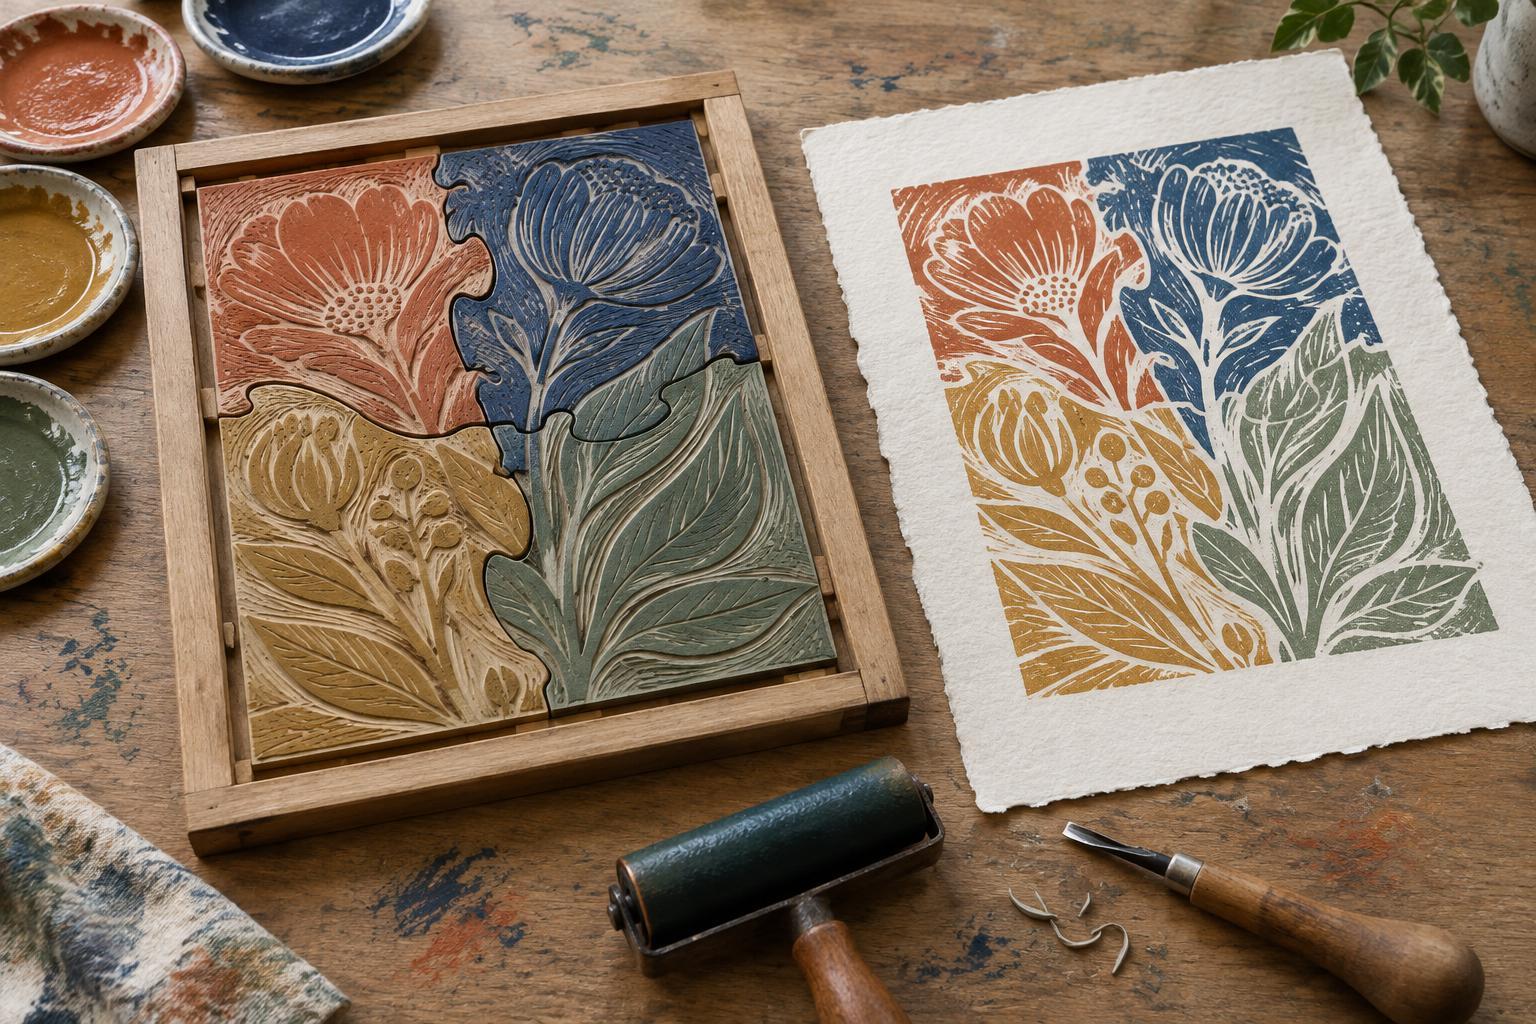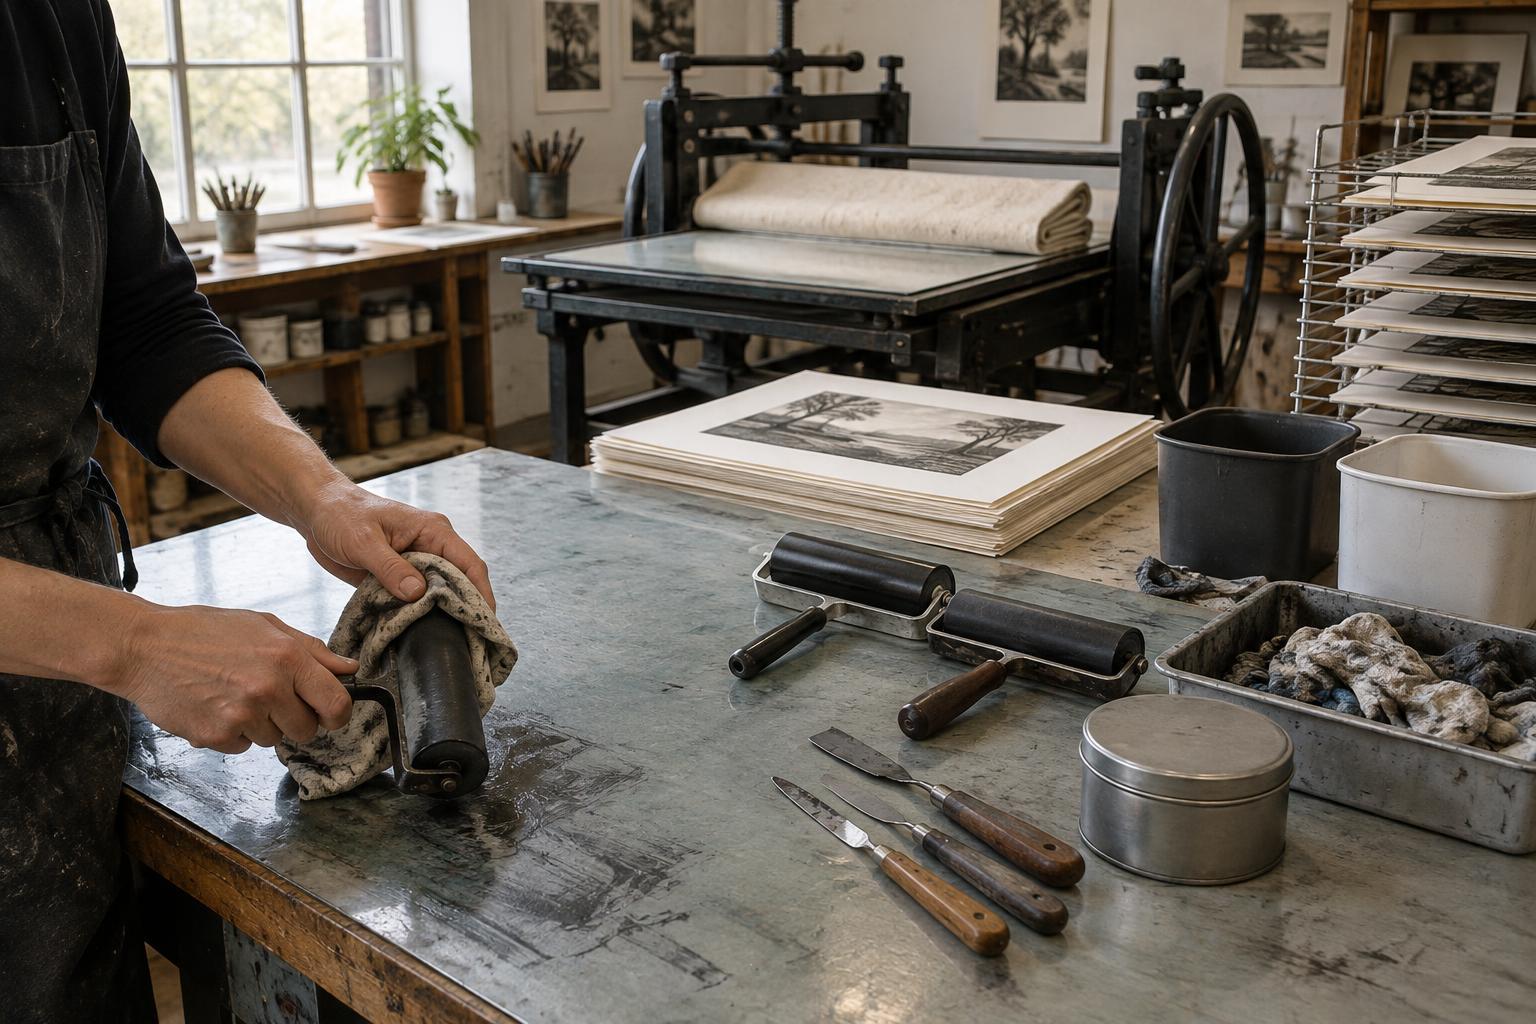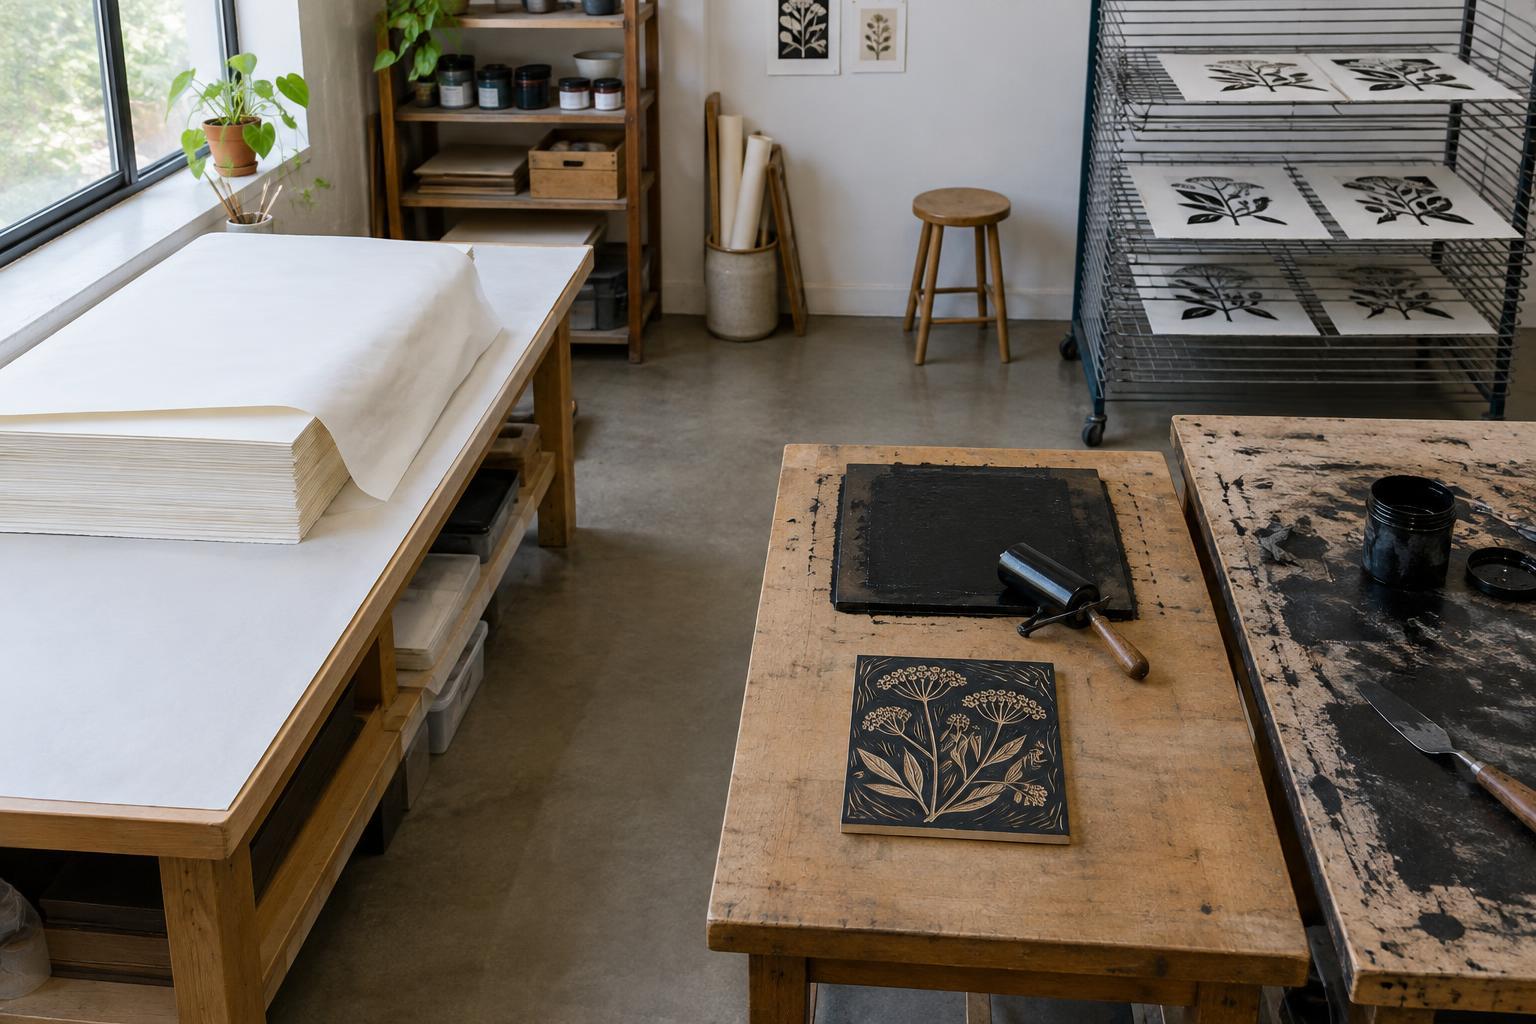
Start with a clean-to-inky route
Before opening ink, decide where each sheet will begin, where it will be printed, and where it will dry. Treat these as three distinct places: clean paper storage, the active printing area, and a drying area. Ideally, a fresh sheet travels in one direction through the studio rather than passing back over the inking table. In a small room, the zones can be different ends of one table, provided you leave a clear space between them.
Clear the route first. Remove old proofs, used rags, loose tools, and scraps that could transfer ink to a sleeve or sheet. Wipe the surfaces that will touch clean paper, then check them with a scrap sheet or clean cloth. A table can look clean while still holding a faint film of ink along its edge. Keep your best paper covered or inside a folder until you need it, rather than leaving the stack open beside a roller or plate.
Give tools and hands defined jobs
Contamination often arrives indirectly. An inky hand adjusts a ruler; the ruler is then placed on a fresh sheet. A brayer rests on a seemingly empty corner of the table; that corner becomes the spot where paper is squared. Set aside clean-only items, such as a ruler, pencil, paper folder, or registration guide, and keep them away from the ink slab. Put inky tools on a dedicated tray or washable surface so their resting place is never in doubt.
Plan a pause between inking and handling paper. Depending on the process, you might use one hand for clean sheets and the other for inkier tasks, but do not rely on that division once printing becomes busy. Check your fingertips and the sides of your hands before picking up each new sheet. Keep a suitable hand-cleaning station nearby, and dry your hands fully before touching paper. Damp fingers can mark some papers even when no ink is visible.
Protect the stack during printing
Bring only a manageable number of sheets to the press. Store the rest in a clean folder, drawer, or covered stack outside the active work area. If the paper has been dampened for the process, keep it in its planned holding place and move sheets from there one at a time. Avoid setting a clean sheet down temporarily on the press bed, packing, or nearby equipment unless you have checked that surface immediately beforehand.
A repeatable sequence helps: ink the matrix, check your hands and registration area, take one sheet, place it, print, then move the impression to its drying place. Return to the inking area only after the sheet is secure. Use clean interleaving or carrying boards where appropriate, and replace them if they pick up ink. For a beginner, a short trial run with inexpensive paper can reveal awkward hand movements or surfaces that need relocating before the edition begins.
Make the drying area a separate destination
A print is still vulnerable after it leaves the press. Prepare a rack, line, or flat drying space before printing so you are not searching for somewhere to put a wet impression. Keep drying work away from the clean-paper supply and from areas where inky tools are cleaned. Leave enough room to place and retrieve each print without brushing against another image or its edges.
Decide in advance how you will carry wet sheets. Support them consistently at unprinted margins when possible, and avoid reaching across a wet image to straighten a corner. If you use blotters or interleaving sheets, check that they are clean and suitable for the ink and paper you are using. Do not assume a print is ready to stack merely because its surface looks dry; drying time varies with materials, ink application, and studio conditions.
Reset the studio as you go
Between prints, look for the small changes that make a clean setup unreliable: an inked scrap left on the registration table, a stained fingertip, or a drying sheet that has crept into the walking route. Correcting these immediately is easier than tracing a mystery mark through an entire edition. Keep a separate place for spoiled sheets and test prints so they cannot be mistaken for fresh paper.
At the end of a session, clean the equipment and work surfaces according to the materials you used, then put away clean paper before continuing any messy cleanup. Make a note of where unwanted marks appeared and what touched that area of the sheet. The goal is not a perfectly sterile studio. It is a workflow in which clean paper has few opportunities to meet ink until you deliberately print on it.