What the wipe needs to accomplish
In intaglio printing, ink held in recessed marks transfers to damp paper under press pressure. Ink left on the plate’s flat surface can also print as a gray veil, often called plate tone. Wiping controls the balance between those two effects. The aim is not always a spotless plate: it is a surface that prints the way you intend without emptying the marks that carry the image.
Begin with a consistent setup. Use ink suited to intaglio, a clean plate, and a few pieces of tarlatan folded into soft pads. Keep one pad for the first, ink-heavy passes and another for lighter finishing passes. Have clean paper for checking your fingers or cloth, and a designated place for ink-covered materials. Follow the handling and cleanup guidance for your particular ink; keep food away from the work area and use appropriate ventilation for any products involved.
Fill the marks before removing surface ink
Work ink across the plate with a card, dauber or other suitable tool, changing direction so it reaches lines facing different ways. Pay attention to deep areas and closely spaced marks. Then scrape off the excess with a flexible card held at a low angle. This removes a large amount of ink without making the wiping cloth do all the work. Avoid scraping so firmly that the card catches or damages a delicate surface.
A thin film of ink will remain across the plate. That is normal. Trying to reach a bright, clean surface in one step often pulls ink out of the image as well. If the plate has a fragile drypoint burr—the raised metal that holds ink beside a scratched line—use especially light pressure throughout inking and wiping. Repeated forceful handling can change how that line prints.
Wipe with tarlatan in lighter stages
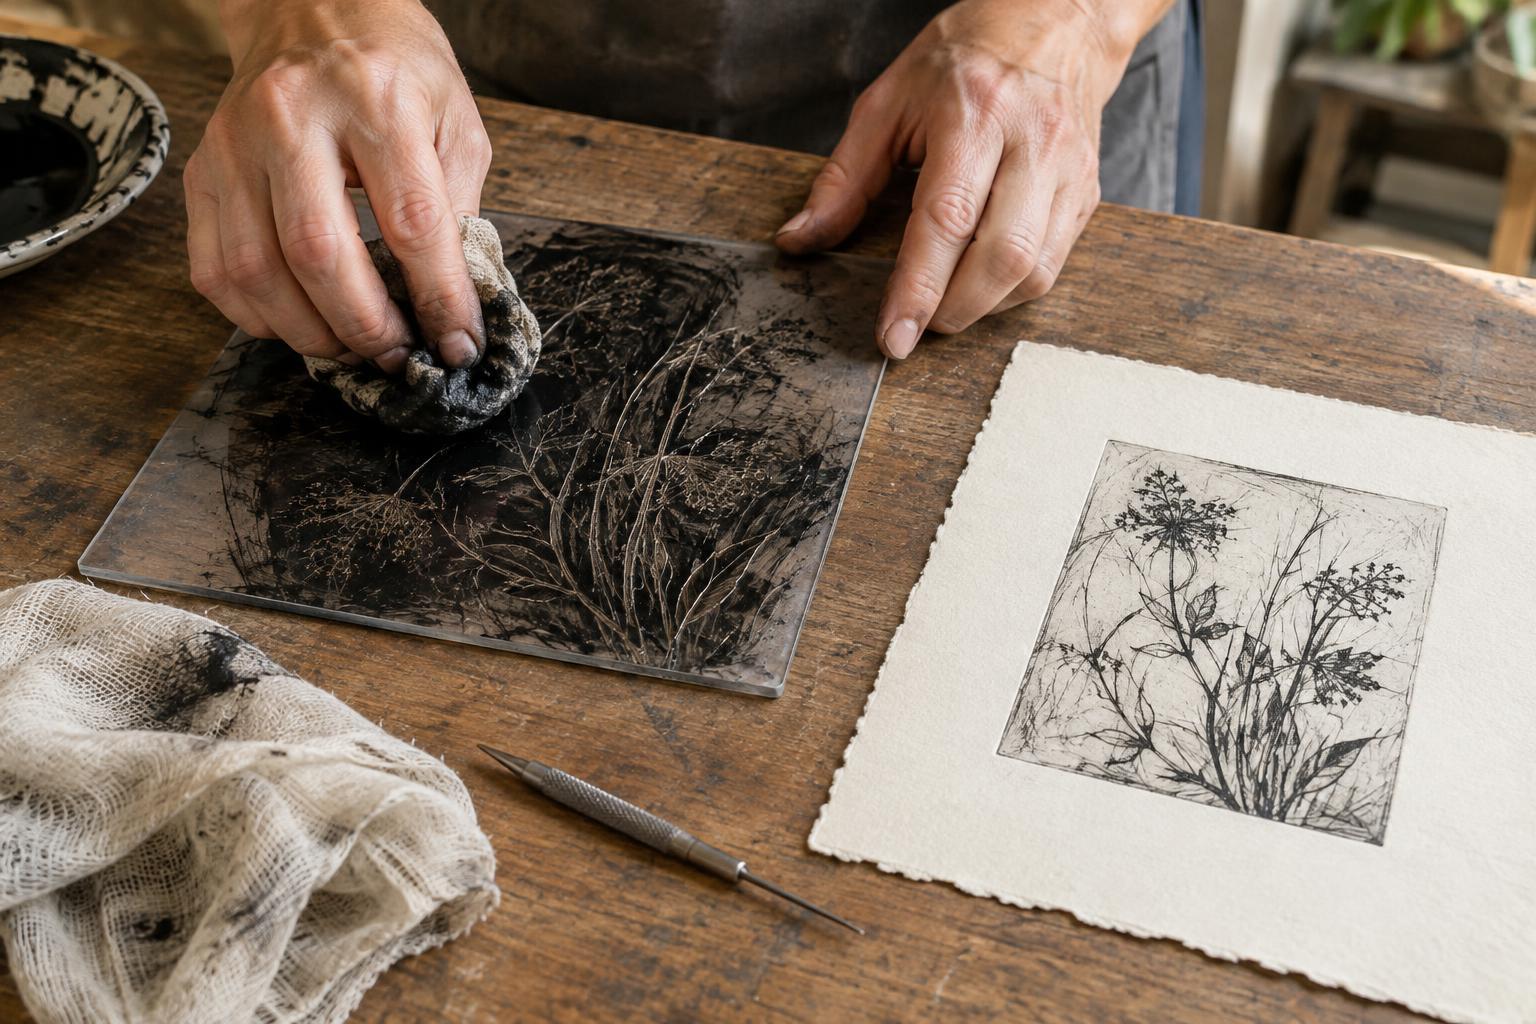
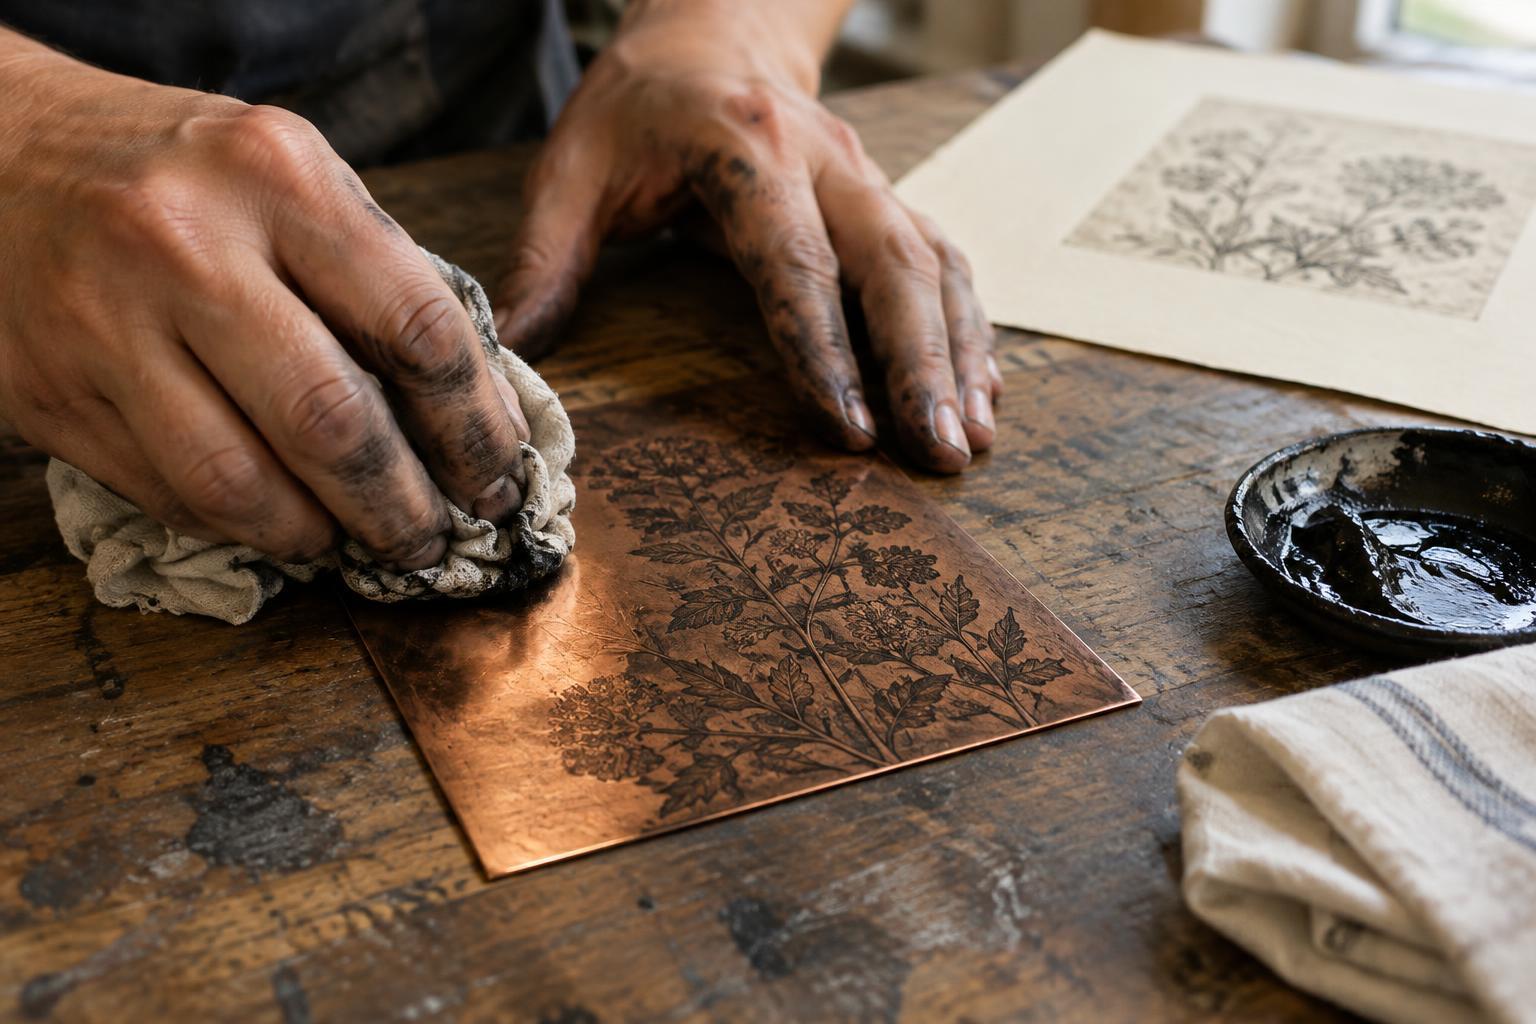
Use the ink-heavy tarlatan first. Hold the folded pad fairly flat and move it across the plate with broad, gentle strokes. Turn it often so a loaded patch does not redeposit ink. Work across lines rather than repeatedly following their direction; the goal is to skim the surface, not push cloth into every groove. If a pad becomes stiff or saturated, switch to a cleaner fold instead of pressing harder.
As the surface film thins, change to a cleaner, softer pad and reduce pressure. Look across the plate under angled light. You should be able to see where surface ink remains and whether small details still appear filled. Large open areas may need another light pass, while fine or shallow marks may already be close to ready. Treat each part of the plate according to what you see rather than giving every area the same number of strokes.
Tarlatan can leave a useful, even plate tone. If you want a pale background, continue carefully with a cleaner pad. If you want a warm gray field, stop earlier. Either choice benefits from consistency: note which cloth and sequence produced the effect so you can approach it again for the next impression.
Finish selectively, then clean the edges
For a clearer highlight, use the side of a clean hand or a smooth, clean piece of wiping material to lift the last trace of surface ink. Make light passes over the area you want to brighten, checking often. Hand wiping is a finishing step, not a way to rescue a heavily inked plate with force. Avoid rubbing back and forth over fine lines, aquatint or drypoint burrs, where too much pressure may lighten the printed image.
Finally, wipe the plate edges and bevel so stray ink does not print as an unintended border or transfer to your paper and blankets. Keep edge-cleaning material separate from the cloth used on the image. Check for ink on your fingers before handling the prepared printing paper. A carefully wiped face can still produce a messy impression if the edges or your hands carry ink.
Let the proof tell you what to change
Print a proof using the paper preparation and press settings appropriate to your plate. Judge the result on paper rather than by the plate’s shine alone. If lines look weak but surrounding areas are clean, try gentler final passes or stop wiping sooner. If the background is darker than intended, use a cleaner finishing pad or spend a little more time on open areas. If some marks fail to print despite a careful wipe, check whether they received enough ink and whether paper dampness and press pressure are suitable before assuming wiping is the only cause.
Change one part of the process at a time and record what you did: how much ink you applied, which tarlatan pad you used, where you hand wiped, and the appearance of the proof. A repeatable wipe is learned through comparison, not speed. Once you know how your particular plate responds, you can preserve fine detail while choosing deliberately how much plate tone belongs in the image.