Why ink changes in storage
Opening a can exposes its contents to air. Some oil-based printing inks form a tough film, or “skin,” at the surface as their drying ingredients react with oxygen. Water-based inks are more likely to thicken or dry where water can escape, especially around a poorly sealed lid. Formulations vary, so the label and the manufacturer’s storage directions are the best starting point for a particular ink.
A small amount of dried ink on the rim can create a larger problem than the air inside the can. It prevents the lid from seating evenly and may break off into the ink later. Repeatedly opening a large can to take out small amounts also gives the contents more chances to dry or pick up dust. Good storage therefore starts at the worktable, before the lid goes back on.
Close a can so the seal can do its job
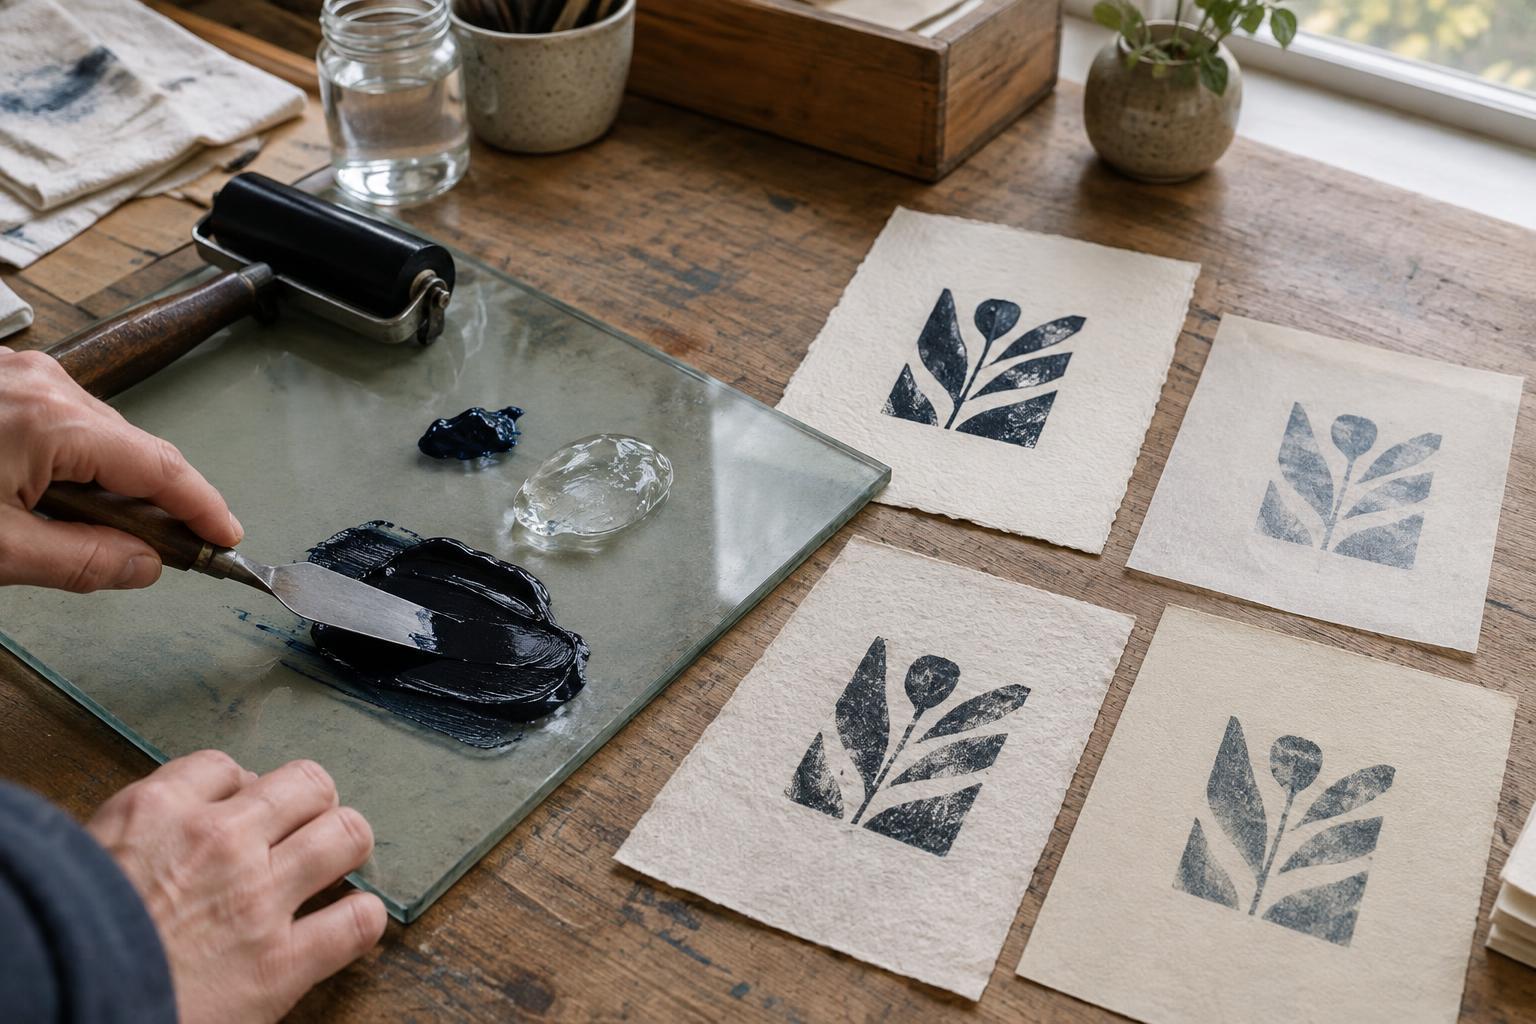
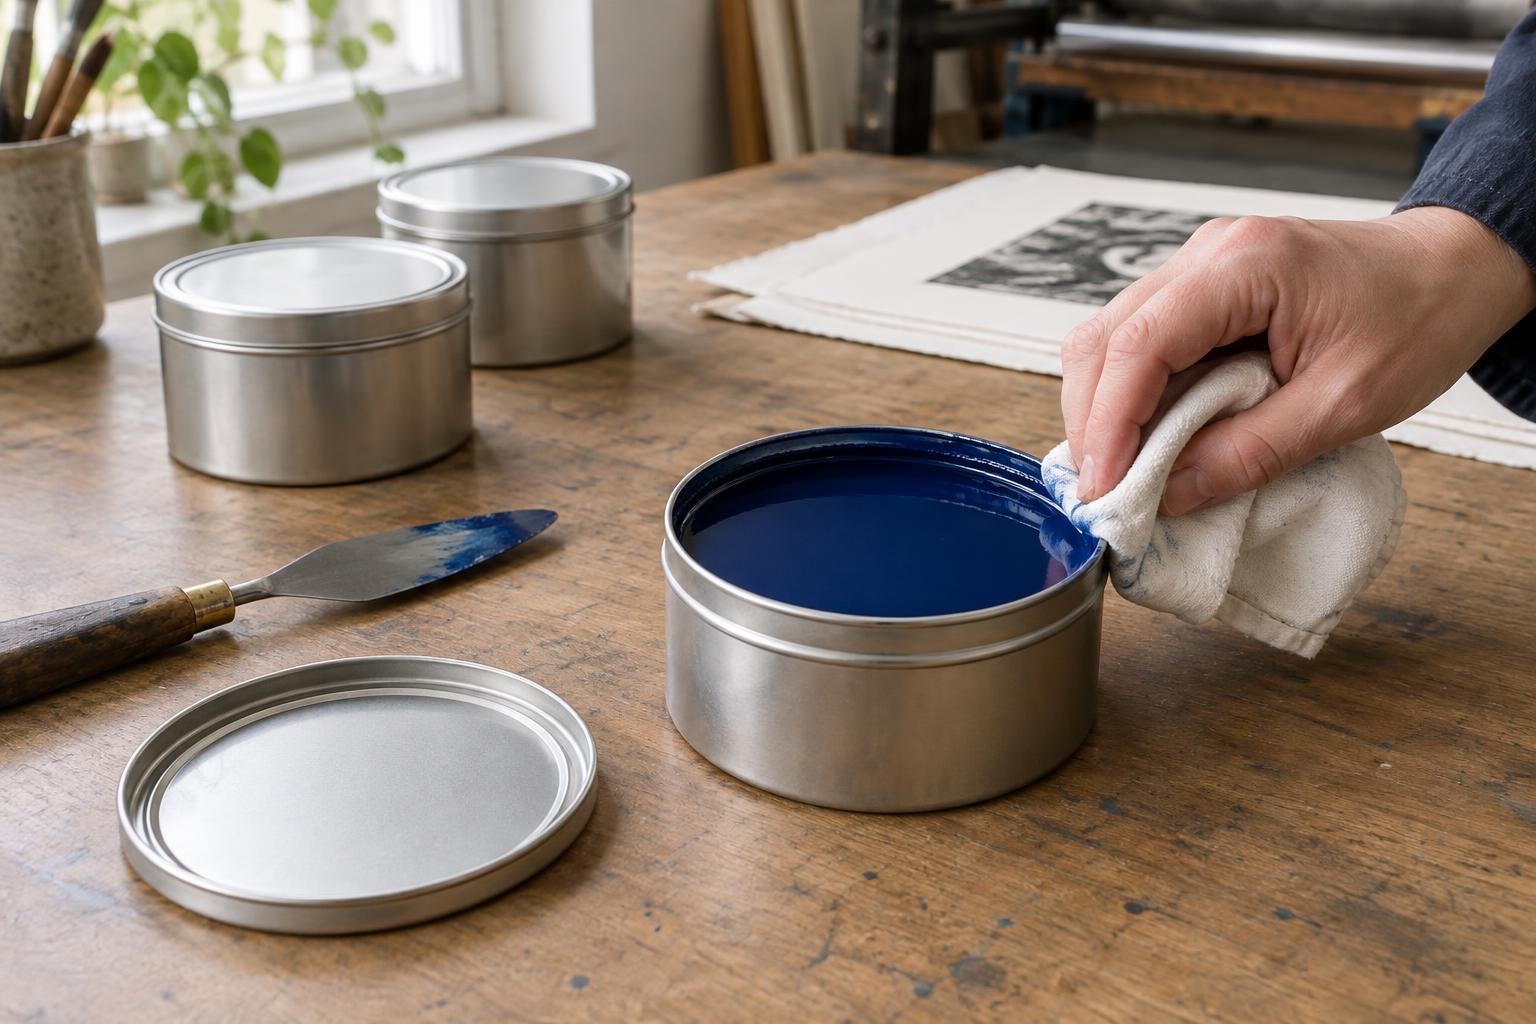
Use a clean knife or spatula to remove only the ink needed for the session. Try not to drag paper fibers, dried ink, or mixed colors back into the original can. Before closing it, wipe ink from the rim and the groove where the lid sits. Check for bent edges or hardened deposits that keep the lid from fitting. Press the lid down evenly rather than forcing one side first.
If the can is nearly empty, transferring the remaining ink to a smaller, compatible, airtight container can reduce the exposed surface and the amount of air above it. Choose a container intended for the ink type, and make sure its lid closes reliably. Label it with the ink name, color, and transfer date; include any important information from the original packaging. Do not use a food container that might later be mistaken for one used in the kitchen.
For an oil-based ink that repeatedly skins, some printers place a clean barrier directly against the ink surface before closing the can. Whether a film or liner is suitable depends on the ink and the barrier material. Check the ink maker’s guidance first, particularly if the ink contains solvents. A loose sheet that traps air or sheds fragments may create more trouble than it prevents.
Give each ink type a suitable place
Store closed containers upright in a stable, cool area away from direct sun and heat. Temperature swings can affect consistency and may strain seals. Keep inks where lids will not be knocked loose and where spills can be contained. If an ink has specific temperature or ventilation requirements, follow those rather than a general studio rule.
Water-based inks deserve particular attention at the rim and lid because a small gap can allow water to escape. Keep them from freezing unless the product guidance says freezing is acceptable; separation after a freeze may not be reversible. Do not automatically add water to a thickened ink in the original container. The right adjustment, if any, depends on its formulation and how it will print.
For oil-based inks, limiting air exposure helps reduce skin formation, but it cannot guarantee that an opened can will stay unchanged. Keep the lid secure and check stored cans periodically. If you have several colors, arrange them so older opened containers are easy to find and use before opening duplicates.
What to do when a skin has formed
Inspect an opened can before stirring. If there is an intact skin over otherwise usable ink, lift the skin off carefully with a clean tool and keep its brittle edges out of the remaining ink. Avoid mixing dried pieces back in: even tiny flecks can show up as drag marks or specks in a rolled film. Test a small amount of the ink on a palette and in a proof print before relying on it for an edition.
If the ink underneath is lumpy, unusually separated, contaminated, or difficult to roll out, do not assume it can be restored by adding liquid. Follow the product guidance for any approved modifiers, and set questionable ink aside rather than risking a run of prints. Dispose of unusable ink and soiled materials according to the product instructions and local requirements; do not wash ink into a drain unless its guidance permits it.
Build a simple closing routine
At the end of a printing session, return unused ink only if it is still clean and unmixed. Wipe the rim, close the container firmly, check the label, and put it back in its storage spot. Keep the tool used for each color clean to prevent contamination. For a busy studio, a short note of when a can was opened can help identify which ink to inspect first.
These habits take less effort than scraping dried ink from a neglected can. More importantly, they make the next session predictable: you can open a container, assess the ink, and spend your time preparing a print rather than repairing avoidable storage problems.