Start with a clean, dry matrix
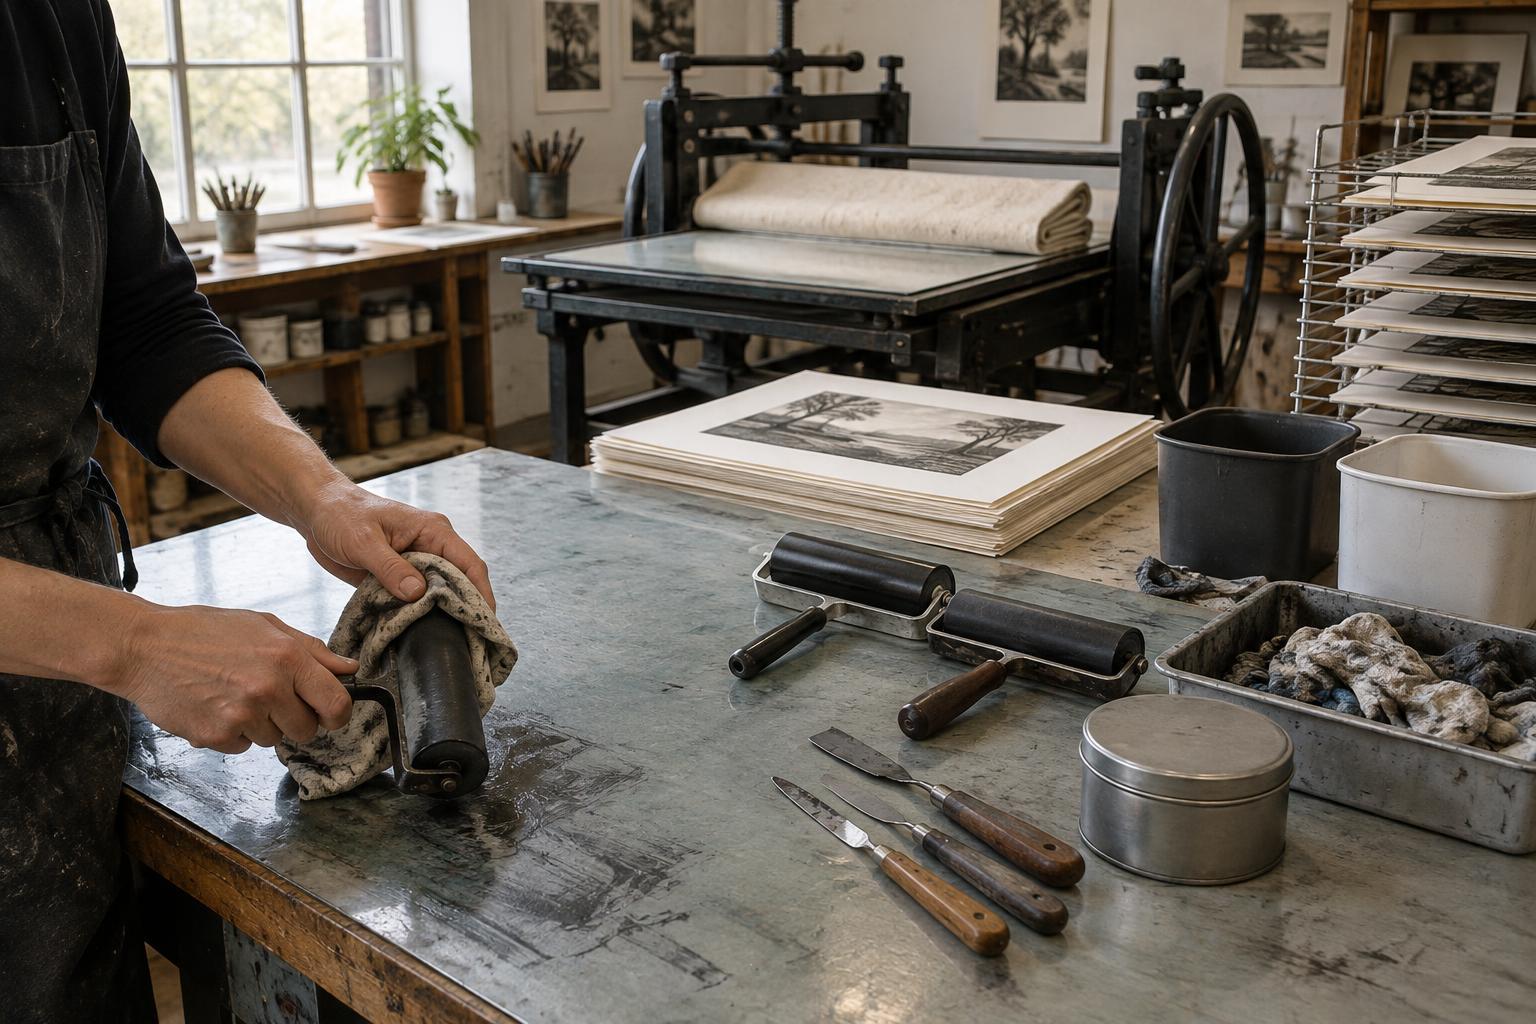
Storage begins before a block, plate or screen reaches the shelf. Remove ink using a method appropriate to the ink and the matrix, following the product instructions for any cleaner you use. Work gently around carved lines, etched areas and screen mesh. A hurried scrape can cause more trouble than a little ink left in a place where it will not affect printing.
Let each item dry fully before wrapping or stacking it. Trapped moisture can affect wood, encourage corrosion on metal and leave residue on screens. Check edges, corners, handles and the backs of plates, where dampness is easy to miss. If a matrix needs to remain inked for a short pause in a project, keep that pause distinct from long-term storage: mark it clearly and plan to clean it before putting it away for an extended period.
Support wood and linoleum blocks without crushing the image
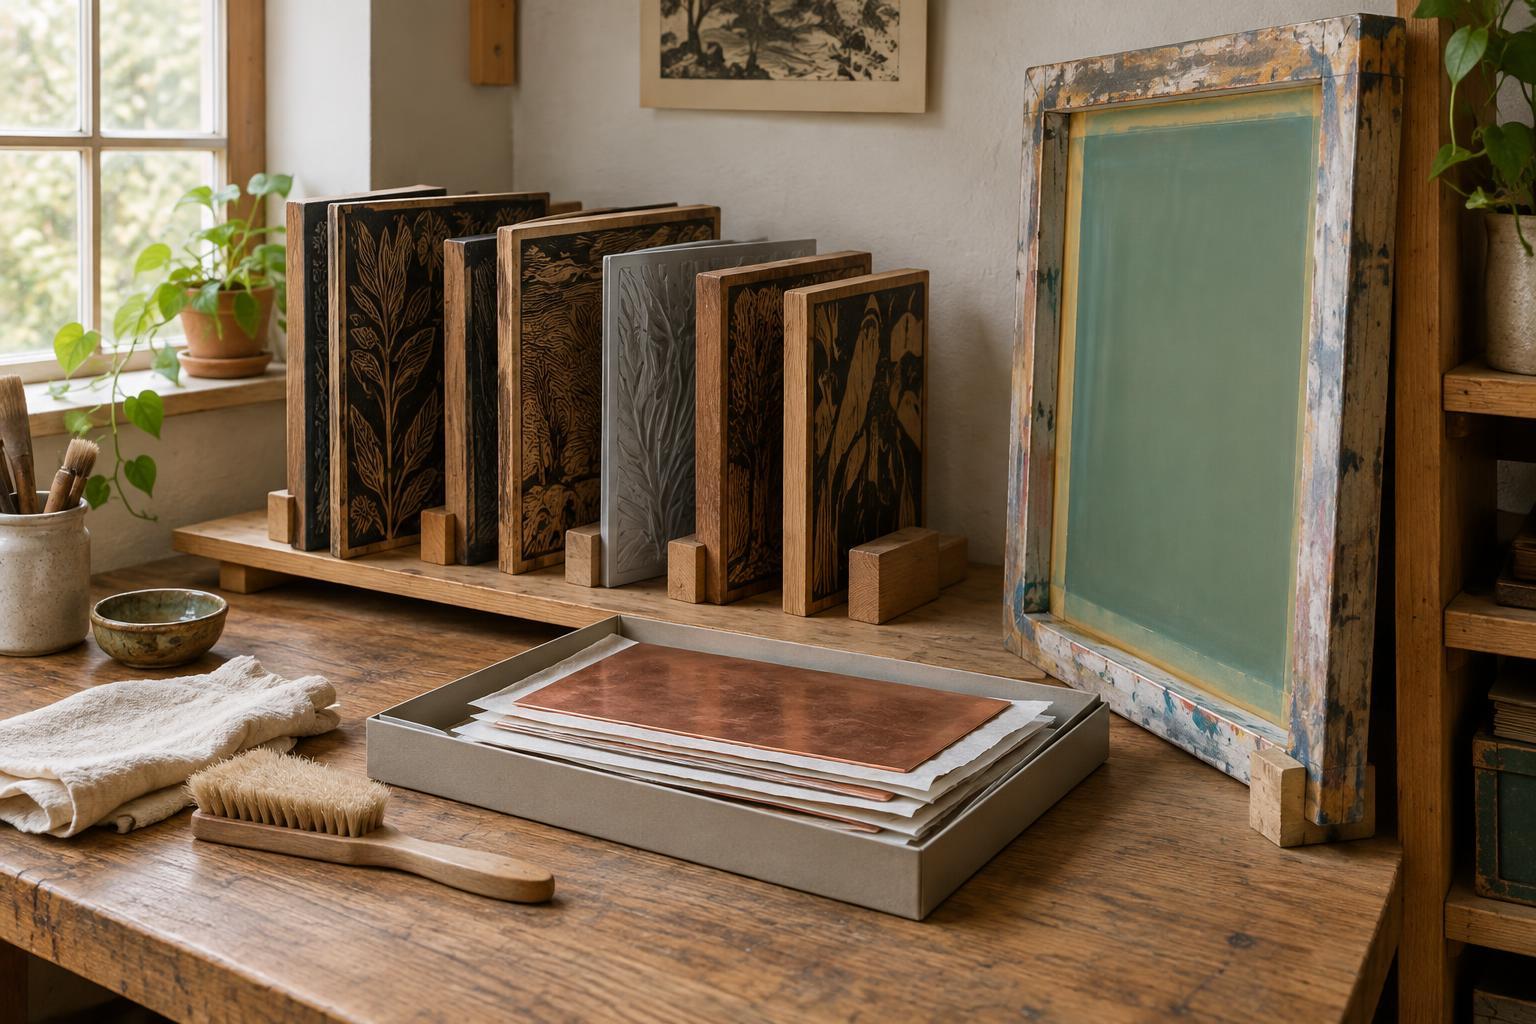
Store relief blocks where their printing surfaces will not rub against shelves or other blocks. A clean sheet of suitable interleaving paper can separate dry surfaces, but it should not be asked to absorb wet ink. For carved blocks with raised, delicate details, a shallow tray or box gives more reliable protection than a tight stack. Avoid resting heavy objects on top of fine cuts or small isolated shapes.
Wood reacts to changes in its surroundings, so a reasonably stable, dry room is preferable to a damp floor, hot radiator or sunny windowsill. Larger blocks benefit from even support rather than a narrow ledge that leaves part of the board hanging. Linoleum can become difficult to handle if bent or exposed to excessive heat; keep sheets flat and support mounted blocks across their full backs. Check older blocks occasionally for warping or loose mounts before setting up a new run.
Keep metal plates separated and easy to inspect
After cleaning a metal plate, dry both faces and its edges. Store plates so that their image surfaces cannot slide against one another. A rigid sleeve, flat tray or individual divider makes it easier to lift one plate without scraping the next. Protect sharp edges, particularly if plates share a drawer with paper or other materials that could be cut.
Metal plates have different needs depending on their material and how they were made. Bare surfaces may tarnish or corrode in damp conditions, while a protective coating can introduce its own handling and removal steps. If you use a coating for a plate that will sit unused, choose one compatible with your process and record what was applied. Do not assume that a plate is ready to print straight from storage: inspect it for residue, marks or changes to the surface first.
Give screens space and protect the mesh
A screen needs a place where nothing presses into its mesh. Stand framed screens securely in a rack or store them in a way that supports the frame without loading the mesh. Leave enough room to take one out without dragging it across its neighbors. Keep sharp tools, block edges and loose hardware out of the same storage space.
Clean screens according to the ink and stencil system in use, then make sure the frame and mesh are dry. Decide whether a screen is being stored with a stencil for a continuing edition or reclaimed for a future design. Label that status so a collaborator—or your future self—does not wash out a stencil that is still needed. For coated or unexposed screens, follow the emulsion maker’s handling guidance; light, moisture and storage time can matter.
Build a storage routine you can repeat
A useful label answers a few basic questions: what is the image, which side prints, what material is this, and what stage is the project at? Add an edition or project name if it helps you connect the matrix to proofs and notes. Put labels on a sleeve, tray or frame edge rather than on a printing surface. A simple inventory can also record where the item lives and any special cleaning or setup steps.
Organize storage around safe retrieval, not just available space. Put frequently used items within comfortable reach, keep heavy blocks low, and avoid overfilling drawers so surfaces do not scrape when they are opened. When you finish a session, follow the same sequence each time: clean, dry, inspect, label and put away. That modest habit makes it easier to spot damage early and return to printing without first untangling the last session.