Set up the block and inking area
In relief printing, ink belongs on the raised surface of the block, while carved-away areas should stay clear. Before you start, brush loose carving debris from the block and check that its surface is clean and dry. Place it on a stable, level work area. A block that rocks under the brayer can receive more ink on one side than the other.
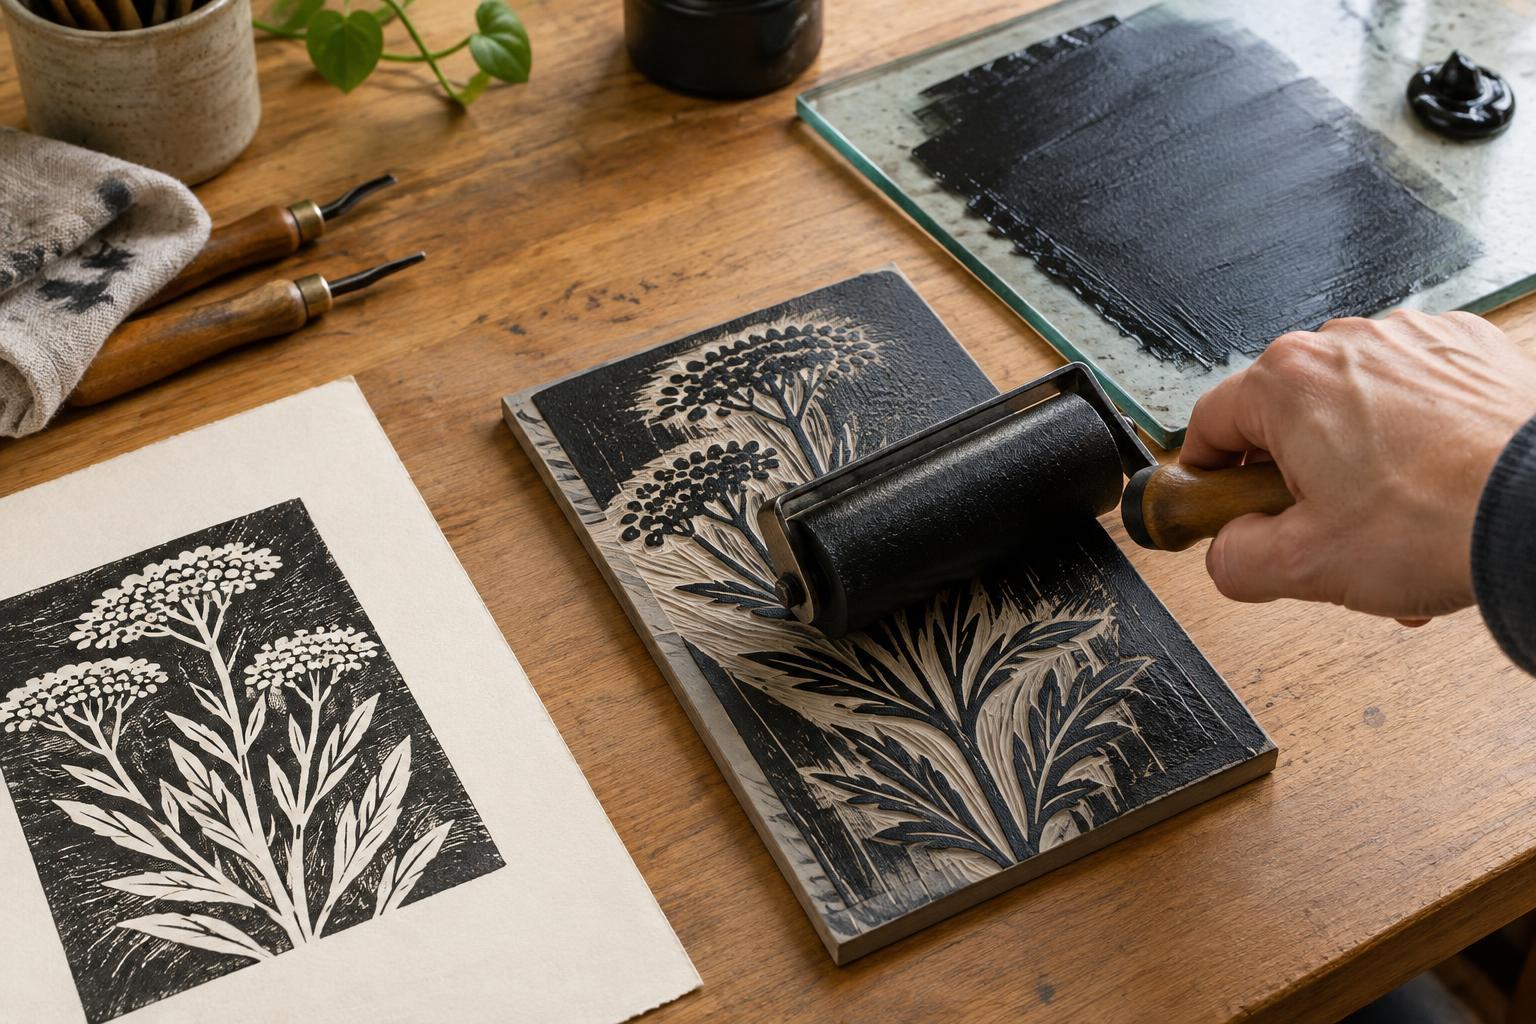
Use a smooth, nonporous surface, such as an inking slab, for rolling out ink. Leave enough room to move the brayer forward and back without running off the edge. Keep scrap paper nearby for test prints and for setting down tools. If your block has deep cuts or fine lines, good lighting will help you spot ink collecting where it does not belong.
Roll the ink into a thin, consistent film
Start with a modest amount of relief ink on the slab. Spread it with the brayer, lifting the roller between some passes so it rotates through different positions rather than repeatedly tracking over the same strip. Work the ink into a broad, even patch. The roller should look uniformly coated, without thick ridges at its ends or visible clumps.
Ink behavior varies by formulation, so let what you see guide you. If the brayer is leaving heavy stripes or sliding through a mound, spread the ink farther across the slab before loading it again. If parts of the roller remain bare, make a few more passes through the film. Adding ink gradually is easier to control than trying to remove a thick layer from the block.
Cover the raised areas without flooding the cuts
Roll across the block with light, steady pressure and overlapping passes. Lift the brayer at the end of each pass rather than stopping and pressing in place. Reload from the slab as needed, and approach the block from another direction to reach raised areas that a single path missed. Aim for a consistent sheen across the printing surface, not the thickest possible coat.
Pause to inspect small details and the edges of the design. Ink gathering along a carved line may transfer as a dark mark, especially if you press hard enough to push the roller into a shallow cut. If that happens, try a lighter touch or less ink on the brayer. For a large block, work methodically from one side to the other so you do not accidentally ink one area several times while neglecting another.
Use a test print to diagnose the result
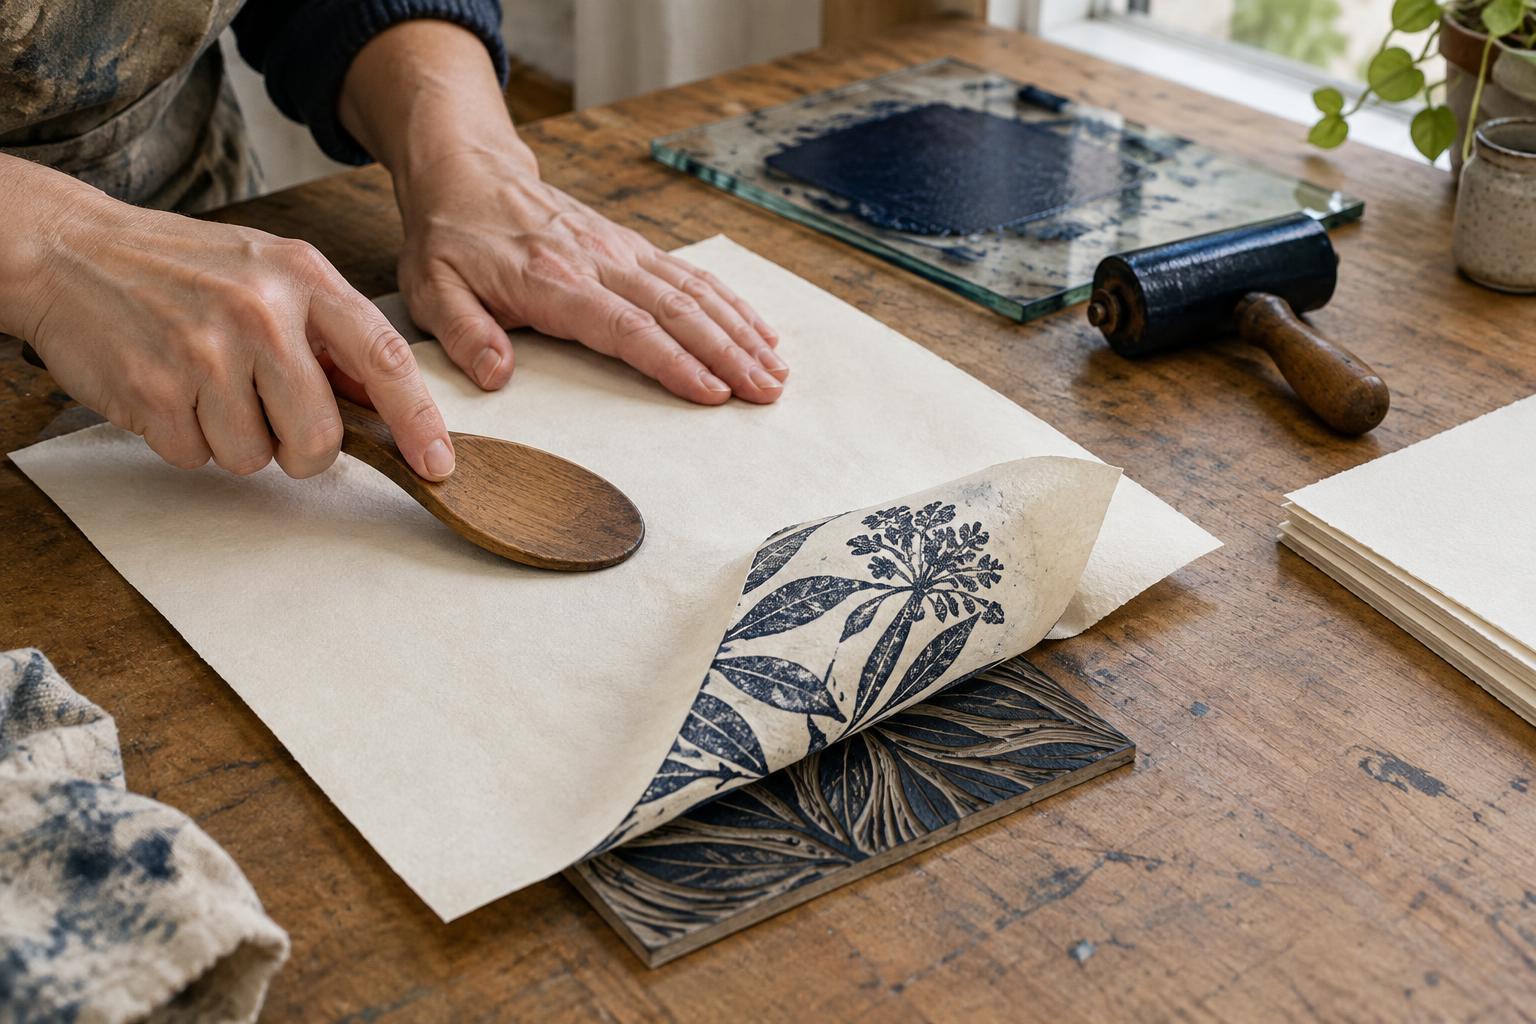
A test print tells you more than the inked block alone. Place paper carefully, print using your usual method, and lift it without shifting it across the surface. If raised areas print pale or broken, check whether they were inked before assuming the brayer needs more ink. Uneven hand pressure, an unsteady block, or paper that did not make full contact can produce similar gaps.
Look for patterns. Repeated pale bands may point to uneven loading or passes that do not overlap. Thick, filled-in details often suggest too much ink or too much pressure while rolling. A print that is dark in one area and faint in another may call for a more level setup or more consistent printing pressure. Change one thing at a time, then make another test print; otherwise, it is hard to know what helped.
Build a repeatable rhythm
Once a test print looks right, note roughly how much ink is on the slab and how the brayer feels as it rolls. For each subsequent print, refresh the ink film with a few passes on the slab, then ink the block using the same route and pressure. Watch the print as the session continues: ink on the slab can become less evenly distributed, and the block may need a slightly different number of passes.
At the end of the session, clean the brayer, slab, and block using the method recommended for your ink and tools. Do not let ink dry on the roller. Even inking is less a single trick than a sequence you can repeat: keep the equipment clean, roll out a controlled film, cover the raised surface lightly, and let test prints guide small adjustments.