Decide what belongs in the edition
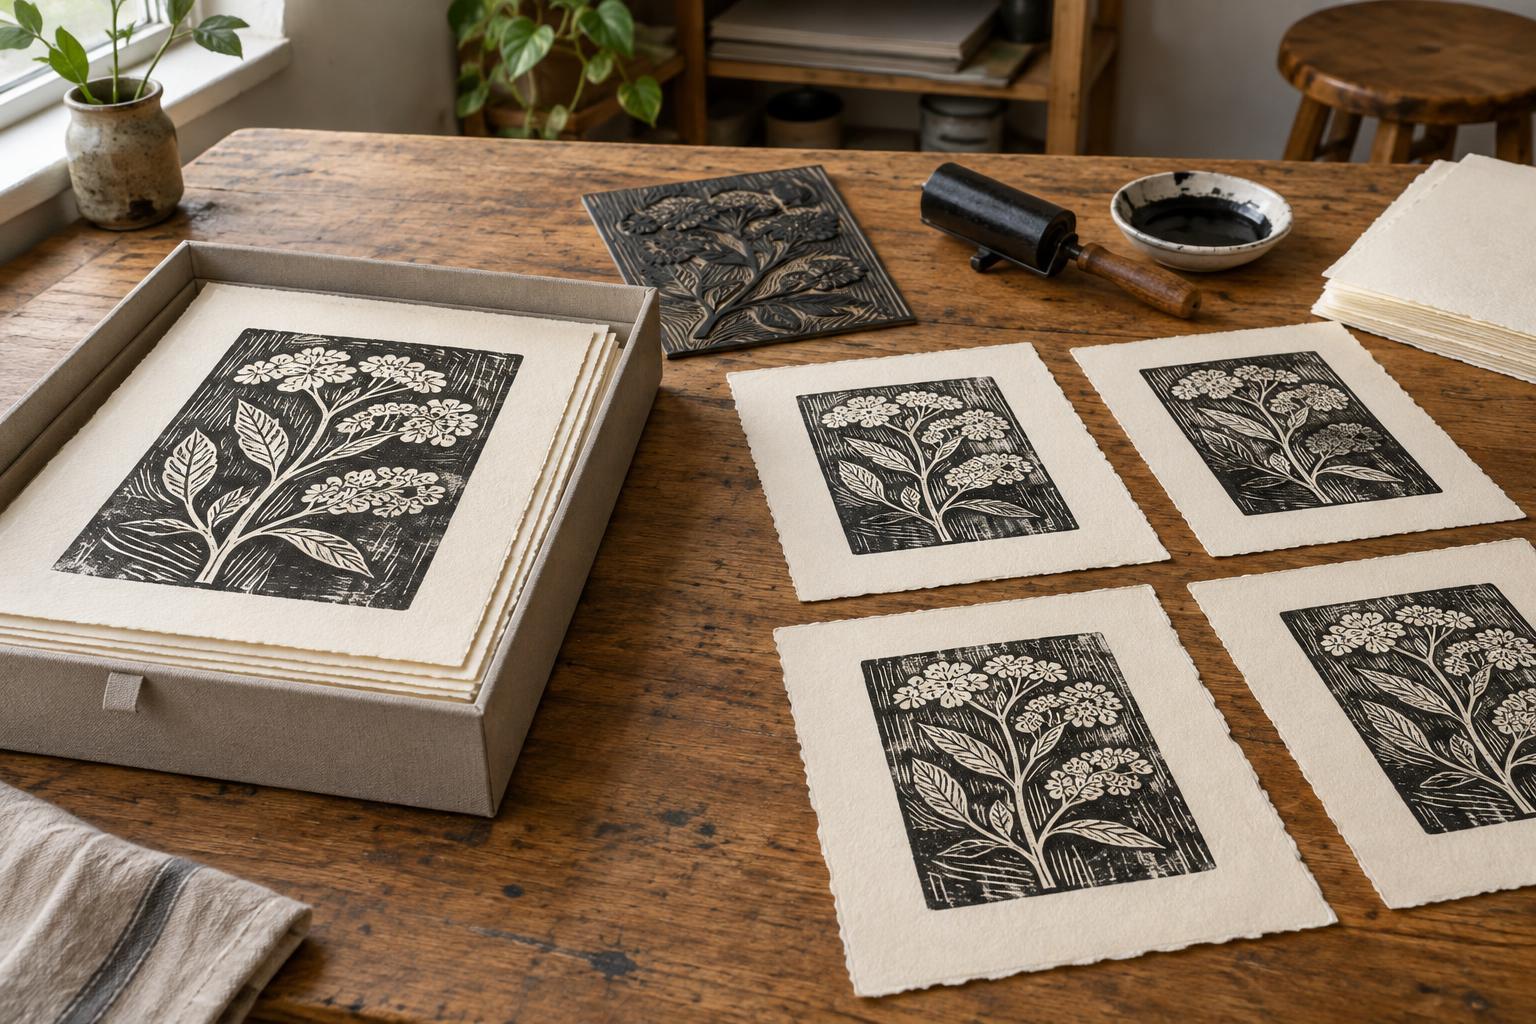
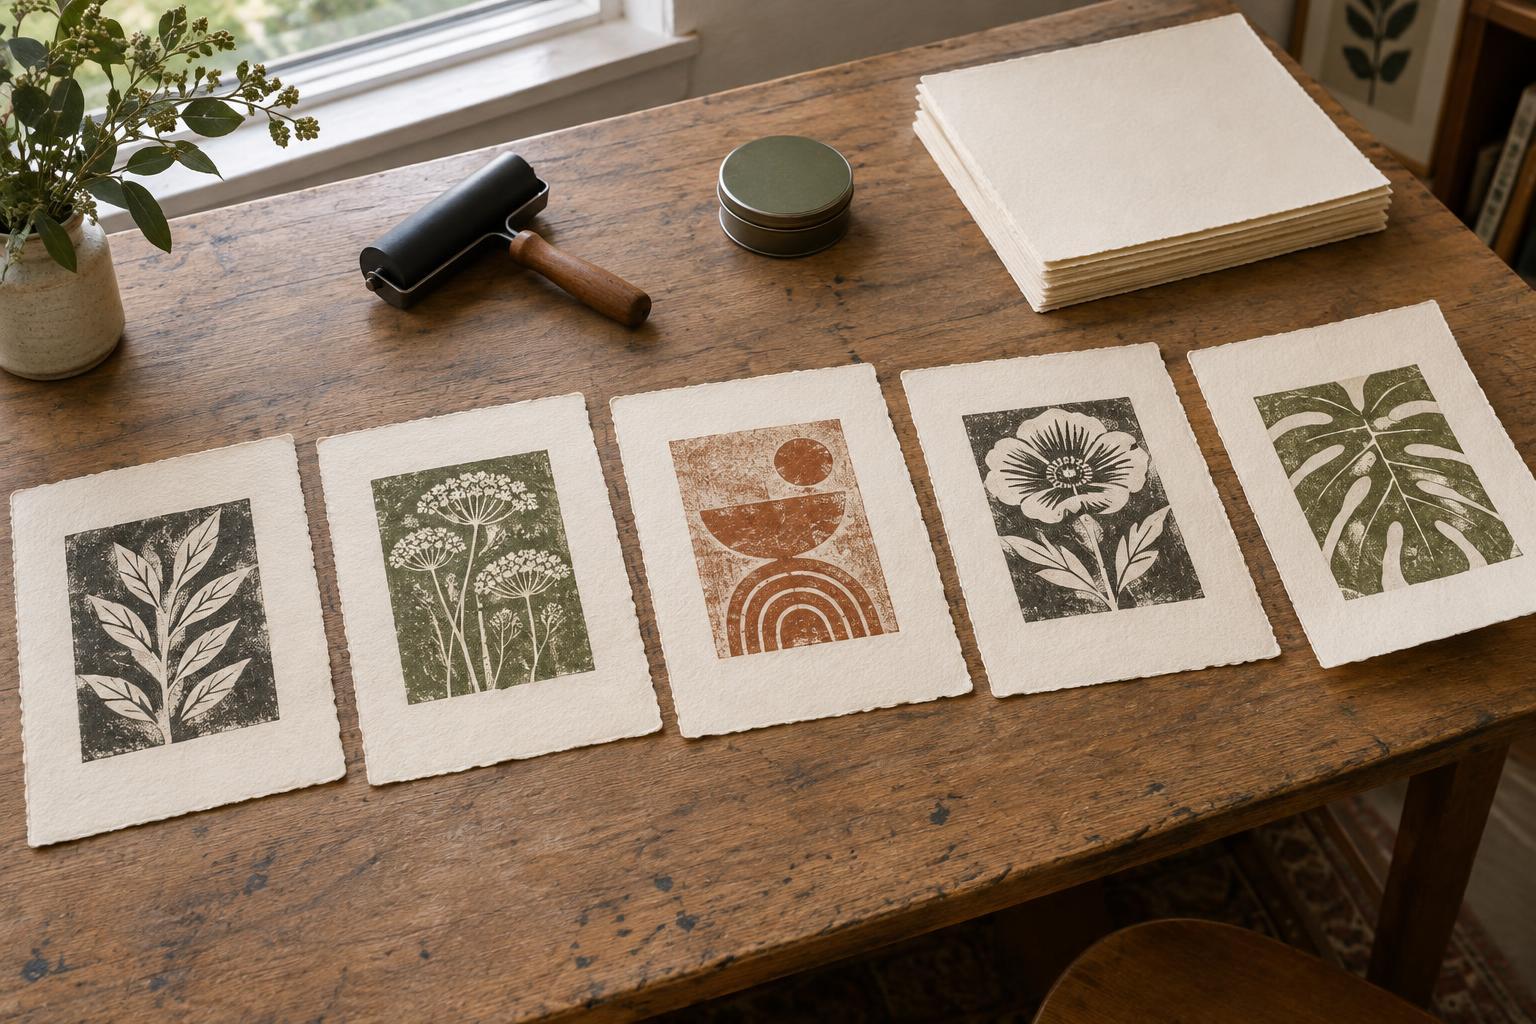
An edition is a group of impressions presented as a consistent body of work. Before numbering any prints, decide what a satisfactory impression looks like: the intended image, acceptable variations in inking or color, clean enough margins and sound paper. Keep a reference impression nearby while you sort. It is easier to judge a faint corner or a slightly shifted layer against a standard than against your memory of the last print you pulled.
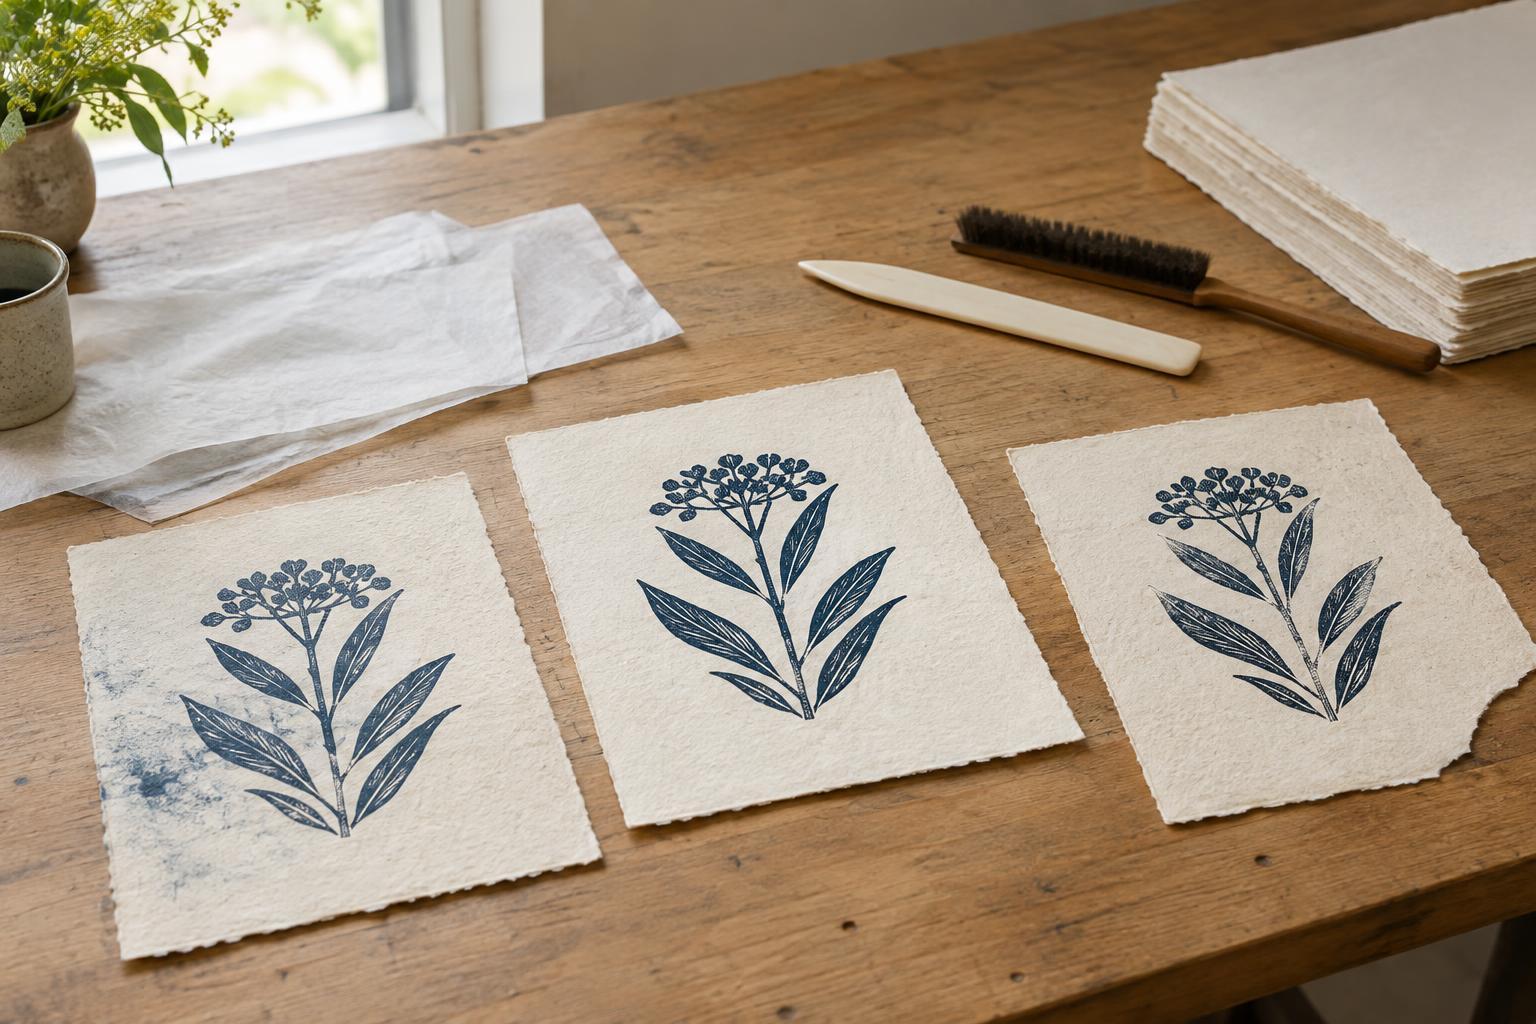
Not every variation is damage. Small changes can be part of a hand-printed image, especially when they do not interrupt its effect. A torn image area, a distracting fingerprint or a missing passage of ink may fall outside the standard you set. For beginners, it helps to sort impressions into three piles: accepted, uncertain and rejected. Revisit the uncertain pile after the prints are dry and you can assess them in steady light.
Keep rejected impressions out of the edition count
Number only the impressions you have accepted into the edition. If you plan an edition of twenty and three sheets fail during printing, those three sheets are not numbered members of the twenty. If you cannot pull enough acceptable impressions, you can make the edition smaller rather than quietly including prints that do not meet your standard. Plan an edition size with your process and available materials in mind, but let the finished work determine what you actually release.
Mark rejects promptly so they cannot drift back into the accepted stack. A light pencil note such as “reject” on the back, along with the date or a brief reason, is useful while you are working. Avoid placing a reject mark where it could be mistaken for an edition number or signature. Practices for proofs and special impressions vary among printmakers; a flawed print does not become an artist’s proof simply because it is outside the numbered edition.
Assess repairs without hiding the history of a print
Some problems are worth investigating before you reject a sheet. A curl may relax under appropriate flattening; a loose bit of surface debris might be removable without disturbing the image. First let ink dry fully, handle the sheet with clean hands and test any proposed treatment on a spare print or similar paper. Rubbing a mark, adding ink by hand or using moisture can make damage more visible or alter the paper.
Consider the role of the sheet as well as the repair. A tiny defect in a margin destined to be covered by a mount may matter differently from a stain in the image. If you alter an impression substantially, ask whether it still matches the edition you intend to present. When in doubt, keep it out of that edition and label it accurately if you later show it. Repairs should not leave a buyer or recipient with a misleading impression of the print’s condition.
Give useful rejects a clear second purpose
Rejected prints can be valuable studio material. Use them to test framing layouts, compare papers, try a hand-coloring idea or demonstrate a process. A failed multicolor print can show exactly how a registration error happened. If the paper is suitable, you might cut a flawed sheet into study pieces or use the clean reverse for trials. These choices make particular sense when the material is costly or the technique takes several passes.
If you decide to offer a flawed impression as a studio study, separate it from the edition and describe its condition plainly. Do not assign it an edition number later to make the run appear larger or more complete. You may also choose to keep a few instructive failures in your archive. For prints you do not want circulating, mark or destroy the image clearly before recycling or disposal where your materials allow it.
Record decisions while they are fresh
A simple edition log prevents confusion months later. Note the title, process, paper, ink or color sequence, intended edition size and number of accepted impressions. Add counts of proofs and rejects, with brief notes about recurring problems. You do not need a complicated system: a notebook page or a file stored with the work can be enough, provided you can understand it when you return to the edition.
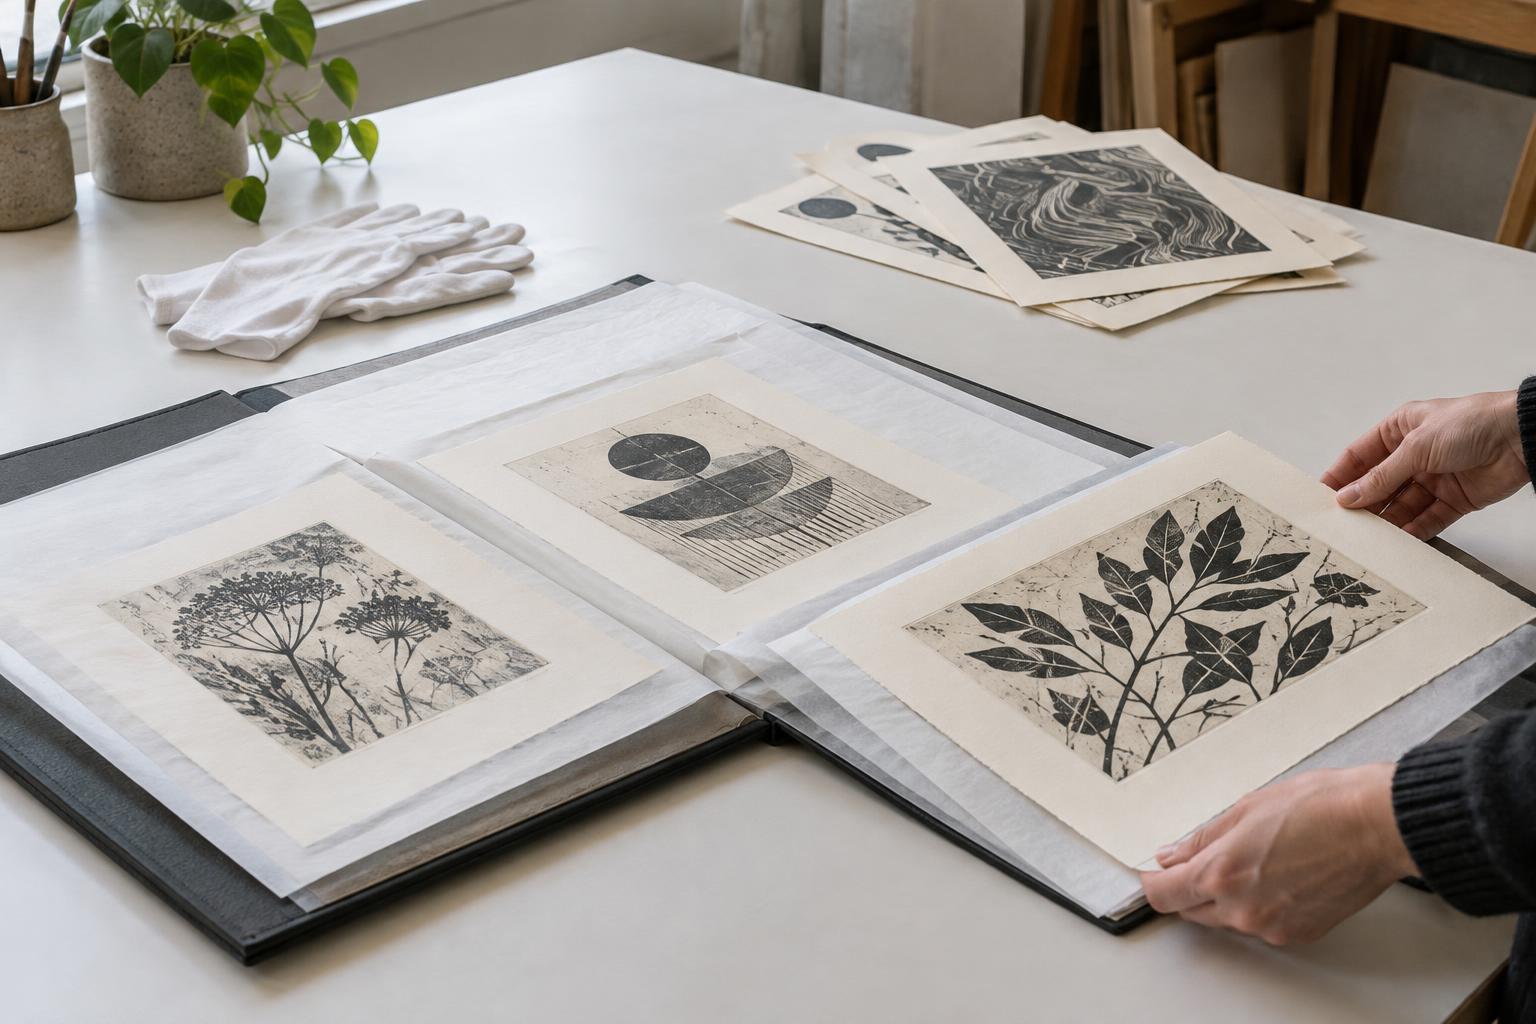
Store accepted prints flat and protected, apart from rejects and working proofs. Label folders rather than relying on the appearance of a stack. When the edition is complete, compare the prints against your reference once more before signing and numbering them. Handling rejects deliberately is not about producing identical sheets at all costs. It is about making a clear promise about what belongs to an edition and keeping that promise consistent from the studio to the finished print.