Start by identifying the cause of the curl
A print may curl because its paper was dampened before printing, because ink or a wash dried unevenly, or because it was stored in a roll. These situations do not all call for the same remedy. A loose curl often relaxes under gentle, even pressure. A sharp crease, a deeply cockled sheet or distorted paper fibers may not flatten completely without risking damage.
Before doing anything, check that the print is dry and that its surface can tolerate contact. Ink that feels tacky, transfers to a clean scrap of paper or has raised areas should not be pressed against another sheet. Drying time varies with the ink, paper, layer thickness and studio conditions, so do not rely on a fixed number of days. Handle the print by its edges with clean, dry hands, and examine both sides in good light.
Set up a clean, even pressing stack
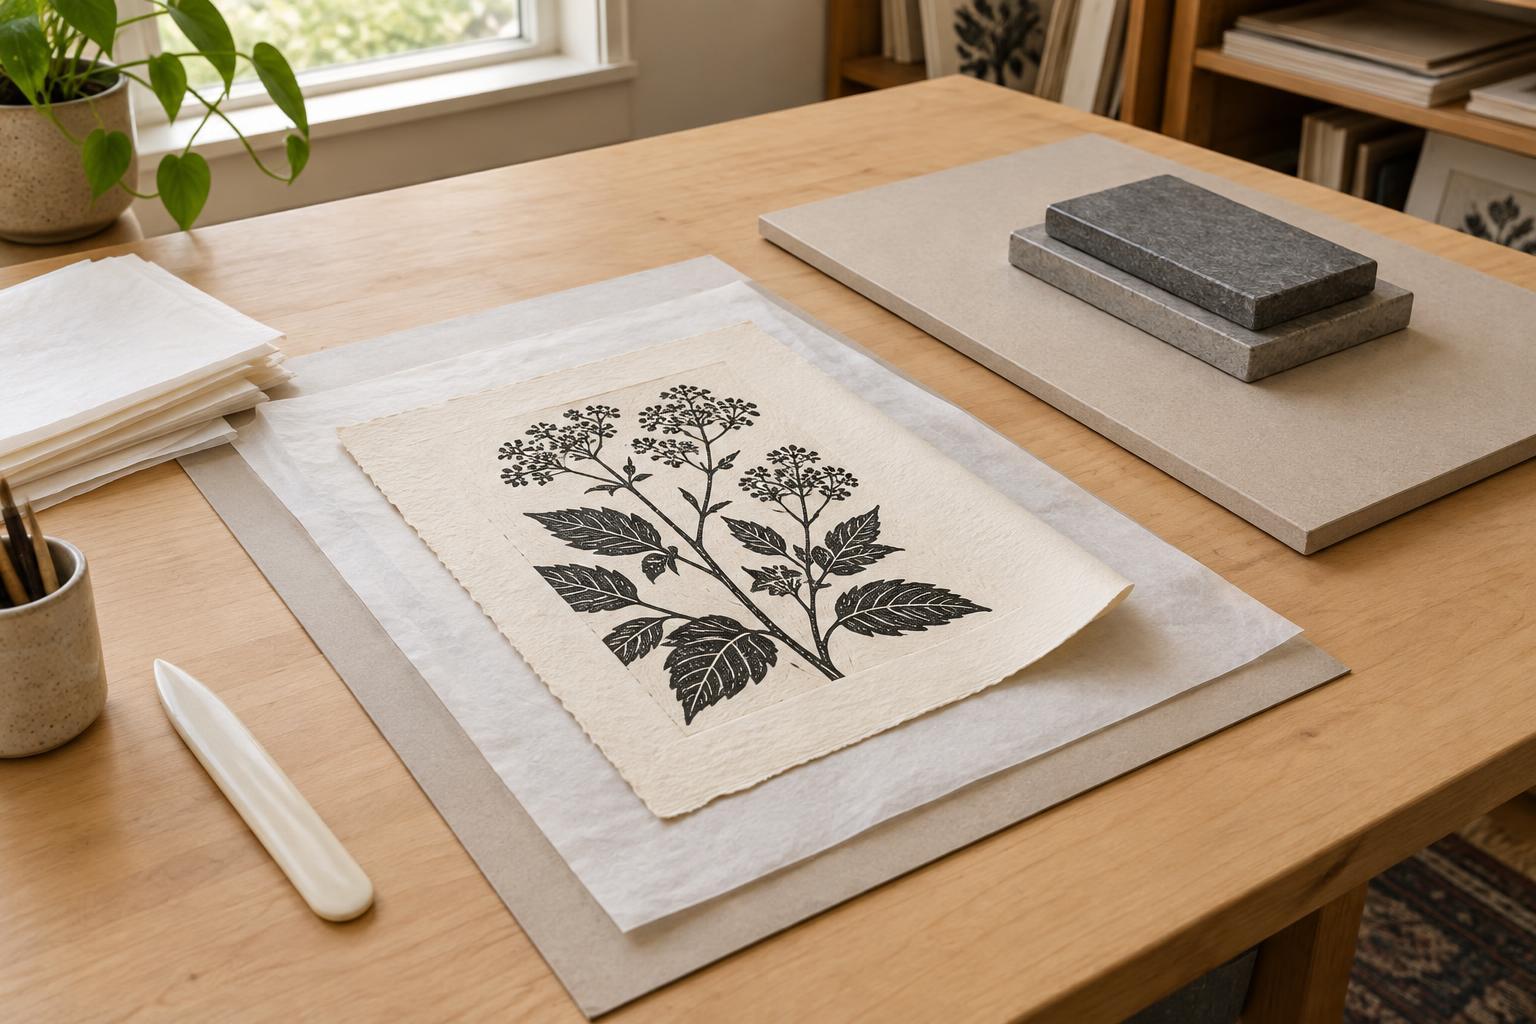
For an ordinary, fully dry studio print, begin with a flat table, two smooth rigid boards and clean interleaving sheets larger than the artwork. Smooth, unprinted archival-quality paper is a useful choice for interleaving; avoid newspaper, textured material and anything that might shed fibers or transfer color. Make sure the boards are free of grit, dents and old adhesive. A small particle trapped under pressure can leave a mark.
Place one board on the table, add a clean interleaving sheet, lay the print face up, and cover it with another clean sheet and the second board. Add modest, evenly distributed weight on top. The aim is steady contact across the sheet, not maximum force. Heavy weight concentrated in one spot can emboss the paper or affect a textured ink surface.
Check the stack after a short interval, then continue only if the print and interleaving remain clean and stable. Replace interleaving if it shows any transfer. Depending on the paper and the strength of the curl, flattening may take repeated checks rather than a single pressing session. Stop if the image sticks, rubs off or develops an unwanted sheen.
Treat moisture as a separate decision
Moisture can make some papers more responsive to flattening, but it also increases the chance of bleeding, tidelines, surface changes and new ripples. Spraying the printed sheet, steaming it over a kettle or ironing it may seem quick, yet each can affect ink and paper unpredictably. Do not introduce moisture to a finished print simply because dry pressure has not worked.
If you are flattening your own newly made work, note how the unprinted paper responds to water before considering a dampening method. Test on a spare impression made with the same paper and ink, and let that test dry fully before judging the result. A valuable, unfamiliar or already damaged print is not a good place to experiment. For those pieces, careful storage and a suitable mat may be safer than trying to remove every wave.
Prepare the flattened print for display or storage
Once the sheet lies as flat as it reasonably can, lift it from the stack and check it under side lighting. Look for transferred ink, pressure marks and remaining raised areas. If the print springs back into a gentle curl, give it more time under light, even pressure rather than sharply bending it in the opposite direction.
For presentation, a mat can help support the sheet while leaving the image visible. Keep the print free to expand and contract with changes in its surroundings; forcing all four edges down may create fresh buckling. Store unframed prints flat in clean, appropriately sized folders or between protective sheets, without crowding them beneath heavier objects. Gentle flattening should make a print easier to handle and present, not erase every sign of the paper’s character.