Why a quick cleanup matters
A trace of the previous color can change the next one more than you expect, especially when you move from a dark ink to a pale or transparent one. Old ink can also gather along a slab’s edges and work its way back under the roller. Cleaning between colors gives you a fresh mixing surface and makes it easier to judge the new color before it reaches your block, plate or screen.
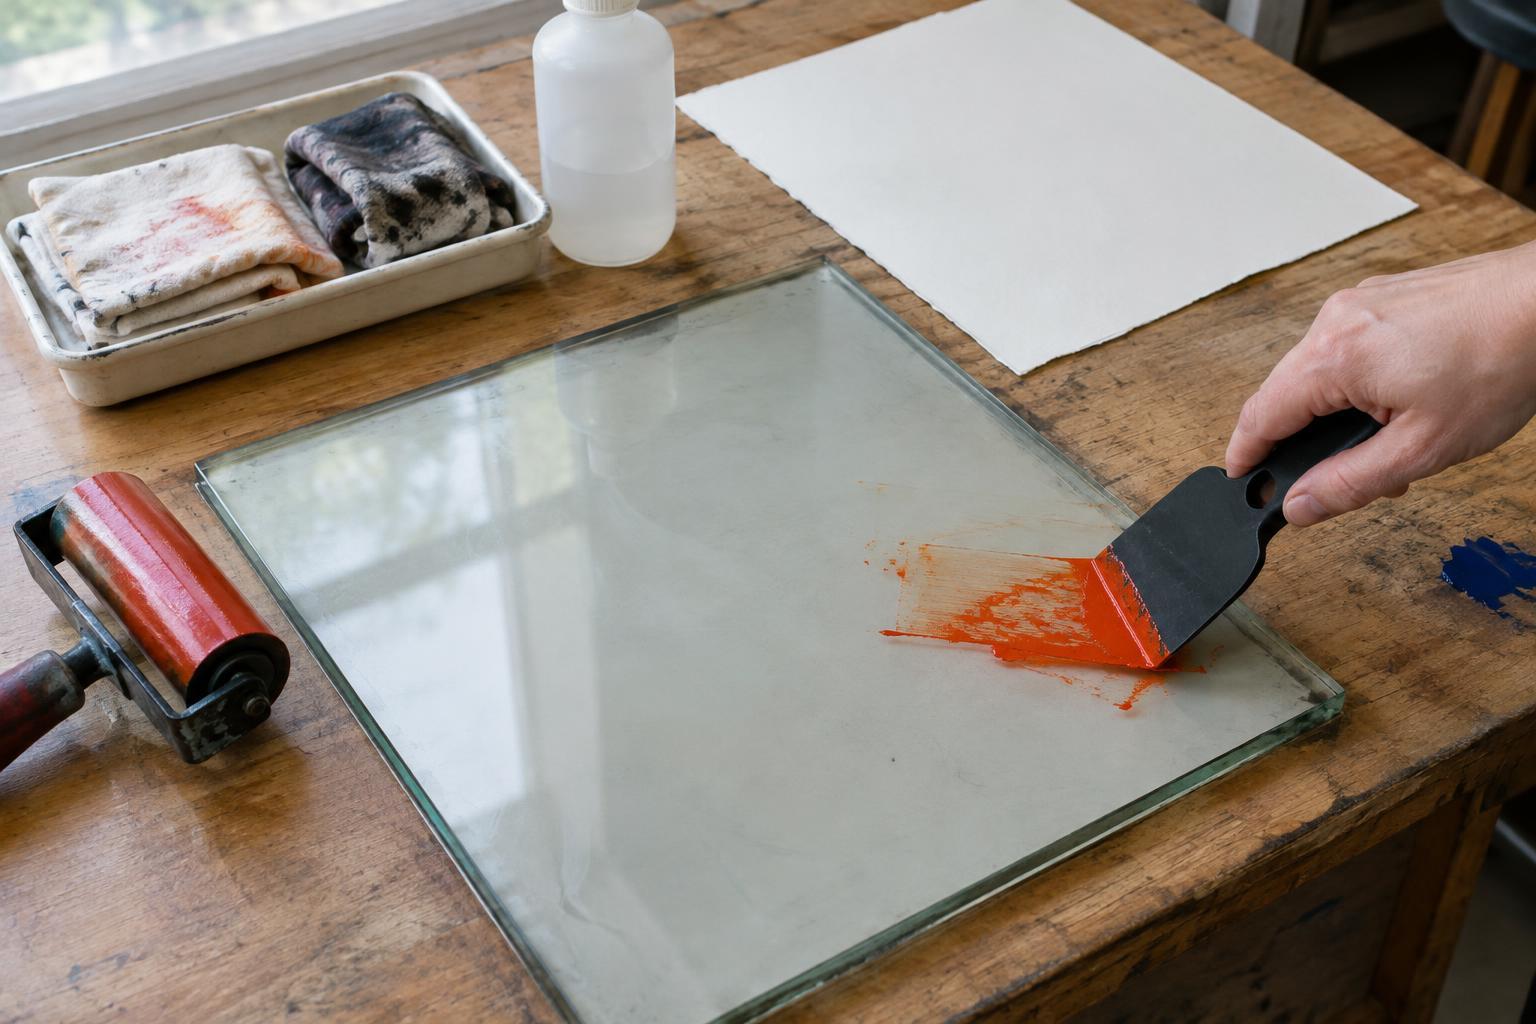
The goal is not always a full end-of-day scrub. Between colors, focus on removing the ink film, any residue that could transfer, and moisture or cleaner left behind. Set out a scraper or palette knife, disposable or reusable wiping materials, and the cleaner recommended for your ink and slab before you begin. Keep clean supplies separate from ink-soiled ones so the cleanup itself does not reintroduce the old color.
Lift the ink before you wipe
First, use your palette knife or a suitable scraper to gather the remaining ink into one place. Keep the tool at a gentle angle so you do not gouge the slab. If the ink is still usable, transfer it to a clearly labeled container according to your usual studio practice; otherwise, collect it for disposal. Removing this bulk layer first means you will need fewer wipes and less cleaning liquid.
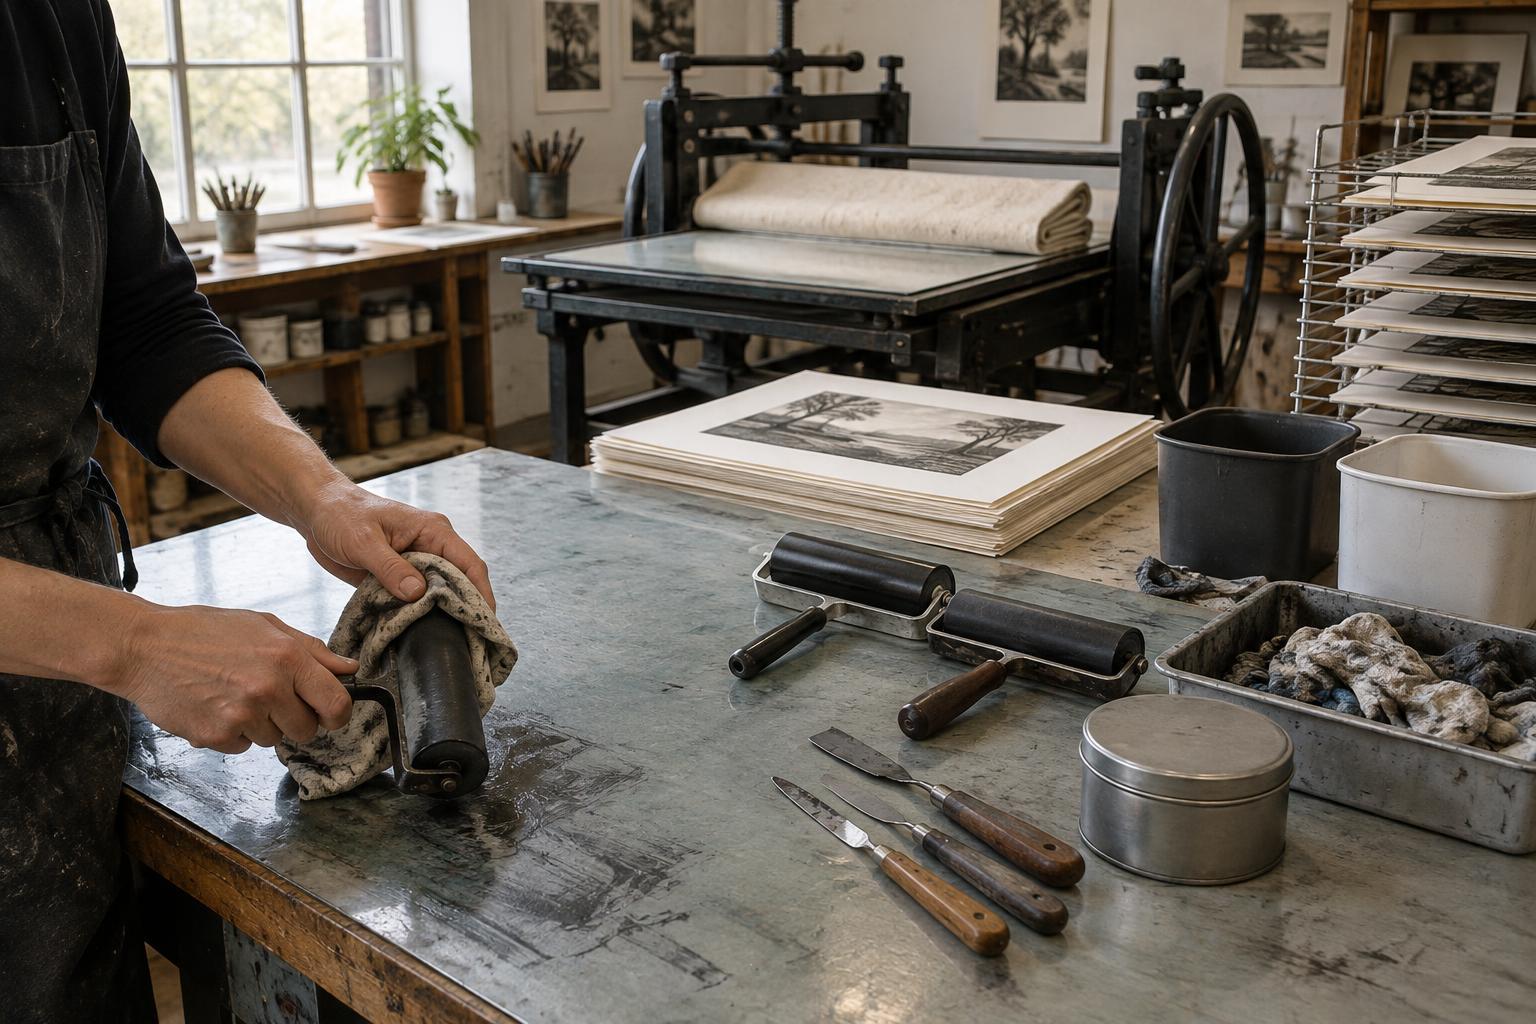
Wipe the slab from its cleanest areas toward the collected ink, turning to a fresh part of the cloth or paper as it becomes loaded. Pay attention to the edges, corners and any spot where the roller rested. A smooth slab may look clean while a thin film remains, so check it from an angle under good light rather than relying on a straight-on glance.
Match the cleaner to the ink and surface
For water-washable ink, follow the ink maker’s cleanup directions rather than assuming water alone will remove every trace. Some products need a damp wipe, mild soap or another specified cleaner. For traditional oil-based ink, use a cleaner appropriate to that particular ink and permitted on your slab. Ink formulations vary, and a product labeled water-washable may still have cleanup requirements of its own.
Use a small amount of cleaner on a cloth instead of flooding the slab. Work it across the remaining film, then wipe it away with a clean section of cloth. Repeat if color still transfers. Avoid abrasive pads or sharp tools on surfaces that scratch easily; marks can trap ink and complicate later cleanups. If you are uncertain whether a cleaner suits a glass, acrylic, metal or other slab, check the slab and cleaner guidance or test an unobtrusive area first.
Keep the space ventilated as directed for the products you use, and follow their label precautions for skin contact and disposal. Do not assume ink, solvent or dirty wash water belongs in the sink. Local disposal rules and product instructions may differ, so collect waste in suitable, labeled containers when required.
Clean the roller and test for transfer
A spotless slab will not protect the next color if the roller still carries the last one. Roll the brayer over scrap paper to release excess ink, then clean its surface using the method recommended for the ink and roller materials. Rotate it as you wipe so you reach the full circumference and the ends, where ink often collects. Keep cleaner away from parts that its manufacturer says should not be soaked.
After cleaning, dry the slab and roller with a clean, lint-free cloth. Residual water or cleaner can affect how the next ink rolls out, so allow both surfaces to finish drying if needed. To check your work, roll the brayer across a clean area of the slab or a piece of scrap paper. If you see the previous color, clean again before adding fresh ink.
Make color changes easier to manage
When planning a session, consider printing lighter colors before darker ones. This will not eliminate cleanup, but a faint pale residue is often easier to spot and remove before a dark color than the reverse. Give each color its own mixing area when space permits, and keep a separate scraper or clearly cleaned tool ready for the next batch.
At the end of each changeover, put soiled wipes into the waste container appropriate for the materials you used and clear drips from nearby work surfaces. A short, consistent routine—lift, wipe, clean, dry and test—helps prevent accidental color mixing without interrupting the rhythm of printing for long.