Start with the ink, not the cleaner
The safest cleaning method depends on both the ink and the brayer. Before reaching for water or solvent, check the ink label and any care guidance supplied with the roller. A cleaner that works well on a slab may not be suitable for a rubber, polyurethane or soft synthetic roller. If the brayer is new to you, test a proposed cleaner on a small, inconspicuous area rather than applying it across the whole surface.
Clean as soon as the printing session ends. Ink left to dry is harder to remove and may tempt you to scrub, scrape or use a stronger cleaner than necessary. Set out scrap paper, soft cloths or paper towels, and a clean work surface. If you used more than one color or ink type, keep the brayers separate so you do not spread one residue onto another roller.
Remove excess ink before washing
First, roll the brayer over scrap paper or newsprint until it leaves only a faint mark. Turn the roller through several full rotations and vary its position on the paper so you pick up ink from the edges as well as the center. This simple step reduces the amount of cleaner needed and keeps less ink out of your sink or cleanup container.
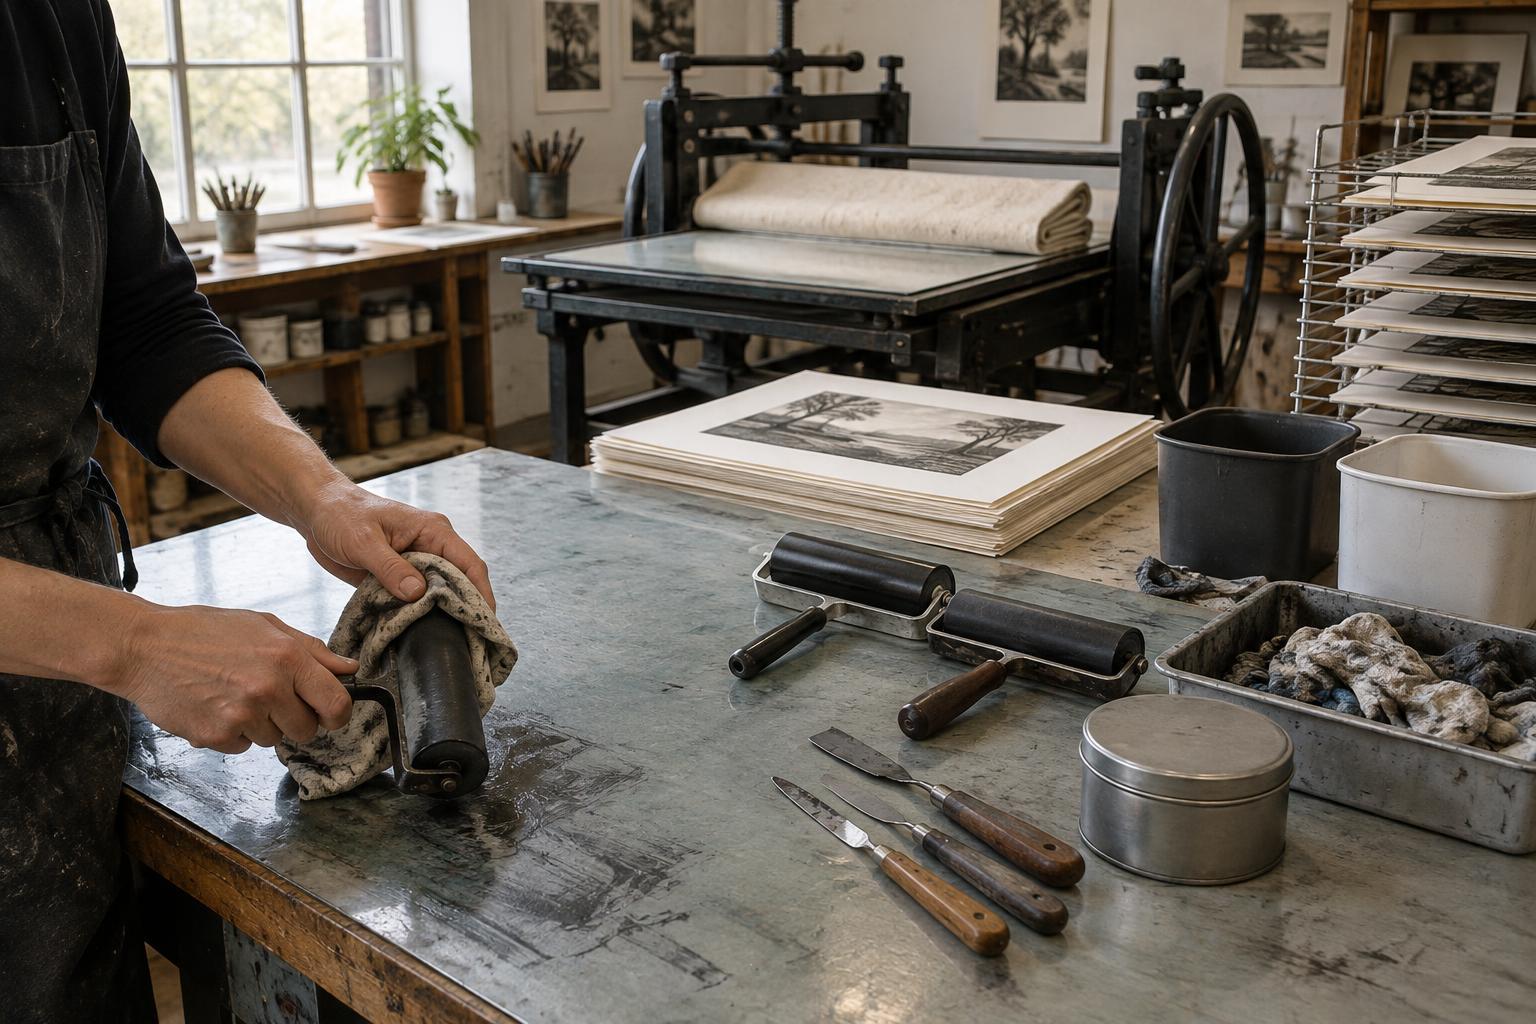
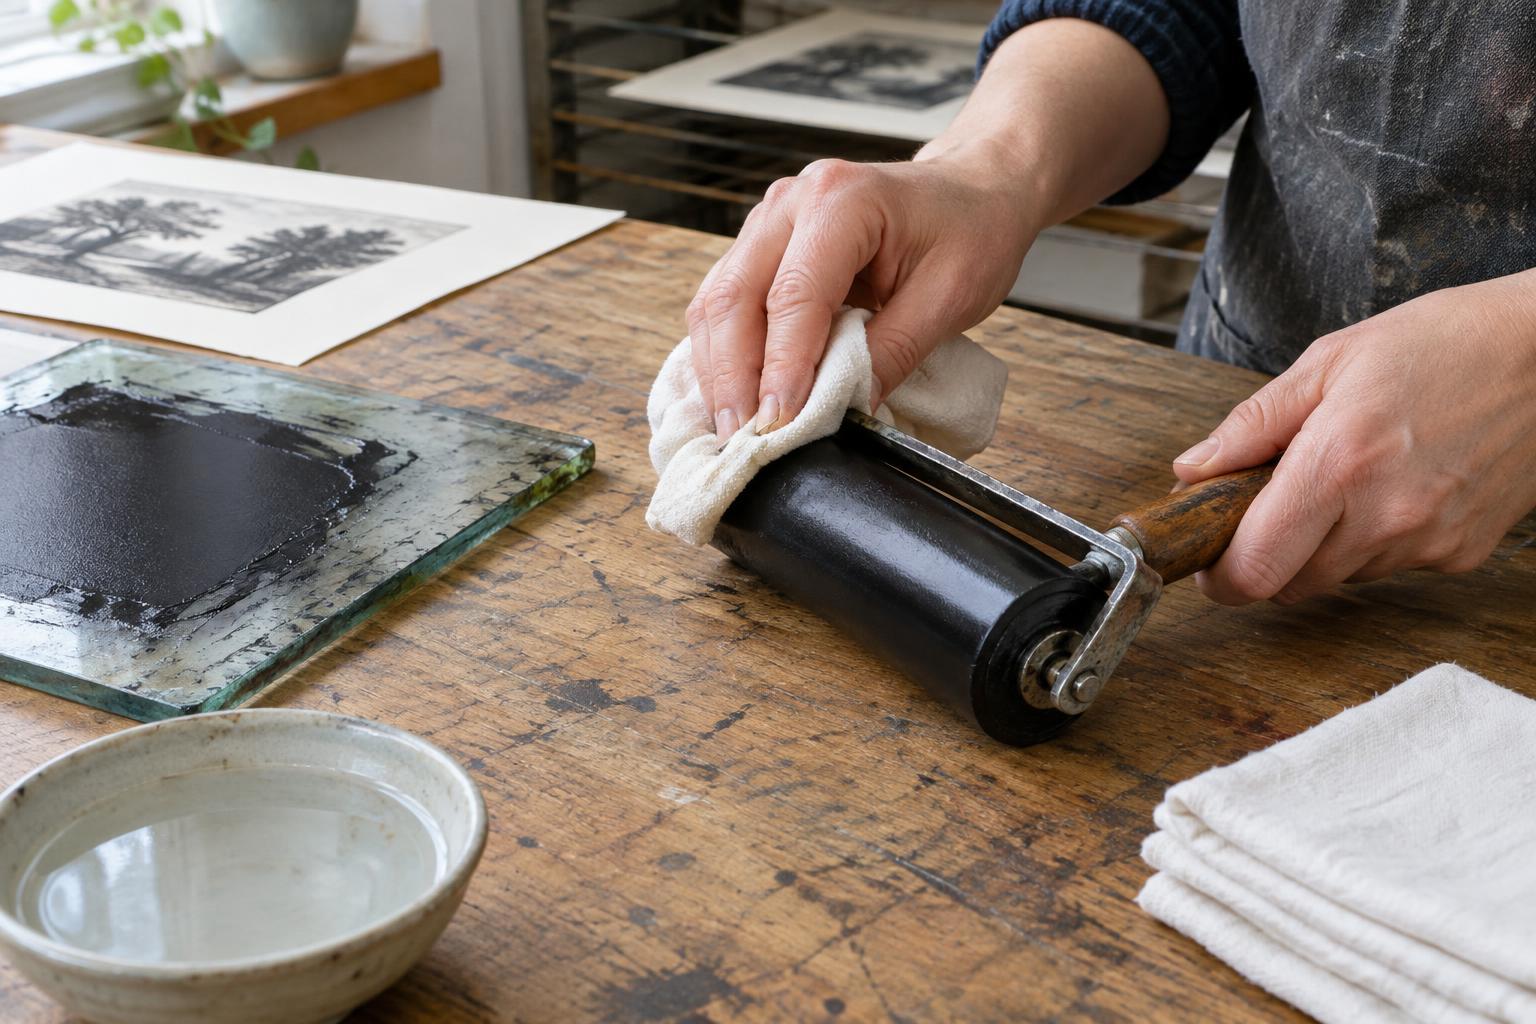
Wipe the roller gently with a soft cloth while rotating it by hand. Do not hold a cloth against a rapidly spinning roller or pull it hard across the surface. Check the ends of the roller and the gap near the frame, where ink can collect. A folded corner of cloth can reach these areas without digging into them. Avoid metal tools, abrasive pads and sharp-edged scrapers: even a small nick in the roller may show up repeatedly in later prints.
Match the cleanup to the ink
For an ink labeled as water-washable, follow its directions. A lightly damp cloth may remove the remaining film; some inks call for mild soap as well. Use only as much liquid as you need, and wipe until the roller feels clean rather than slippery. “Water-washable” does not necessarily mean that every residue should be rinsed into a drain, so use the disposal guidance for the ink and your workspace.
Traditional oil-based inks often need a different approach. Some can be loosened with a manufacturer-recommended cleaner or a small amount of suitable oil before a final wipe. Others require a compatible solvent. Do not assume that any household degreaser or solvent is safe for the roller. If a solvent is specified, use it sparingly, provide appropriate ventilation, and follow its handling and disposal instructions. Keep solvent off parts that its manufacturer or the brayer maker says it could damage.
Whichever method you use, finish by removing the cleaner itself. A remaining oily film can affect the next ink layer, while dried soap can leave a tacky feel. A clean, dry cloth is useful for this final pass.
Protect the roller and the moving parts
A brayer needs a clean rolling surface and a freely moving axle. Wipe the frame, handle and exposed ends of the axle separately, rather than immersing the entire tool. Soaking can carry ink and cleaning liquid into bearings or other hard-to-dry spaces. If a roller does not turn smoothly after cleaning, look for visible dried ink around its ends before assuming the roller surface needs more scrubbing.
Use gentle pressure throughout. Hot water, aggressive rubbing and prolonged contact with an unsuitable cleaner may affect some roller materials. If stubborn ink remains, consult the ink and brayer instructions instead of repeatedly attacking the spot. Take particular care with soft rollers: pressing a fingernail into the surface or leaving the roller resting against a hard edge can create a mark that transfers to future prints.
Dry, inspect and store for the next session
Let the brayer dry completely before putting it away. Rotate the roller once more and inspect it under good light for ink caught at the ends, uneven sheen or bits of paper fiber. A final roll over clean scrap paper can reveal residue that is difficult to see. If it leaves a mark, repeat the appropriate gentle cleanup step and dry it again.
Store the brayer so the roller is not pressed against a shelf, another tool or a sharp edge. A stand or a storage position that supports the frame rather than the roller helps protect its shape. Keep it away from unnecessary heat and direct sunlight, and avoid piling heavy supplies on top. Making cleanup part of the end-of-session routine takes only a few minutes when ink is fresh—and gives you a reliable starting point the next time you print.