Start with how the ink sets
A print can feel dry for several reasons. Some of the ink vehicle soaks into the sheet. Water or another liquid may evaporate. Certain oil-based inks also set through reactions with air. These processes can overlap, and the exact behavior depends on the ink formulation, film thickness, paper, and studio conditions. That is why two inks labeled for the same technique may need different drying times.
Paper affects this process most directly through absorbency and surface texture. An absorbent sheet may take up some of the ink vehicle quickly, making a print less likely to offset onto the next sheet. It may also pull ink into the fibers, softening fine lines or reducing surface richness. A more heavily sized or coated sheet holds more ink near the surface, which can preserve a crisp impression but leave it vulnerable to smudging for longer. The aim is not to find the fastest-drying paper; it is to balance image quality with safe handling.
Match absorbency to the printing method
For relief printing, a smooth sheet can pick up detail from a block or plate, while a more textured sheet may give solid areas a deliberately uneven character. With an oil-based relief ink, a very absorbent paper may make the surface look dull before the ink film has fully set. A less absorbent paper can retain a stronger surface impression, but prints may need more space and time on the drying rack. Apply a consistent, moderate ink layer before judging the paper; heavy inking can make almost any combination dry slowly.
Intaglio printing introduces another consideration: many traditional papers are dampened so they can be pressed into recessed lines. A strong sheet made for this treatment should tolerate moisture and pressure without readily tearing or shedding fibers. After printing, moisture in the paper and ink must both dissipate or set. Let the sheet dry under a method appropriate to the paper before deciding whether a tacky printed area is an ink problem. For water-based screen printing, test whether the paper can take the wet application without excessive buckling. A heavier or well-sized sheet may help, though it may also keep a thick ink deposit wet on the surface longer.
Distinguish dry-to-touch from ready-to-stack
A print that no longer marks a fingertip may still transfer ink under the weight of a stack. This is called offsetting. Papers that draw liquid away from the surface can reduce early tack, but they do not necessarily mean the entire ink film has finished setting. Similarly, a water-based print can feel dry while the sheet remains slightly distorted from moisture.
To check a pairing, print a small group on the intended paper rather than relying on one proof. Leave the sheets separated with airflow, then test an inconspicuous area with clean scrap paper and light pressure. Repeat the check before placing prints in a pile or between interleaving sheets. Be cautious with glossy or coated papers: some inks may sit on top rather than bond well. A print that rubs off after ample drying may indicate a compatibility issue, not simply a need to wait longer.
Plan drying space as part of paper choice
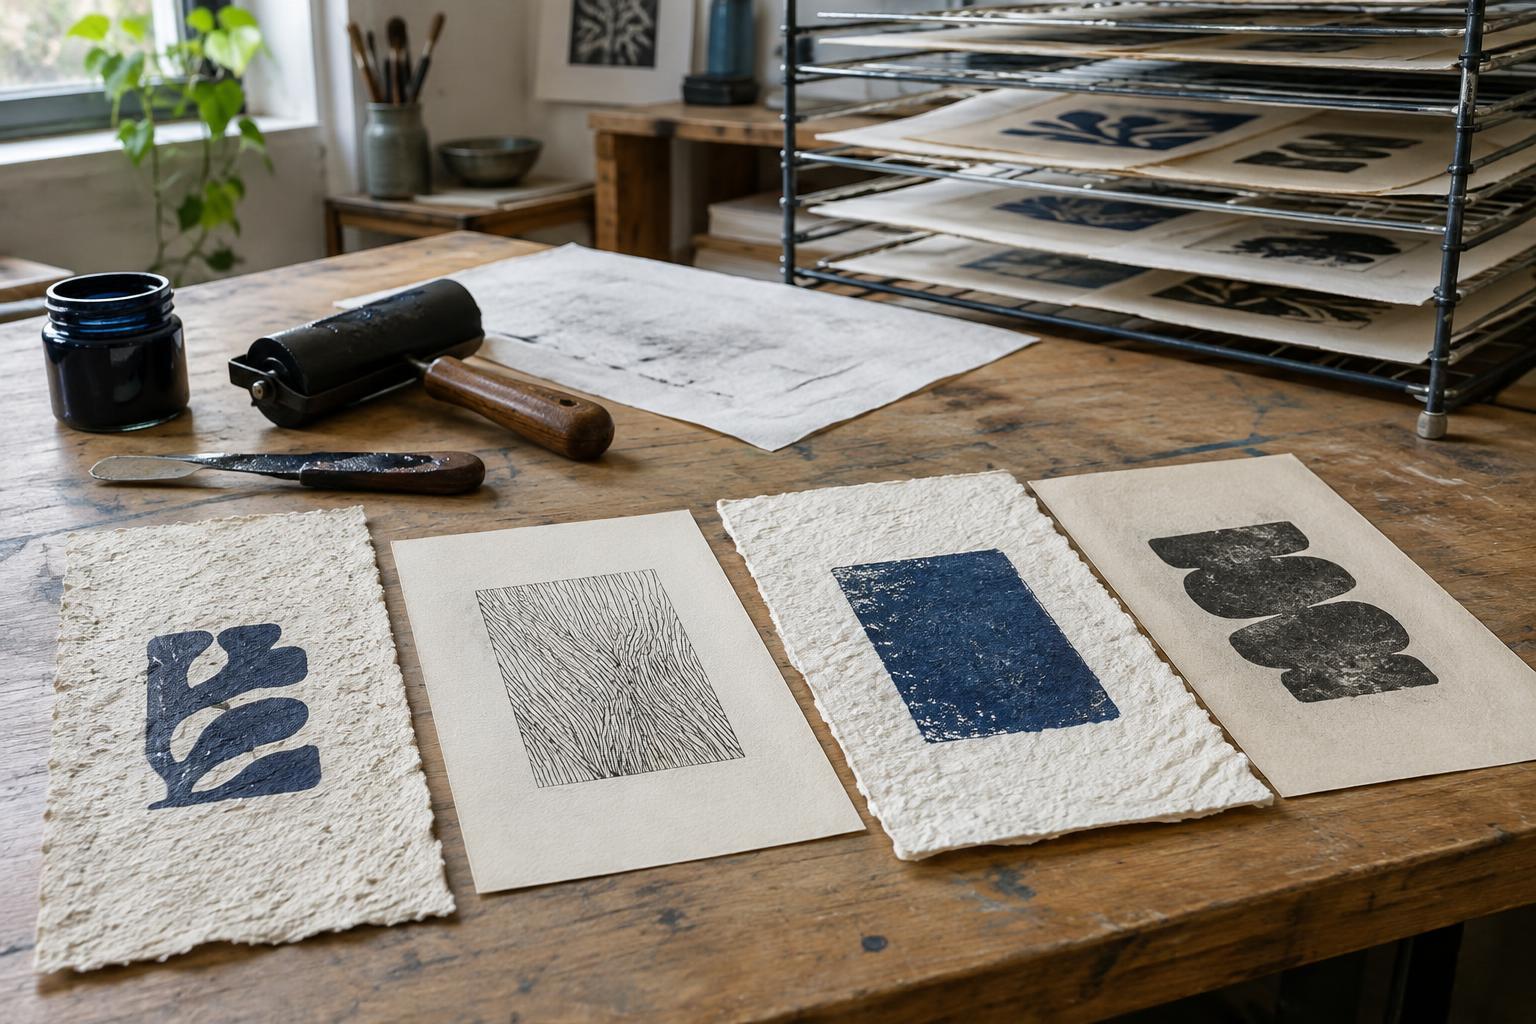
Paper size and stiffness affect how an edition can be dried. Thin sheets may curl or shift on a rack; large sheets need support so wet image areas do not touch a shelf or neighboring print. If the studio has limited flat drying space, choose a paper-and-ink combination only after confirming that prints can be kept separate for as long as needed. Do not assume that interleaving will prevent transfer from fresh ink.
Humidity, airflow, and the amount of ink laid down can change drying behavior. Keep prints away from dust and avoid treating added heat as a universal shortcut: it can warp paper, alter an ink film, or create handling concerns with some products. Follow the ink maker’s handling guidance, especially when a formulation calls for particular ventilation or cleanup.
Make a simple paper-and-ink test sheet
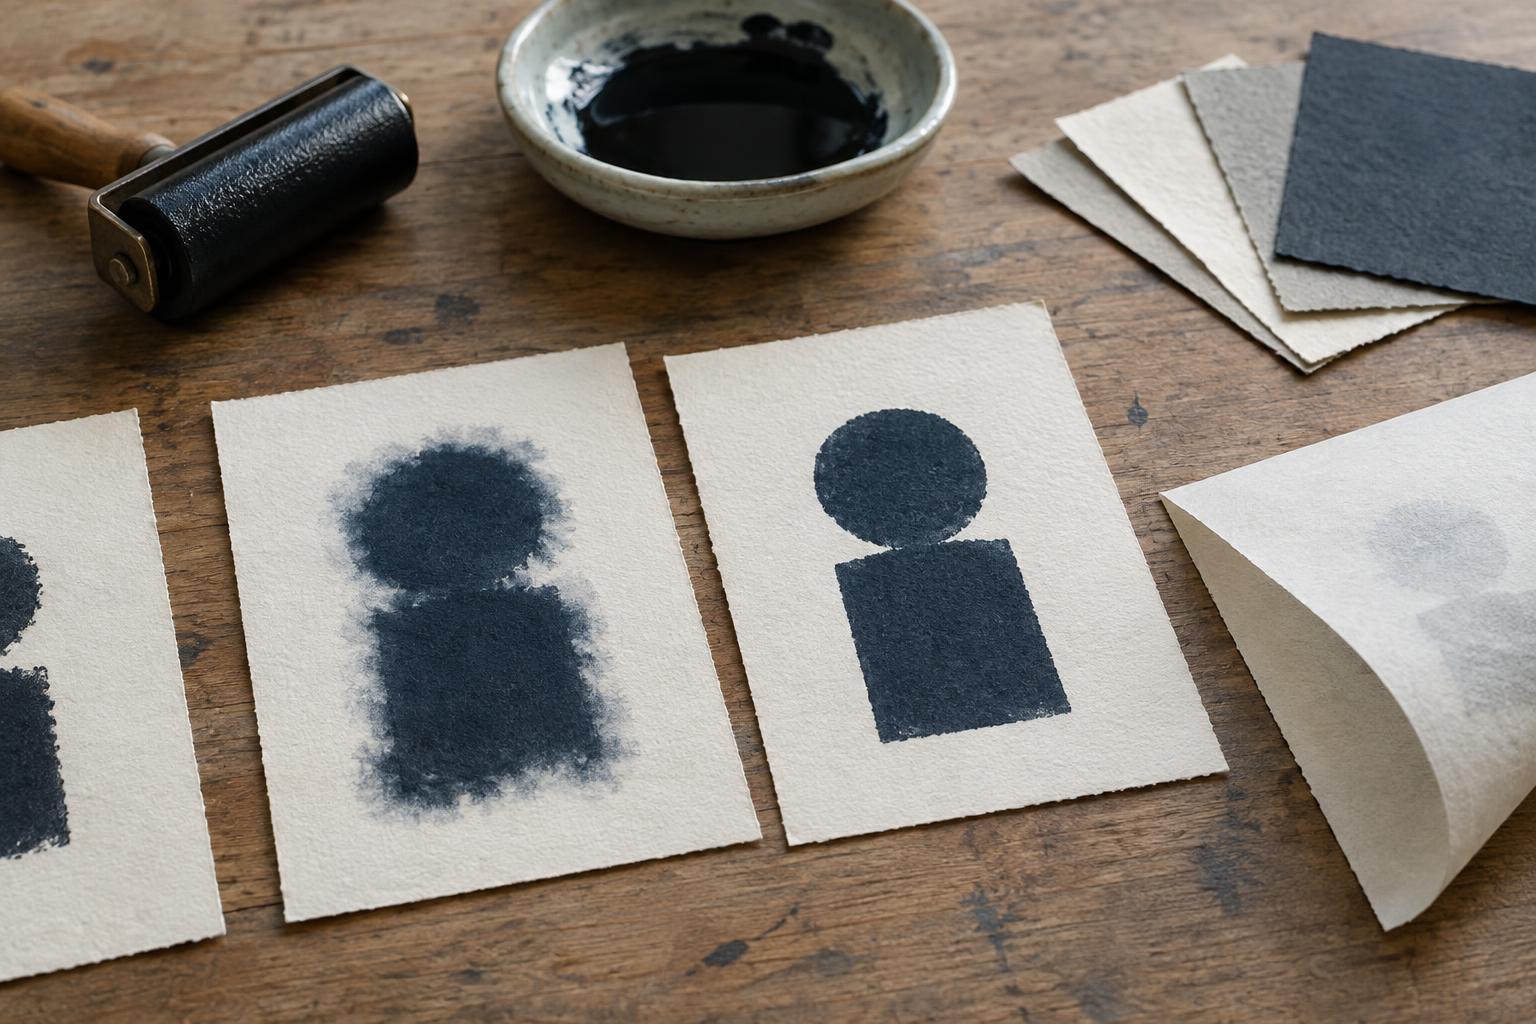
Before buying paper for a full edition, print the same small image on two or three candidate sheets. Include a solid area, a fine line, and a pale passage. Use the ink and printing pressure you intend to use for the edition. Note how easily each sheet accepts ink, whether edges stay sharp, and how much the paper curls or cockles.
Label each proof with the paper, ink, and printing conditions. Check for smearing soon after printing, then check again before stacking. If an absorbent paper dries conveniently but loses detail, try a smoother or more sized sheet and allow more drying space. If a crisp print remains easy to scuff, test a more receptive paper or a thinner ink application. A short trial makes paper choice a decision about both the finished image and the practical work of drying it.