What the ground does
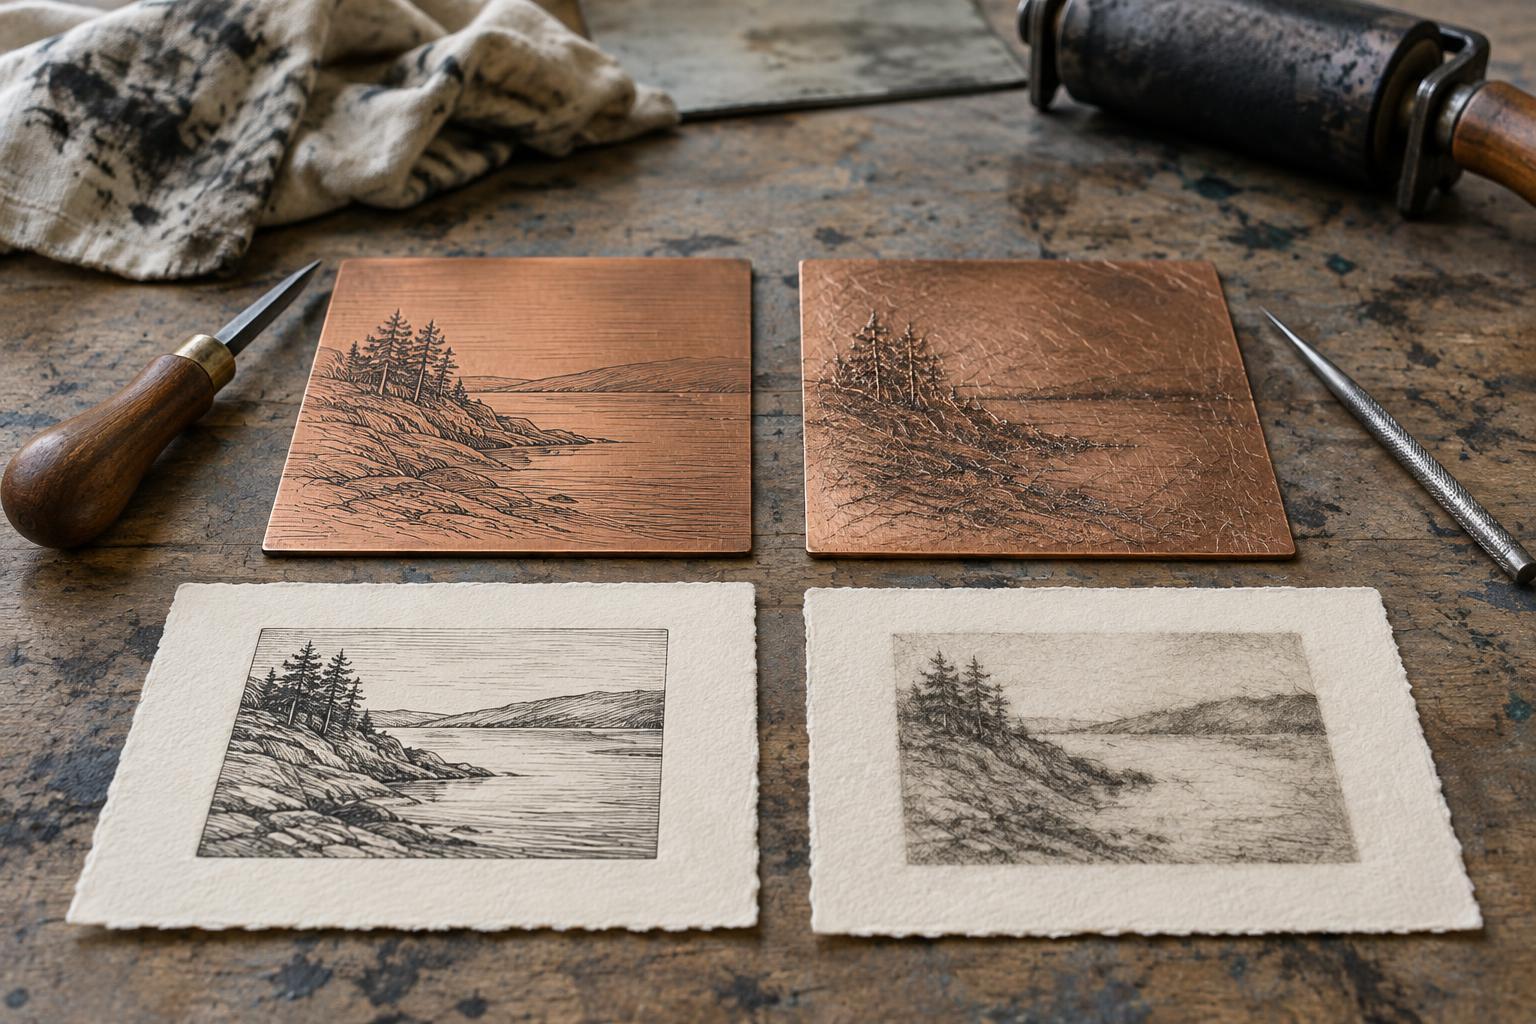
Hard-ground etching is an intaglio process: ink sits in recessed lines rather than on the raised surface of a plate. A thin, resistant coating called a ground protects the metal. You draw through that coating with a pointed tool, exposing narrow paths of metal. During the etching stage, a suitable mordant bites those exposed paths. Once the ground is removed, the grooves can hold ink for printing.
For a first attempt, choose a small plate and a drawing with a clear range of lines. A simple subject, such as a leaf, a cup or a few overlapping shapes, leaves room to notice how each mark prints. The tool does not need to carve the metal: its job is to open the ground. That distinction makes the process feel closer to drawing than engraving, although the printed result will have its own character.
Prepare the plate and draw
Start with a plate prepared for etching in your studio. Smooth any sharp edges, then clean the surface thoroughly so the ground can adhere evenly. Handle the clean plate by its edges where possible; grease from fingers may interfere with the coating. Apply hard ground using the method recommended for that product and workspace, aiming for a thin, continuous layer. Inspect it under good light before drawing, since unintended gaps can become marks on the print.
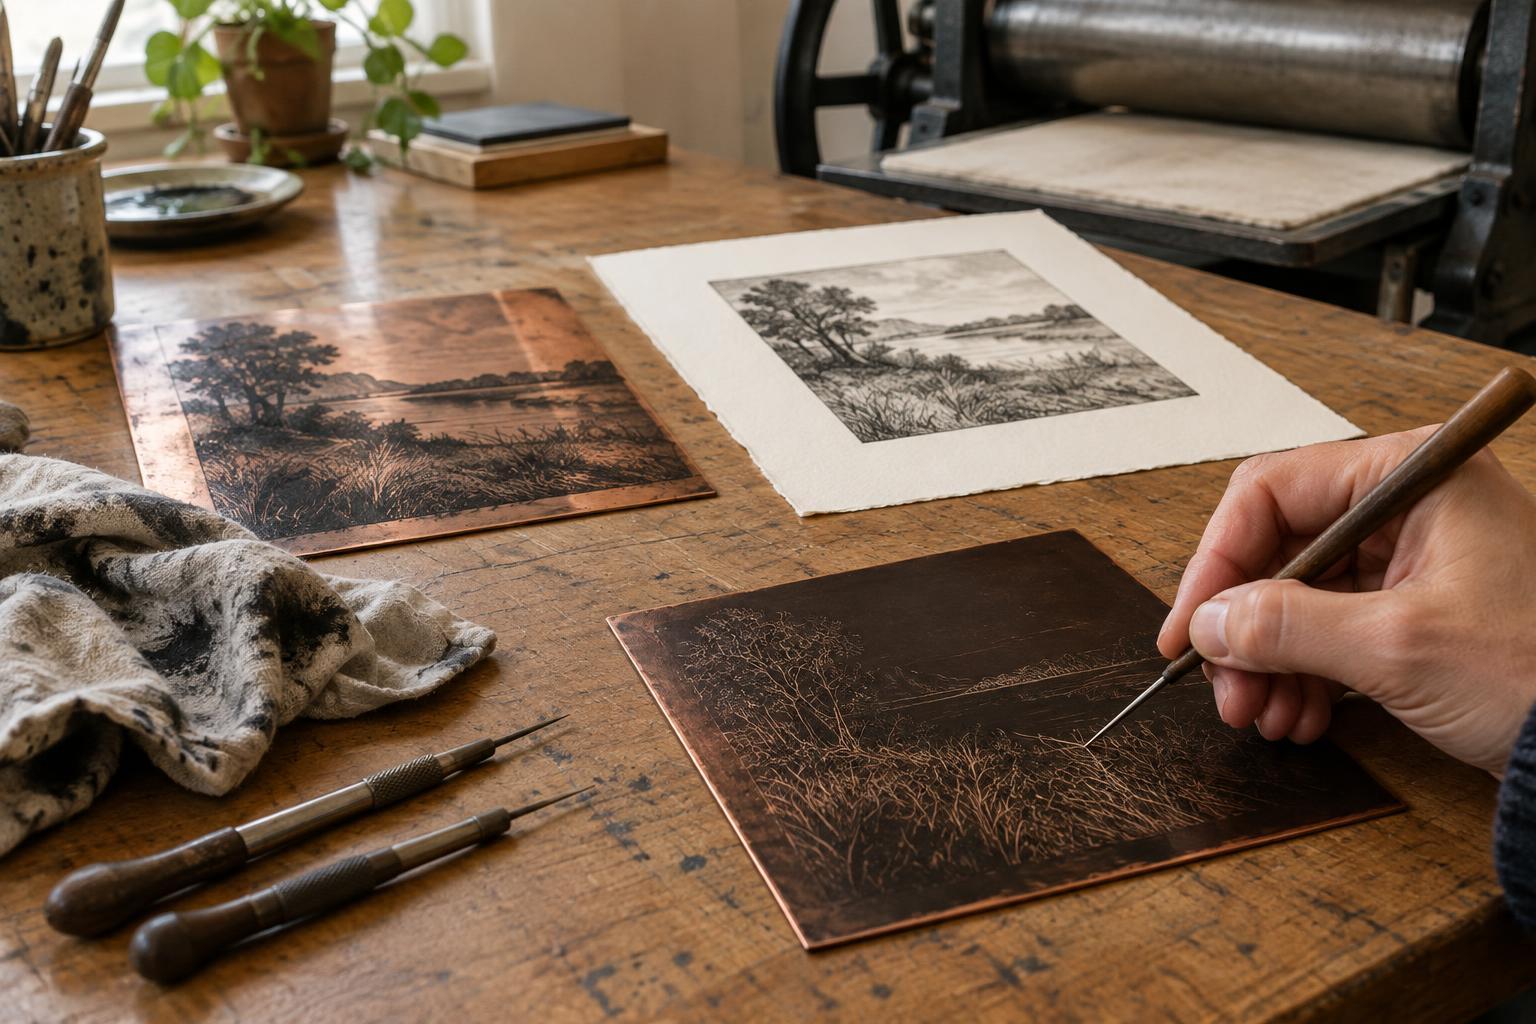
Use an etching needle or another suitable point to draw through the ground. A gentle, steady stroke should reveal the metal without gouging it. Try a few lines at different speeds and pressures on a test area: fast strokes may feel lively, while slow strokes allow greater control. Remember that the printed image reverses the plate. If lettering or a particular left-to-right arrangement matters, plan for that reversal before committing the drawing.
Keep the design legible at this stage. Closely spaced lines can merge visually once inked, especially if they are all etched together. Leave some open areas for contrast, and look at the plate from several angles to confirm that intended lines reach the metal. Accidental scratches through the ground can also print, so rest tools away from the plate when you pause.
Etch with control, then clean up
Protect the back and edges of the plate as required by your studio’s process. Use only a mordant and setup appropriate to the plate metal, following the product instructions and the studio’s safety procedures. Wear the specified protective equipment, work with appropriate ventilation, and keep food and drink out of the work area. Do not improvise mixtures or disposal methods; spent solutions and contaminated materials need handling according to local requirements.
Etch time influences line depth, but it is not a reliable shortcut to a particular appearance. The metal, mordant, temperature and width of an exposed line can all affect the bite. A short, controlled first etch followed by a proof is often more informative than trying to finish every line at once. If you want some lines to remain lighter while others deepen, an experienced printmaker can show you how to stop out selected areas between bites.
After etching, rinse and handle the plate according to your studio’s procedure. Remove the ground with the appropriate cleaner, then check the plate for any burrs or unwanted marks before printing. Keep a note of what you did, including the order of any additional bites. That record will help you connect what you see on the proof with decisions made at the plate.
Ink, wipe and pull a proof
Work ink across the plate so it fills the etched lines, then remove ink from the surface without emptying those grooves. Wiping is part of the image-making: a very clean surface can give crisp contrast, while a little retained surface ink may create a soft tone. Be consistent enough to judge the etched lines, but allow yourself to experiment with wiping on later impressions.
Lay properly dampened intaglio paper over the inked plate and print with a press set up for the plate, paper and blankets you are using. If the press is unfamiliar, ask for a demonstration rather than guessing at pressure. Lift the proof carefully and let it dry flat. Evaluate it only after looking at both the plate and the print: a line that seems obvious on the metal may be faint on paper, while an overlooked opening in the ground may become prominent.
Treat the first print as information, not a verdict. You might deepen selected lines with another controlled bite, change your wiping, or simplify an area that has become too busy. For beginners, one clear plate and a few thoughtful proofs teach more than a complicated drawing rushed through every stage. For experienced makers, the same sequence offers room to develop varied line weights and deliberate plate tone.