What hand-burnishing does
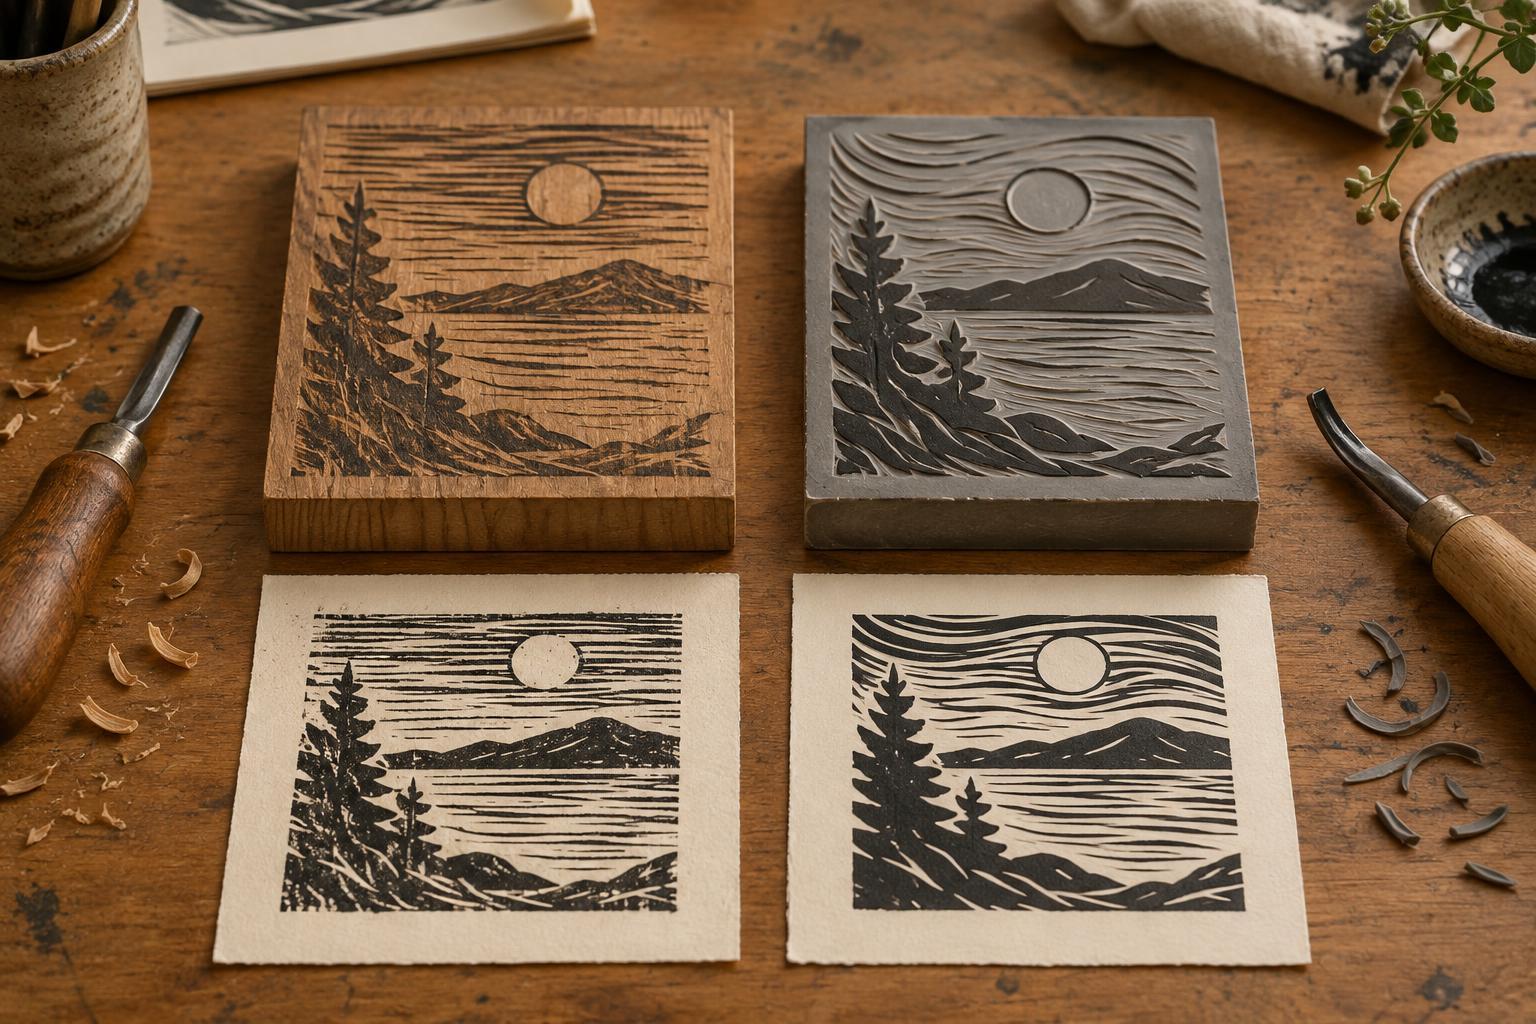
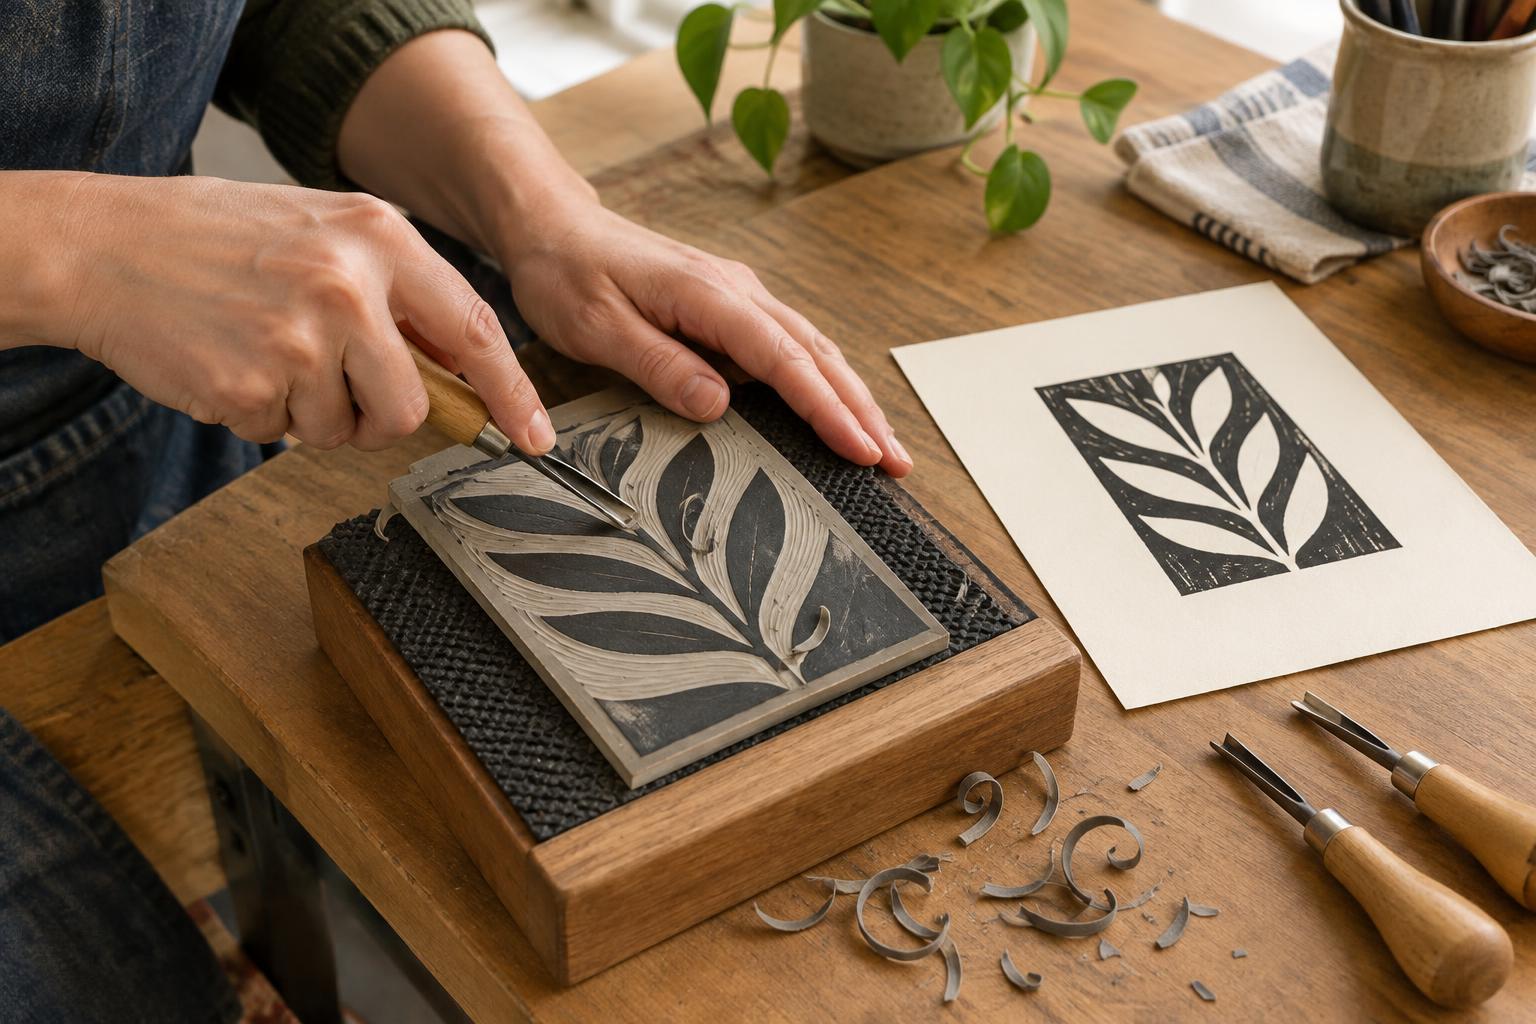
A relief print begins with a raised surface that carries ink. In a carved linoleum or wood block, the uncut areas print while the recessed areas generally remain blank. A press transfers the ink by applying even pressure. Hand-burnishing does the same job through repeated rubbing on the back of the paper. It is slower, but it gives you direct control over where you apply pressure and requires little equipment.
For a first attempt, choose a small block with bold shapes rather than broad fields of solid color or fine, closely spaced lines. You will need a stable work surface, relief ink, a roller, paper, scrap paper for protection, and a smooth-backed spoon or a hand-printing baren. Keep a few test sheets nearby: they let you adjust your method before using paper you have reserved for finished prints.
Prepare the block and paper
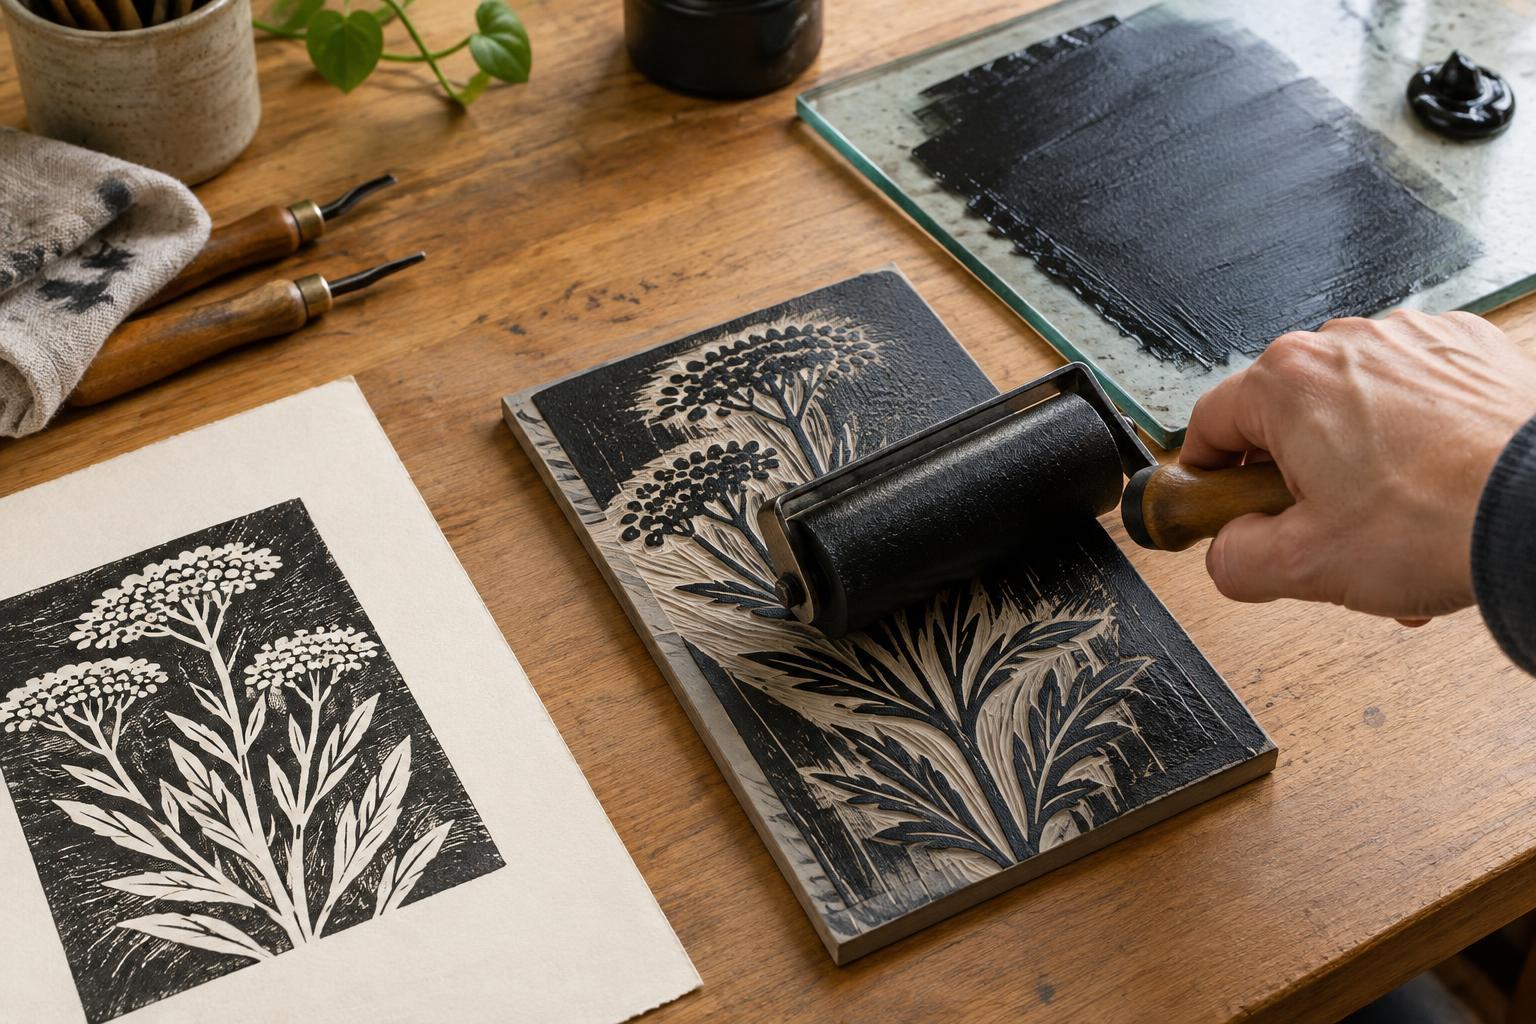
Set the block on a clean, level surface where it cannot slide. Roll out a small amount of ink on a smooth inking surface until the roller carries a thin, even layer. Roll across the raised areas of the block from more than one direction. The surface should look consistently inked without thick ridges collecting at the edges. Too much ink can fill fine details; too little may produce a patchy image even if you burnish thoroughly.
Lightweight, smooth paper is often easier to print by hand than heavy, heavily textured paper because it can make close contact with the block under modest pressure. Cut the sheet larger than the image so you have room for margins and somewhere to hold it. If you plan to make several prints, mark a simple placement guide on a separate sheet or use small corner guides outside the image area. This helps you position each sheet without touching the ink.
Place, burnish and lift
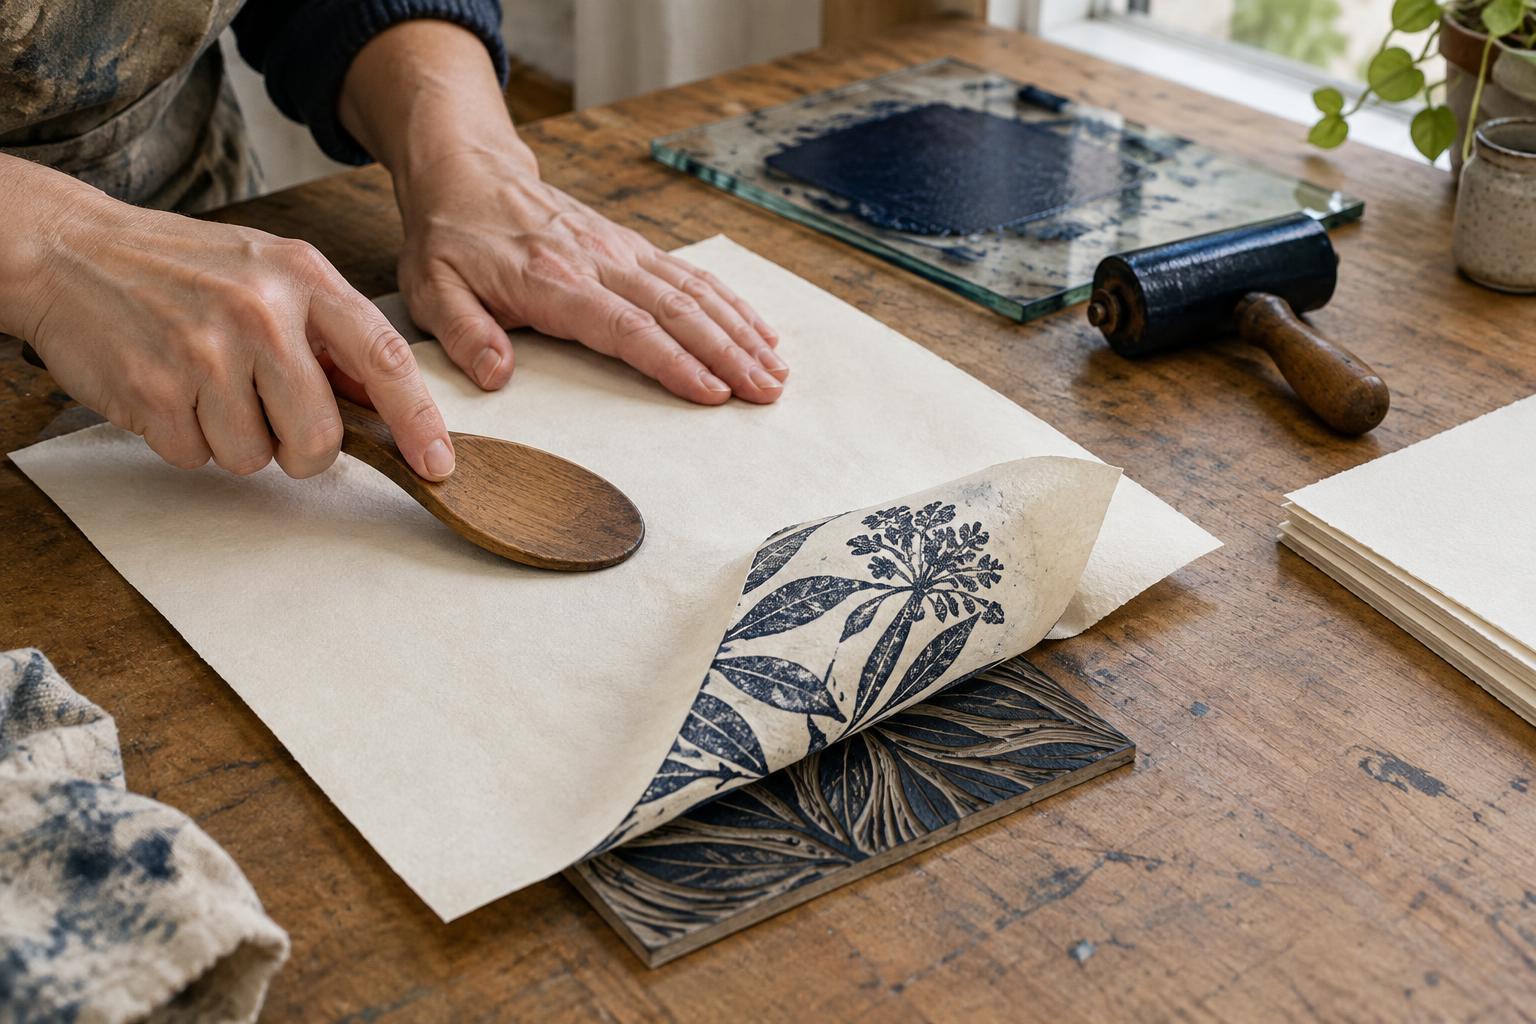
Lower the paper onto the inked block carefully, starting at one edge and letting the rest settle into place. Once it touches the ink, avoid sliding it: movement can blur the image. Lay a clean piece of scrap paper over the printing sheet to protect its back from scuffs. Hold the stack steady with one hand while you work with the other.
Using the rounded back of a spoon or the flat surface of a baren, rub in small overlapping circles. Begin with light pressure to secure the sheet, then work methodically across the whole image. Pay attention to corners and large inked areas, which are easy to miss. You need firm, controlled contact, not forceful scraping. If you are unsure whether the image has transferred, hold the paper down at one edge and gently lift the opposite corner to look. Lower it back into the same position if more burnishing is needed, then peel the finished sheet away slowly.
Read the first impression
Treat the first print as a test. Pale areas may mean that part of the block received too little ink, the paper did not make full contact, or that area needed more burnishing. A fuzzy or doubled edge usually points to movement during printing. Heavy, muddy passages may indicate excess ink rather than insufficient pressure. Look at the block and the print together before changing anything; that comparison helps you choose one adjustment at a time.
If the image is consistently faint, try a slightly thinner or smoother paper, a more even ink layer, or a slower burnishing pass. If only one area is faint, check whether the block or tabletop is uneven and make sure your tool reaches that part of the design. Re-ink the block for each new impression. Trying to fix every issue by pressing harder can tire your hand and damage delicate paper without improving the transfer.
Build a repeatable printing routine
Once you like the result, note the paper, ink and burnishing tool you used. Keep your inking area separate from clean paper, and check the back of each sheet for stray ink before stacking prints. Lay fresh impressions where they can dry without touching one another; drying time depends on the ink, paper and conditions in your workspace. Clean the block, roller and tools according to the ink maker’s directions when you finish.
Hand-burnished prints often show small differences from sheet to sheet. A consistent sequence—ink, position, protect, burnish and lift—makes those differences easier to understand and control. With practice, you can use the same approach for larger blocks or more detailed images, working patiently in sections while keeping the paper anchored.