Start with a clean, dry screen
Photo emulsion creates a stencil by hardening where light reaches it. The dark areas of an opaque artwork positive block light, leaving those parts of the emulsion soft enough to wash away. Ink will later pass through the open mesh. Thinking of the process this way makes each step easier to check: the screen must be clean, the positive must block enough light, and the exposure must harden the areas you want to keep.
Degrease the mesh using a product suitable for screens, rinse thoroughly, and let it dry before coating. Grease, dust, or detergent residue can keep emulsion from adhering evenly. Coat the screen according to the emulsion maker’s directions, then dry it completely in a clean, dark space. A damp coating can produce an unreliable stencil even when the exposure seems correct. Handle sensitizers and cleaning products as their labels direct, and protect your work area from spills.
Prepare the artwork and make close contact
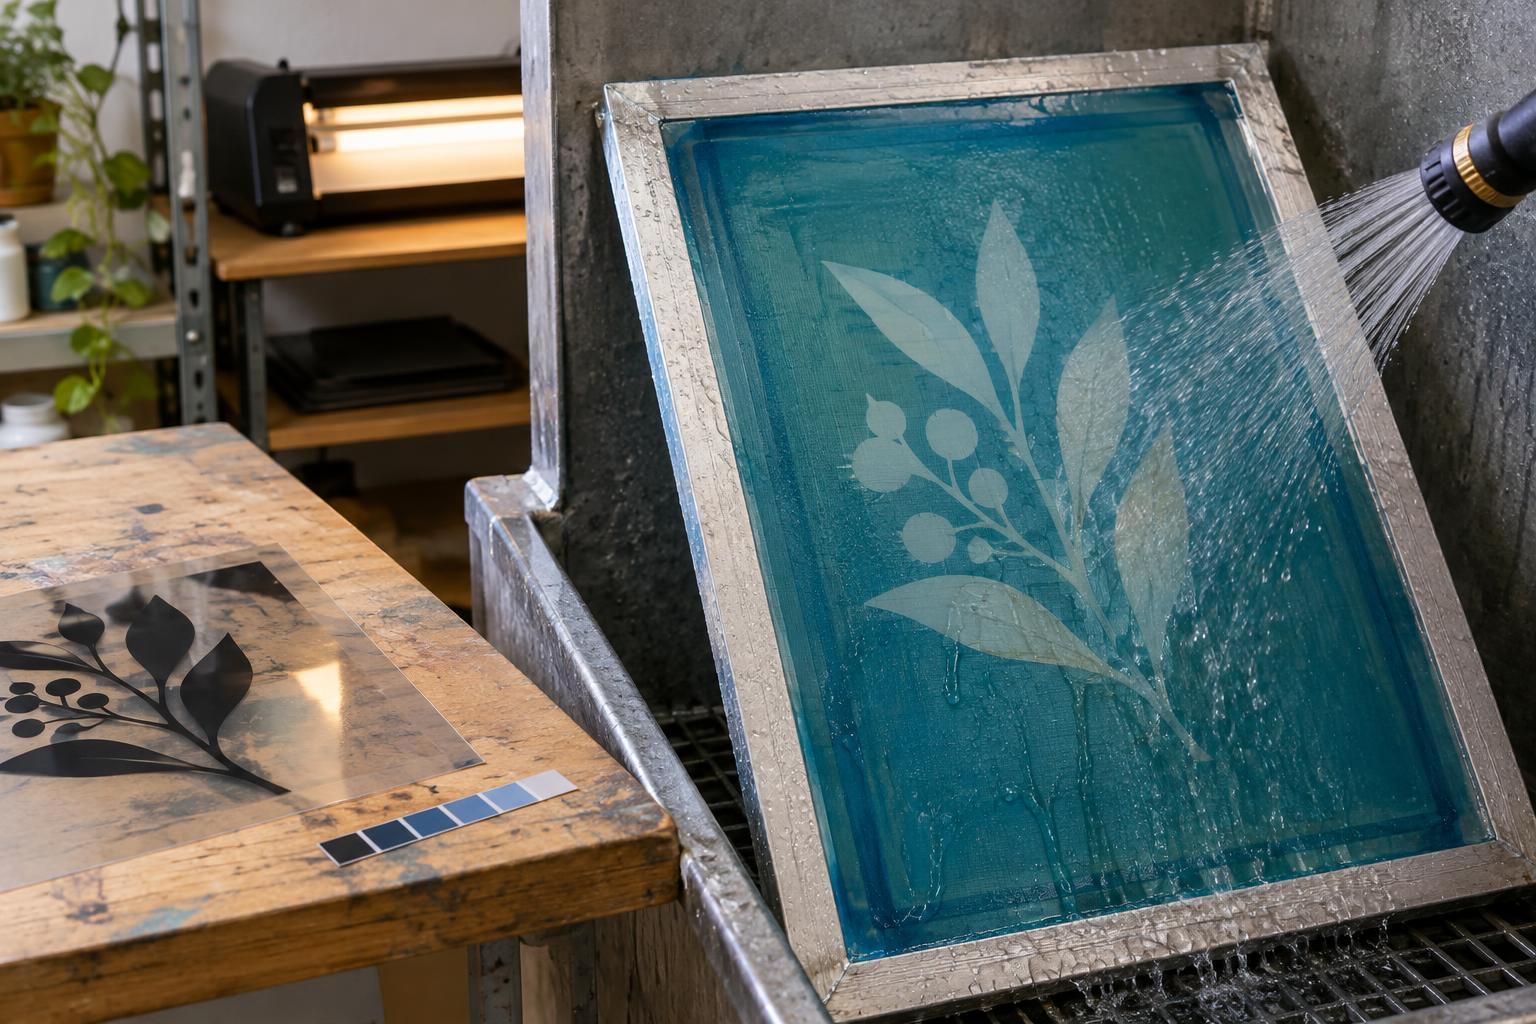
For a first project, choose a bold, single-color design with lines and gaps that are easy to see. Print or draw it in dense black on a transparent film intended for your output method. Hold the positive up to a light: areas meant to stop exposure should look convincingly opaque. Pale blacks, gaps in filled shapes, and overlapping sheets of film can all affect the result.
Place the positive against the coated screen in the orientation required by your exposure setup. Check that the image will print the right way round before switching on the light. Good contact matters as much as orientation. If the film lifts away from the emulsion, light can creep beneath its edges and soften fine details. Use your exposure unit’s contact system, or a suitable clean glass sheet where the equipment instructions permit one. Keep dust and fingerprints off the film, glass, and screen.
Test the exposure instead of guessing
Exposure time depends on the emulsion, coating thickness, mesh, artwork, and light source. A time that works on one setup may not work on another. Follow the product and equipment instructions for an initial range, then make a small step test before exposing an important screen. A test image containing solid shapes, narrow lines, and small open spaces will show more than a single large block.
During a step test, give different parts of the same image different amounts of light, then wash out the screen and compare the results. You are looking for an exposure that releases the image areas while leaving the surrounding stencil firm. Record the setup and result in a notebook: emulsion, screen, light, distance if relevant, and exposure setting. Those notes give you a starting point for the next screen, not a guarantee that every future coating will behave identically. Avoid looking directly at a UV source, and follow the exposure equipment’s safety instructions.
Wash out gently and inspect the stencil
After exposure, take the screen to a washout area. Wet both sides evenly with cool water, following any waiting or soaking guidance supplied with the emulsion. Use a gentle spray to develop the image, giving the water time to soften unexposed emulsion. Watch the design open gradually through the mesh. A forceful jet may seem faster, but it can damage fine details or dislodge a fragile stencil.
Once the image has opened, rinse away remaining soft emulsion and inspect the screen against a light. Intended printing areas should be clear through the mesh; areas meant to hold ink back should remain covered. Do not keep spraying a finished stencil simply because the washout water is still running. Let the screen dry fully before making repairs or printing. Follow local disposal requirements and product guidance for washout water and chemical residues.
Read the result before the next attempt
If image areas refuse to open, they may have received too much light, the positive may not have blocked enough light, or the coated screen may have seen light before exposure. If the stencil washes away outside the image, underexposure is one possibility; incomplete drying, poor cleaning, or an overly vigorous spray can also contribute. Blurry edges often point to poor contact between film and screen, while scattered unwanted openings may come from dust or coating defects.
Change one variable at a time on the next test. For example, keep the same coating and artwork while adjusting exposure, or keep exposure constant while improving the film’s opacity. Once the dry stencil passes inspection, block out small unwanted openings with a compatible product and tape screen edges as needed for printing. A modest test print is the final check: it shows whether the open mesh prints cleanly and whether the hardened emulsion holds up to the ink and squeegee.