Two ways to make an intaglio line
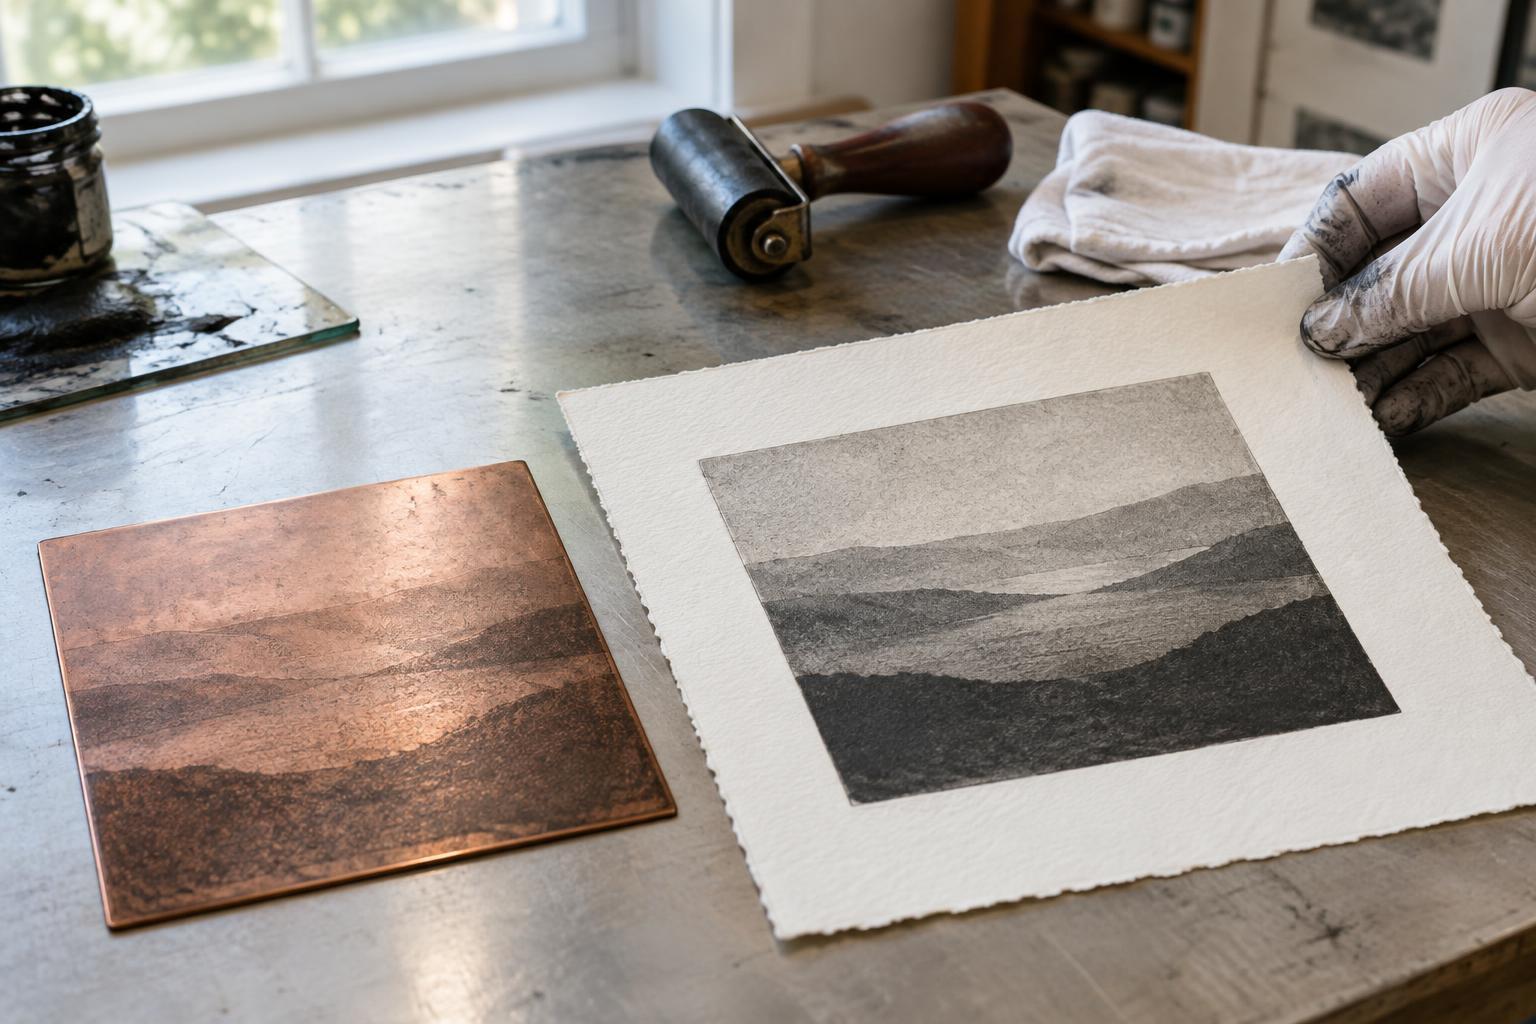
Engraving and drypoint are both intaglio methods: ink is worked into marks on a plate, the surface is wiped, and pressure transfers the remaining ink to paper. The resemblance can be misleading. A burin cuts a groove and removes a sliver of metal. A drypoint needle scratches into the surface, pushing some material aside. That displaced material, called a burr, is central to drypoint’s appearance.
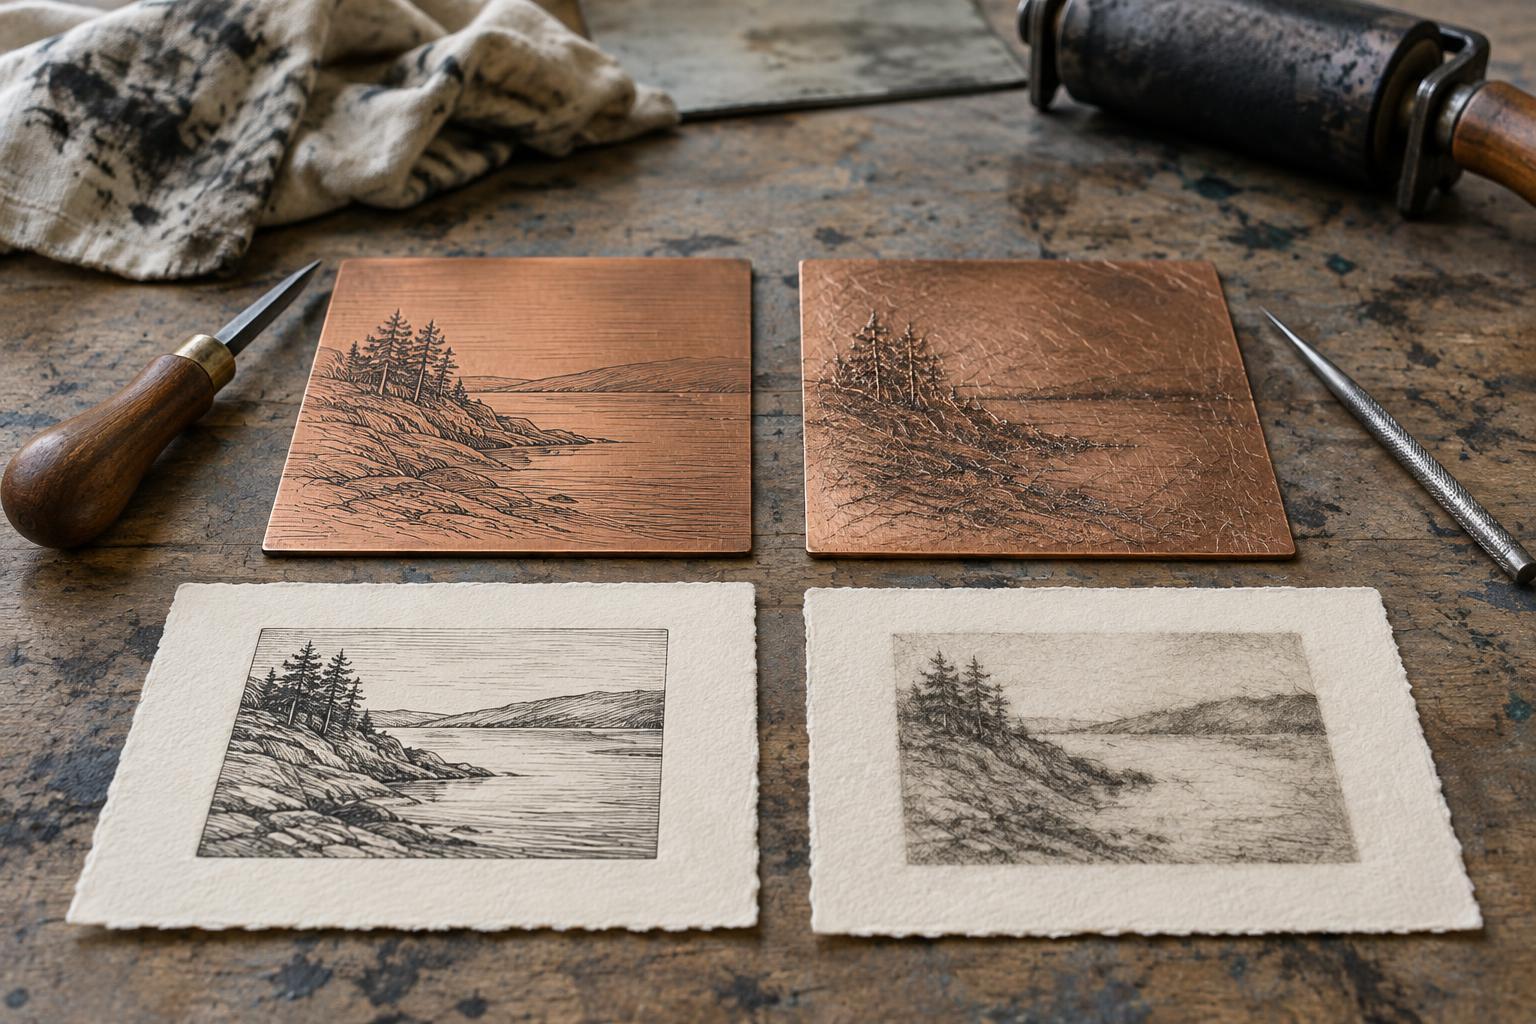
Neither tool automatically produces a particular style. A skilled printmaker can make delicate engraving or remarkably controlled drypoint. Still, the way each mark is formed gives it different possibilities. Looking at the edge of a printed line, rather than only its overall shape, is often the quickest way to notice the difference.
The burin’s cut: a clear edge and a shaped stroke
A burin is a sharpened steel tool pushed through a metal plate, commonly copper. Its tip lifts out a narrow shaving, leaving a groove that holds ink. The cut tends to have relatively clean edges, so a carefully printed engraving can show crisp, definite lines. The engraver can vary their width by changing the depth of the cut, often beginning with a fine point, swelling the line and tapering it away.
That control asks for practice. The tool must be guided while it is cutting, and a tight curve is often easier to make by turning the plate beneath it than by forcing the hand around the curve. Closely spaced lines and crosshatching can build tone, but their spacing matters: once cut, a line cannot simply be erased. Engraving rewards a plan for the direction, weight and rhythm of marks, even when the initial drawing is loose.
Drypoint’s scratch: a soft edge with its own character
In drypoint, a hard-pointed needle scores a plate of metal or another suitable material. Instead of lifting out a clean shaving, it leaves a furrow with burr along one or both sides. During printing, ink catches around that raised edge as well as in the scratch. The resulting line may look soft, dark or slightly fuzzy beside an engraved line. Its character depends on the plate material, the pressure and angle of the needle, and how the plate is wiped.
A drypoint needle can feel closer to a drawing instrument than a burin: it can follow a quick contour, pause, or double back. Firm pressure may make a darker mark, while light scratches can print faintly or disappear after wiping. Heavy crosshatching can become dense quickly, so it helps to test a few marks before committing to a large area. Drypoint is approachable for beginners, but making predictable tones still takes experimentation.
What changes at the press
Both plates need ink pushed into their marks and enough printing pressure to bring paper into contact with those marks. Wiping has a noticeable effect on either print. Extra ink left on the plate surface can create plate tone; more thorough wiping can make the surrounding paper appear cleaner. For drypoint, vigorous wiping can also flatten or wear the burr, reducing the softness that makes the line distinctive.
The burr changes with repeated printing, so later drypoint impressions may look lighter or less velvety than early ones. Engraved grooves generally withstand repeated printing better, although plate material, handling and press pressure all matter. If a consistent edition is the goal, make a proof first, note the paper, ink and wiping method, and compare impressions as you go. Decide which variations you welcome rather than assuming every sheet will match exactly.
A small comparison exercise
To understand the difference firsthand, draw the same simple subject twice: perhaps a leaf with a curved outline and a few shaded veins. Use a drypoint needle on a suitable practice plate for one version. For the other, use a burin on a metal plate if you have the tools and instruction to handle it safely. Keep each image small and give yourself room for a few straight lines, curves and patches of hatching.
Secure the plate before working, keep your hands clear of the tool’s path, and remove metal shavings with a brush rather than your fingers. Print test impressions on the same paper if possible. Compare the edges of the lines, the darkest areas, and how easily each tool let you change direction. The useful question is not which print is better: it is whether the clean, shaped cut or the burr-rich scratch serves the image you want to make.