What the paper must do
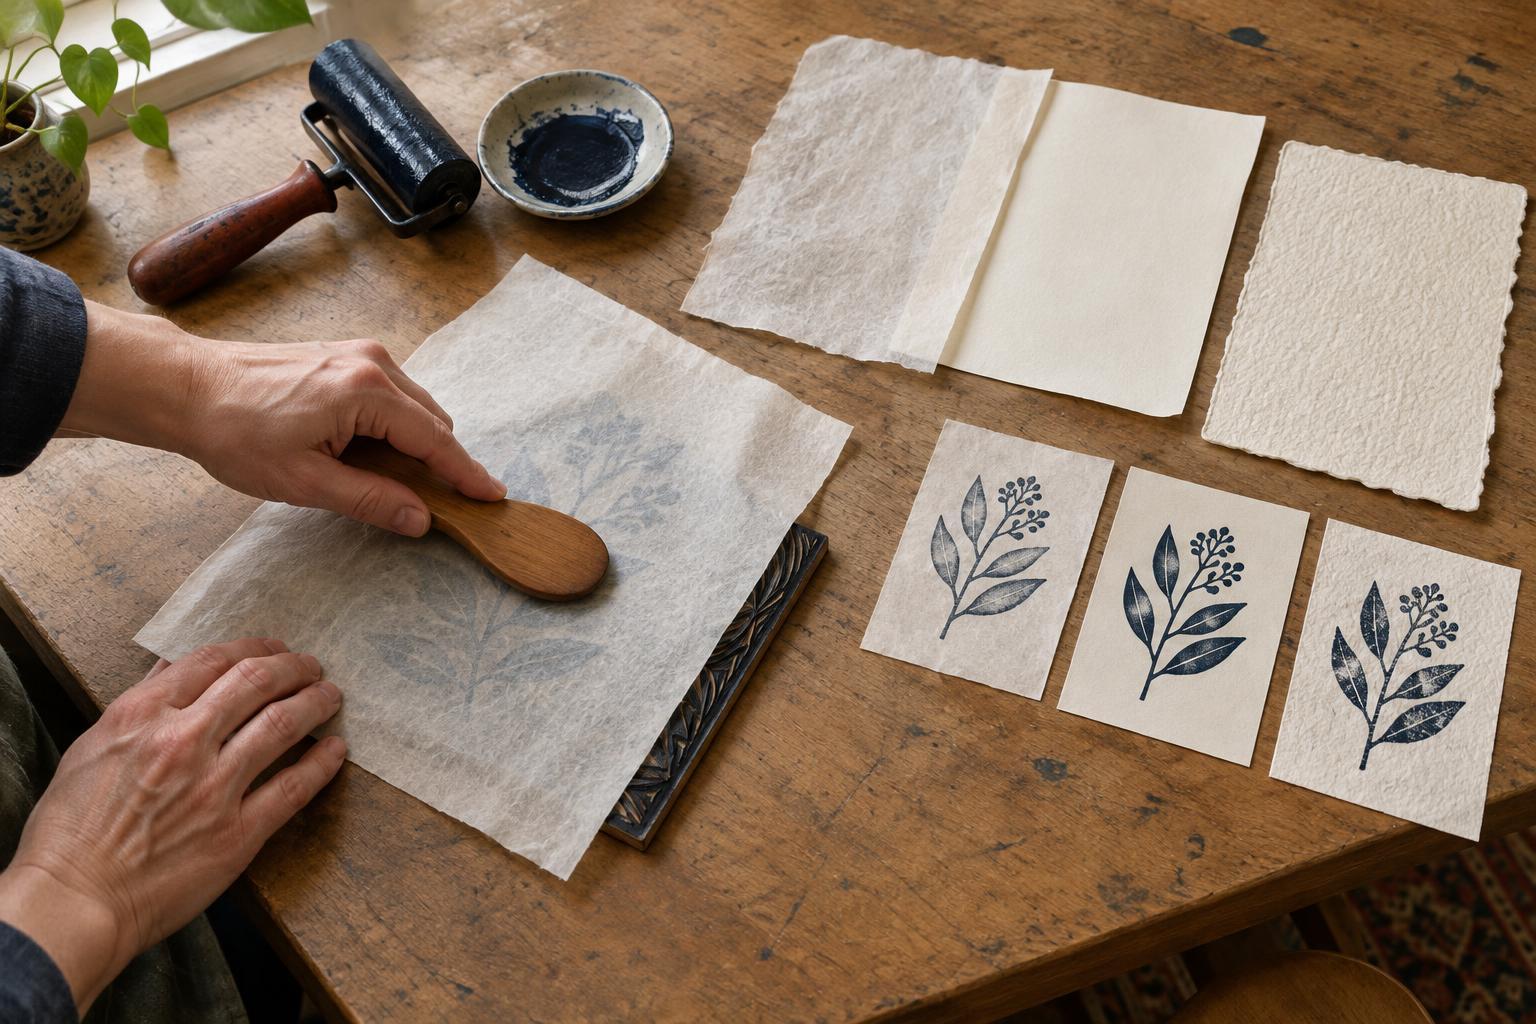
In a hand-burnished relief print, the paper lies against the inked, raised surface of a block. Rubbing the back of the sheet transfers the ink without a press. Because pressure comes from your hand and tool, the paper needs to make close contact with the block without demanding excessive force. A sheet that works beautifully in a press may be frustrating when burnished by hand.
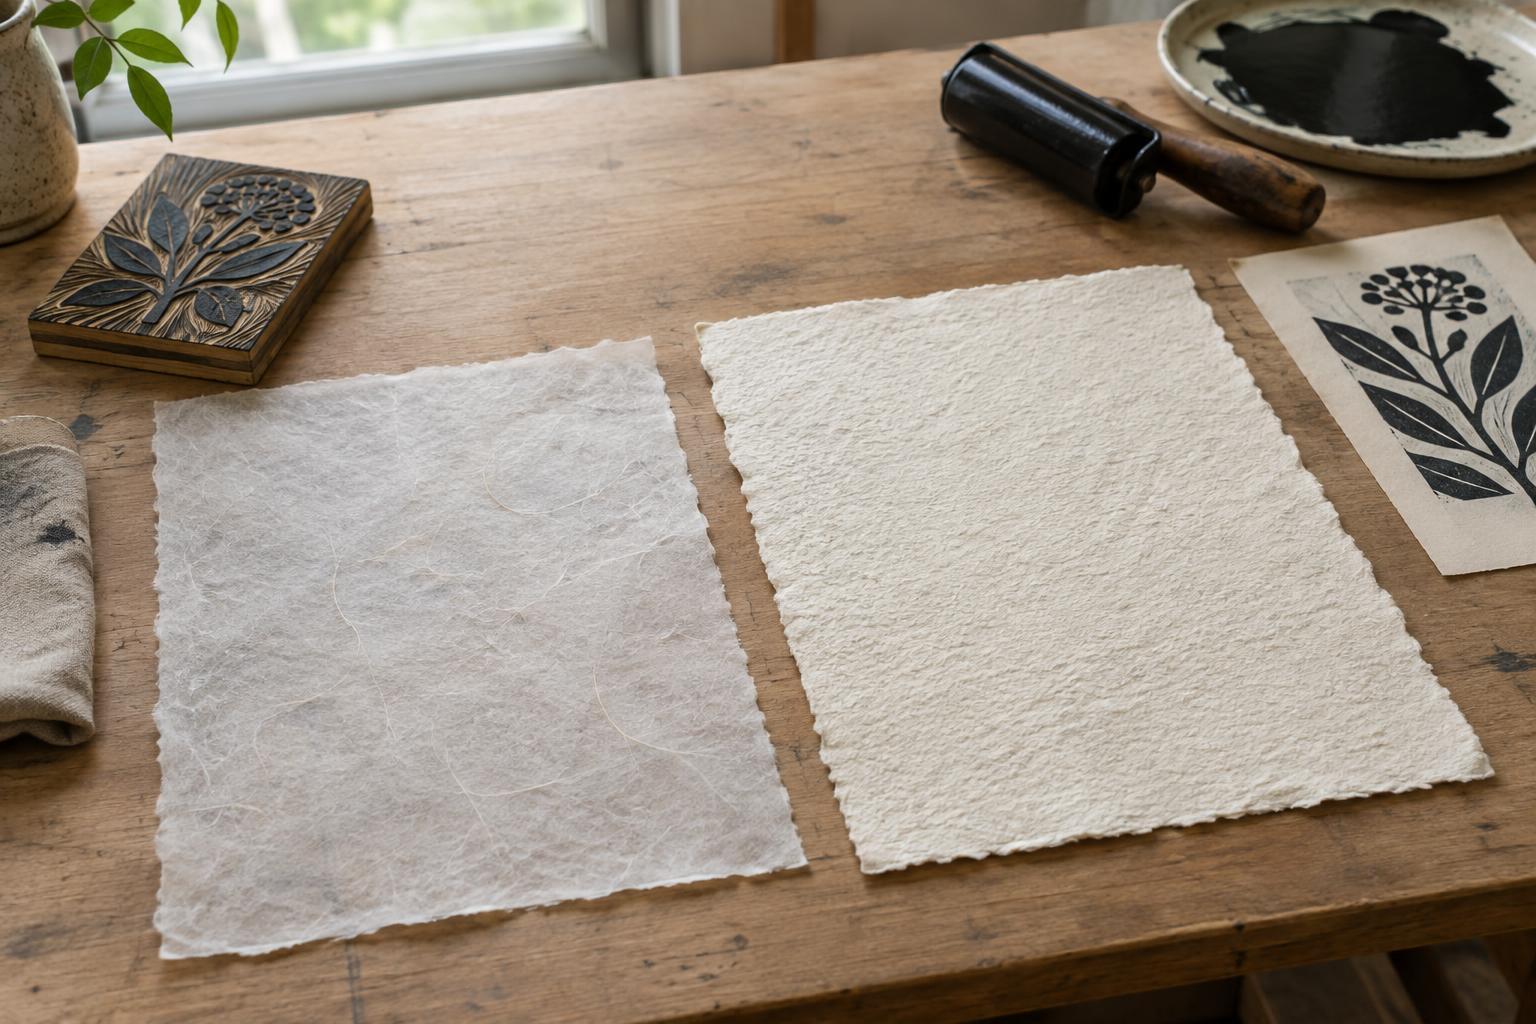
Begin with a flexible, relatively smooth paper. Thin sheets often pick up fine carved marks more readily than stiff, heavy ones because they conform to the block under gentle pressure. That does not mean the thinnest paper is always best: a fragile sheet may tear, stretch, or become difficult to lift cleanly. For a first test, look for a paper you can bend easily and rub firmly without scuffing its back.
Balance surface and texture
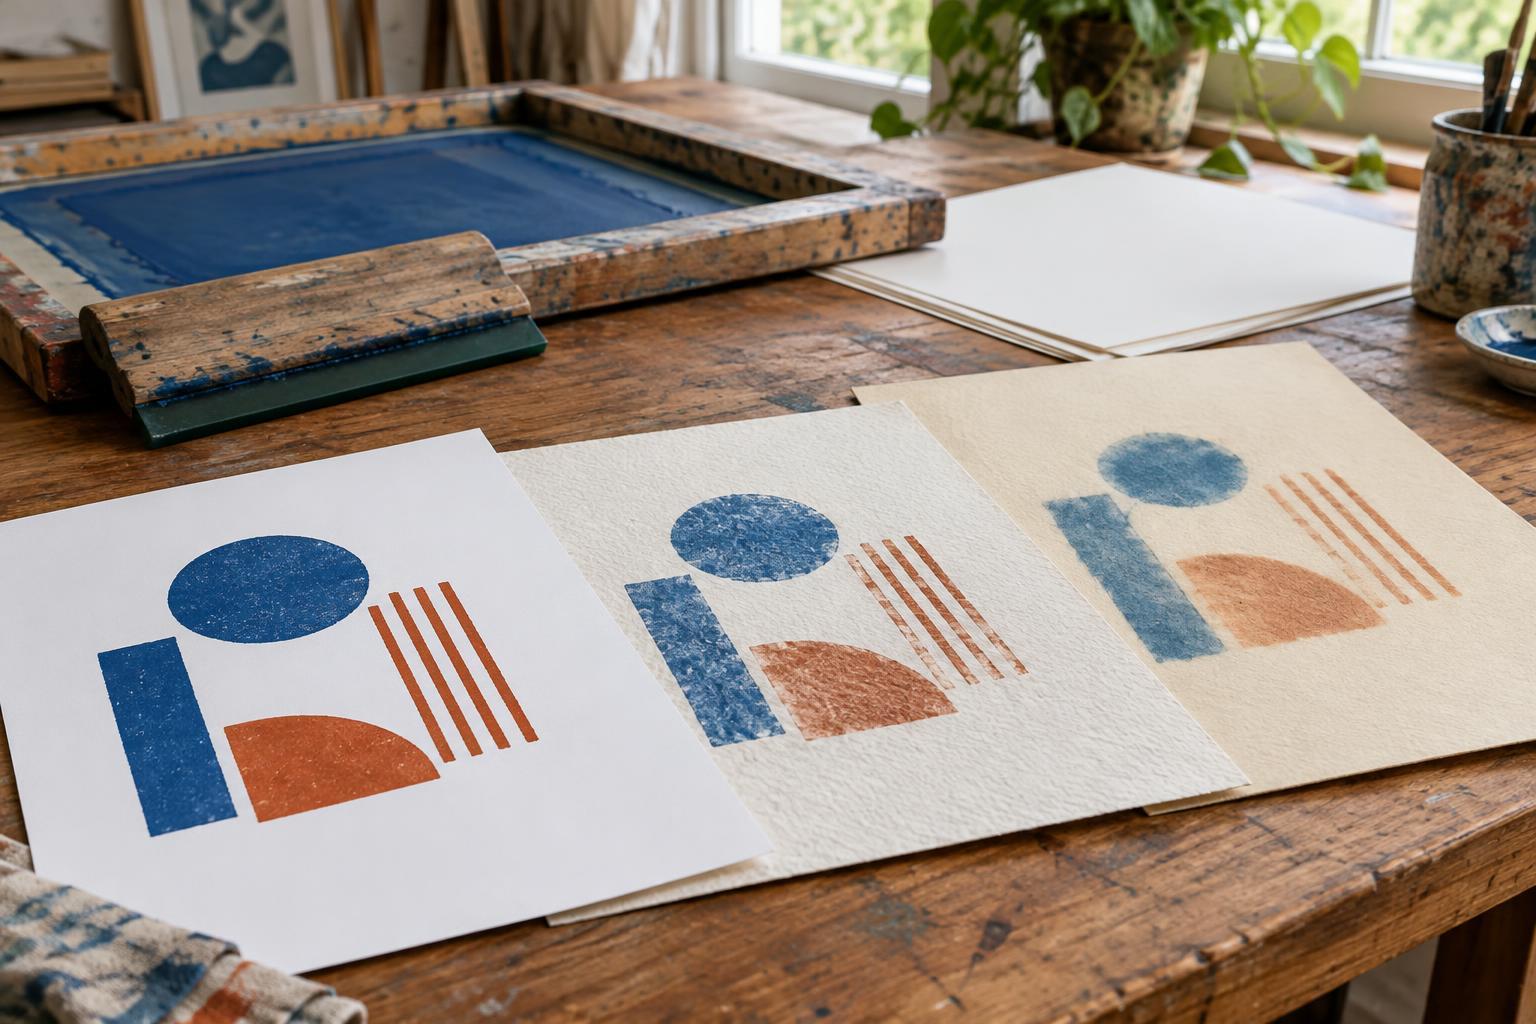
A smooth surface usually gives the block more consistent contact, which can help solid shapes print evenly. A textured sheet can lend character, but its low spots may not touch the ink without more pressure. If your design relies on small lettering, narrow lines, or broad areas of flat color, compare it on a smooth paper before choosing a pronounced texture.
Paper also has two sides that may feel different. One may be smoother or less absorbent than the other. Mark a corner on your test sheets so you can compare the sides without losing track of which you printed. A pleasing result is not necessarily a flawless, uniform one; the question is whether the paper’s texture supports the marks you intended.
Consider sizing, absorbency, and ink
Sizing is a treatment that affects how readily paper takes up moisture. A highly absorbent sheet may pull liquid from some inks quickly, while a less absorbent surface may leave ink sitting on top longer. Either behavior can be useful, but it changes how the print looks and how carefully it must be handled. Paper weight alone will not tell you how a sheet will respond.
Test with the ink you actually plan to use. A paper that performs well with one ink may give a softer or patchier impression with another. If you use water-based ink, pay particular attention to sheets that buckle or become weak when damp. Avoid making dampening part of your process simply because a paper is hard to print dry; first try a more flexible sheet, a thinner and more even ink layer, or a different burnishing tool. If you do experiment with moisture, test a scrap before committing to a finished block or edition.
Make a small, useful paper test
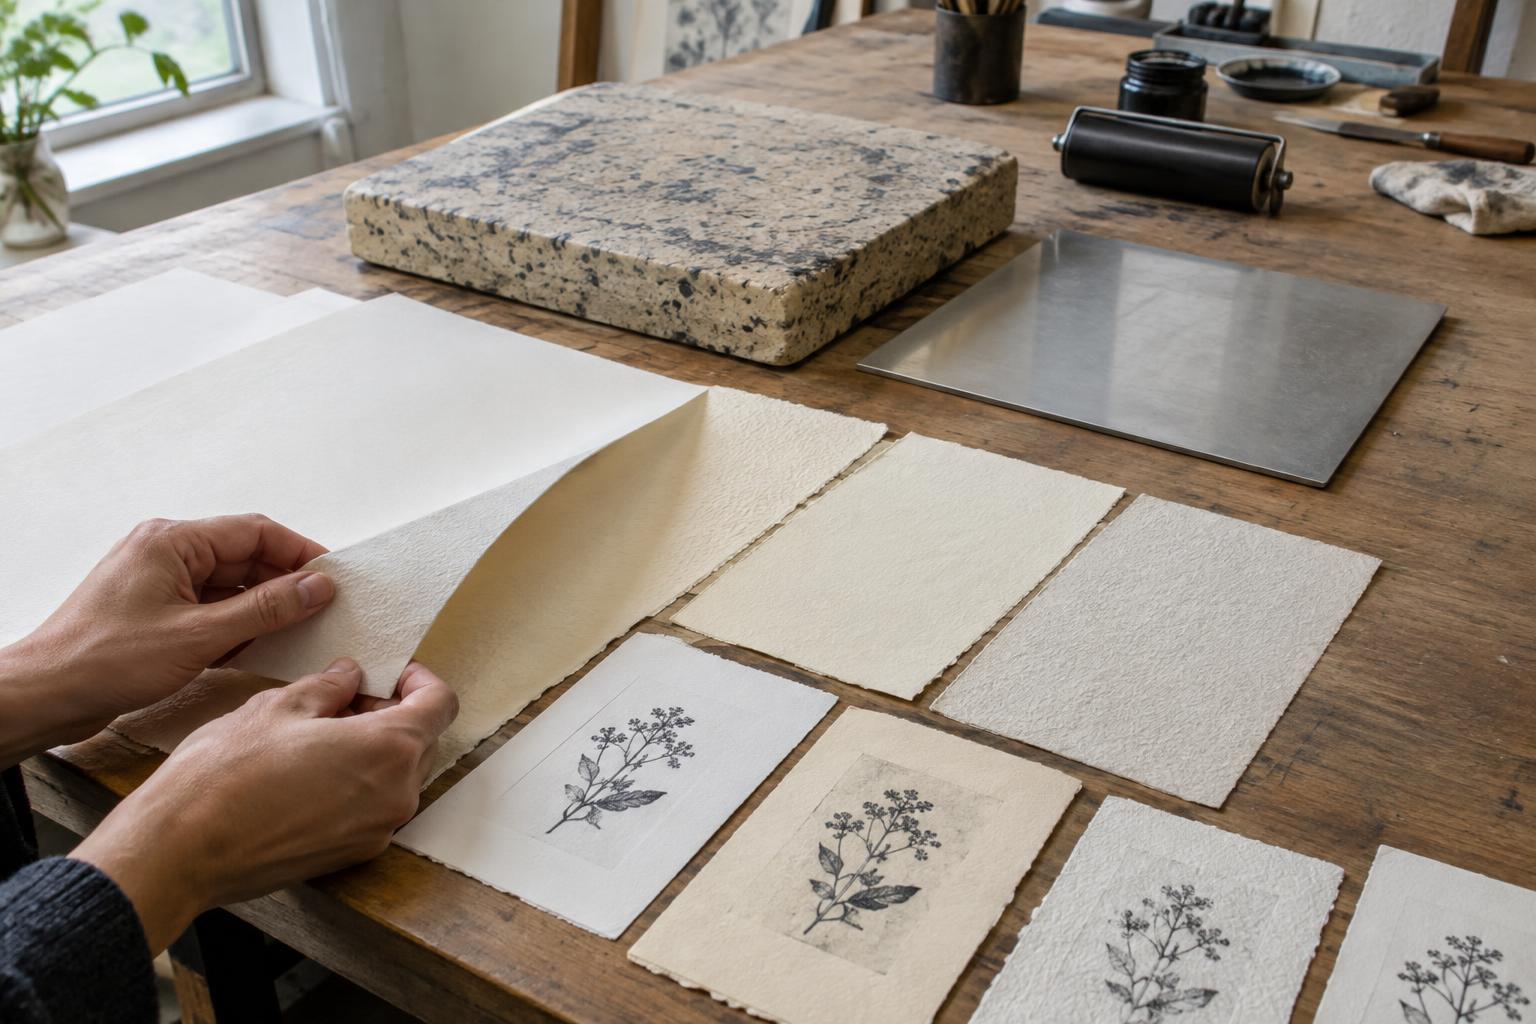
Choose two or three affordable papers rather than buying a large stack immediately. Cut pieces slightly larger than the same small block, and keep the ink, roller, and burnishing tool consistent. Print each paper with similar pressure, working across the back in an orderly pattern. Before lifting the sheet fully, you can carefully check one edge while keeping the rest in place; if an area needs attention, lay it back down and continue rubbing without shifting the registration.
Once the prints are dry, look at a solid shape, a fine line, and an unprinted margin. Note whether the ink transferred evenly, whether the sheet distorted, and whether the back shows damage from rubbing. Keep the samples labeled with the paper name or description, the side printed, and the ink used. These notes are more reliable than trying to remember which loose print came from which sheet.
Choose for the finished print, not just the transfer
Good ink pickup is only part of the decision. A translucent sheet may make the block’s marks feel light and delicate, while a sturdier sheet may be easier to handle, sign, and display. Consider the color of the paper as well: a warm or gray sheet changes the apparent contrast of an ink even when the block and ink remain the same.
If you are planning a small edition, print several trial impressions on your preferred paper before cutting every sheet. This gives you a chance to check consistency and decide how much margin you want around the image. Keep extra sheets for misprints and handling. The best paper for hand burnishing is the one that transfers your particular design with manageable effort and still feels right as a finished object.