What chine-collé adds to a print
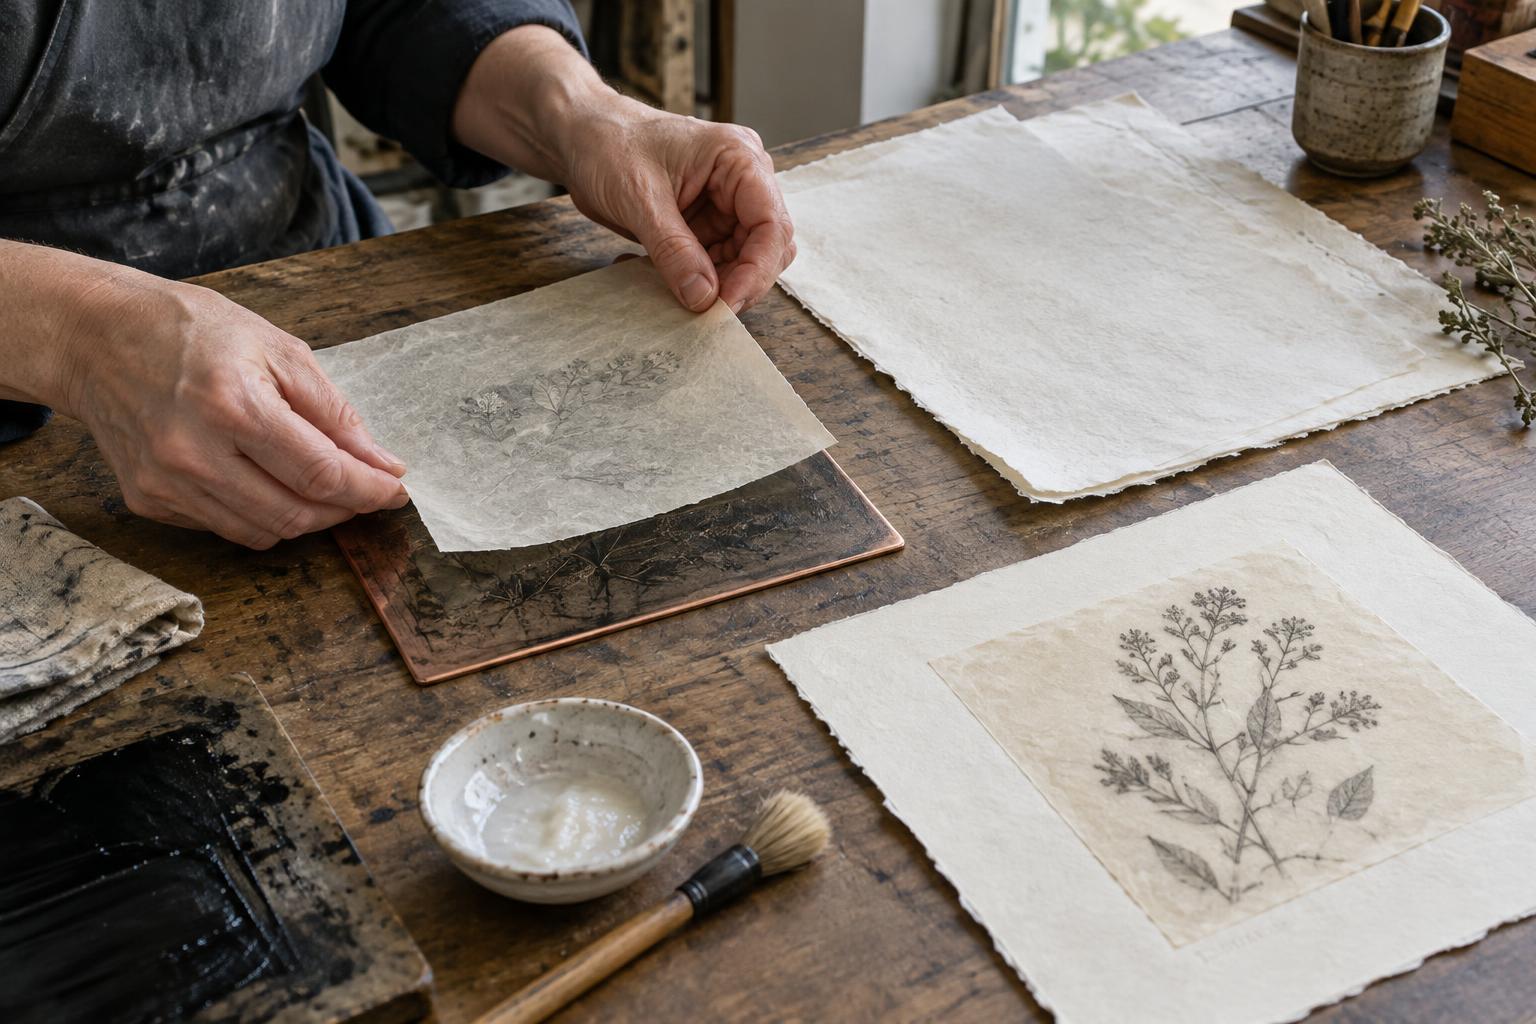
Chine-collé combines printing with the attachment of a thin paper to a sturdier backing sheet. During a pass through the press, the image transfers to the thin paper while a light layer of adhesive bonds that paper to the sheet behind it. The result can change how an image feels without changing the plate: a warm-toned tissue softens a dark line, for example, while a bright paper creates a distinct area of color.
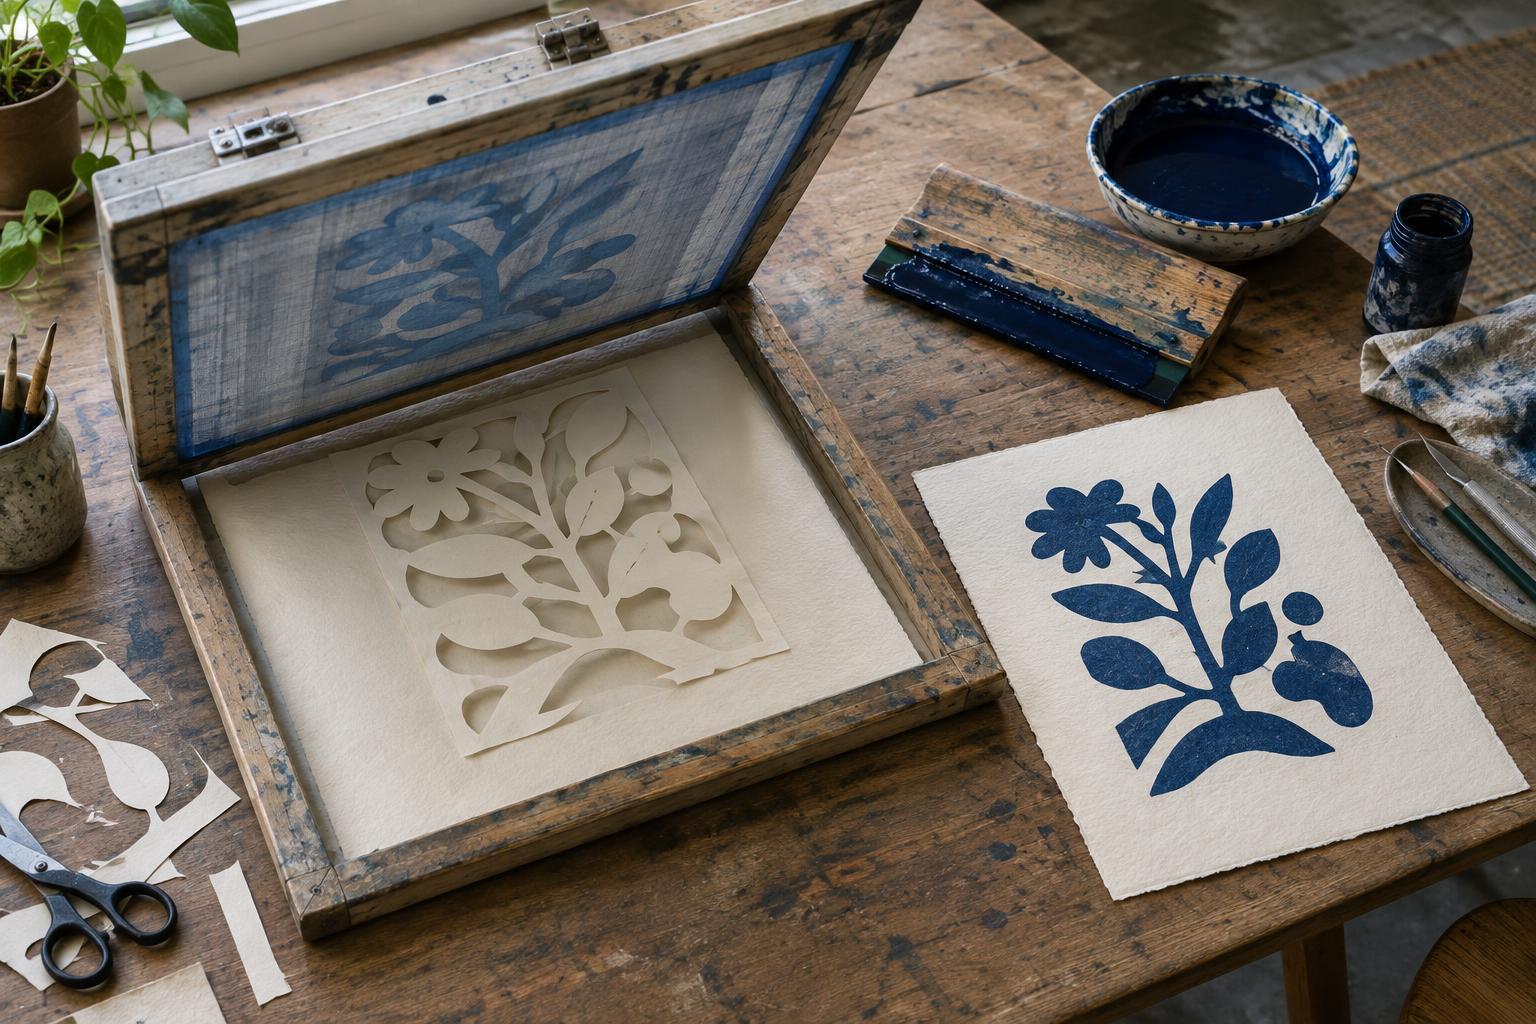
The method is especially useful when a delicate paper takes an impression beautifully but would be awkward to handle as a finished print on its own. It is also a way to place color selectively. A small cut shape can sit beneath one part of the printed image, or a larger sheet can provide a new ground for the entire plate. Careful preparation matters because the thin paper must receive ink and attach to its backing in one operation.
Choose materials that work together
Start with a thin, flexible paper that can tolerate the pressure and moisture your process requires. Smooth Japanese-style papers and other lightweight printmaking tissues are common choices. A paper with visible fibers or texture can be appealing, but test it first: an uneven surface may receive ink differently from a smooth one. For the backing, choose a sheet substantial enough to support the finished print and compatible with your usual printing method.
A thin, even coating of wheat-starch paste or methyl-cellulose adhesive is a practical starting point. Prepare the adhesive according to its product instructions, and make a few trials before using valuable paper. Too much moisture can stretch the thin sheet, blur its edges or cause paste to squeeze out. Too little adhesive may leave loose corners. Keep clean blotting paper, a soft brush and scrap sheets nearby so you can handle the layers without dragging paste across the printing surface.
Plan the image and arrange the layers
Before inking, cut the thin paper to its intended shape and decide where it should appear in the finished print. Remember that an image printed from a plate or block reverses. If placement matters, mark a registration guide on a separate sheet or use a simple positioning template outside the image area. A trial impression will help you check both alignment and the amount of ink the thin paper accepts.
For a typical intaglio setup, ink and wipe the plate as usual. Lay the thin paper over the image area with its printing face against the plate and its adhesive-coated back facing up. Place the backing sheet over it, then add the normal protective layers for your press. The plate contacts the thin paper; the paste sits between that paper and the backing sheet. Apply the adhesive lightly and check the paper’s orientation before bringing the backing sheet down, since lifting it again can shift a small shape.
If you normally dampen backing paper for intaglio, aim for an even, controlled dampness rather than a wet surface. The thin paper may need to remain dry or be only lightly conditioned, depending on its behavior. Relief printing can also use the basic layer order, but the pressure and packing that work for an etched plate may not suit a block. Make a small proof using the setup you intend to print.
Print, dry and assess the bond
Run the assembled layers through the press at a pressure appropriate to the matrix and paper. Lift the print carefully, supporting the backing sheet so the freshly attached area does not peel away under its own weight. Check whether the thin paper has bonded across its surface, whether its edges are where you expected, and whether the ink transferred clearly. Let the print dry in a way suited to its papers and adhesive, with clean interleaving sheets if needed.
If an edge lifts, review the adhesive coverage before increasing pressure; pressure alone cannot bond an area that has no paste. Wrinkles may point to excess moisture, uneven brushing or movement while the sheets were lowered. Paste appearing beyond the thin paper usually means the coat was too heavy. Change one variable at a time on the next proof so you can tell what helped.
Build a repeatable small project
For a first project, use one small thin-paper rectangle beneath a simple line image. Print a proof on the backing paper alone, then try the same image with chine-collé. Compare the line quality, color and edges. Once the basic bond is reliable, try a shaped piece that interacts with a particular part of the image.
If you plan an edition, cut and label the thin papers in advance, and note the paste consistency, paper dampness, registration method and press setting used for a successful proof. Slight variation may be part of the appeal of hand printing, but a clear process gives you control over which differences you choose to keep.