Plan a small design around what will print
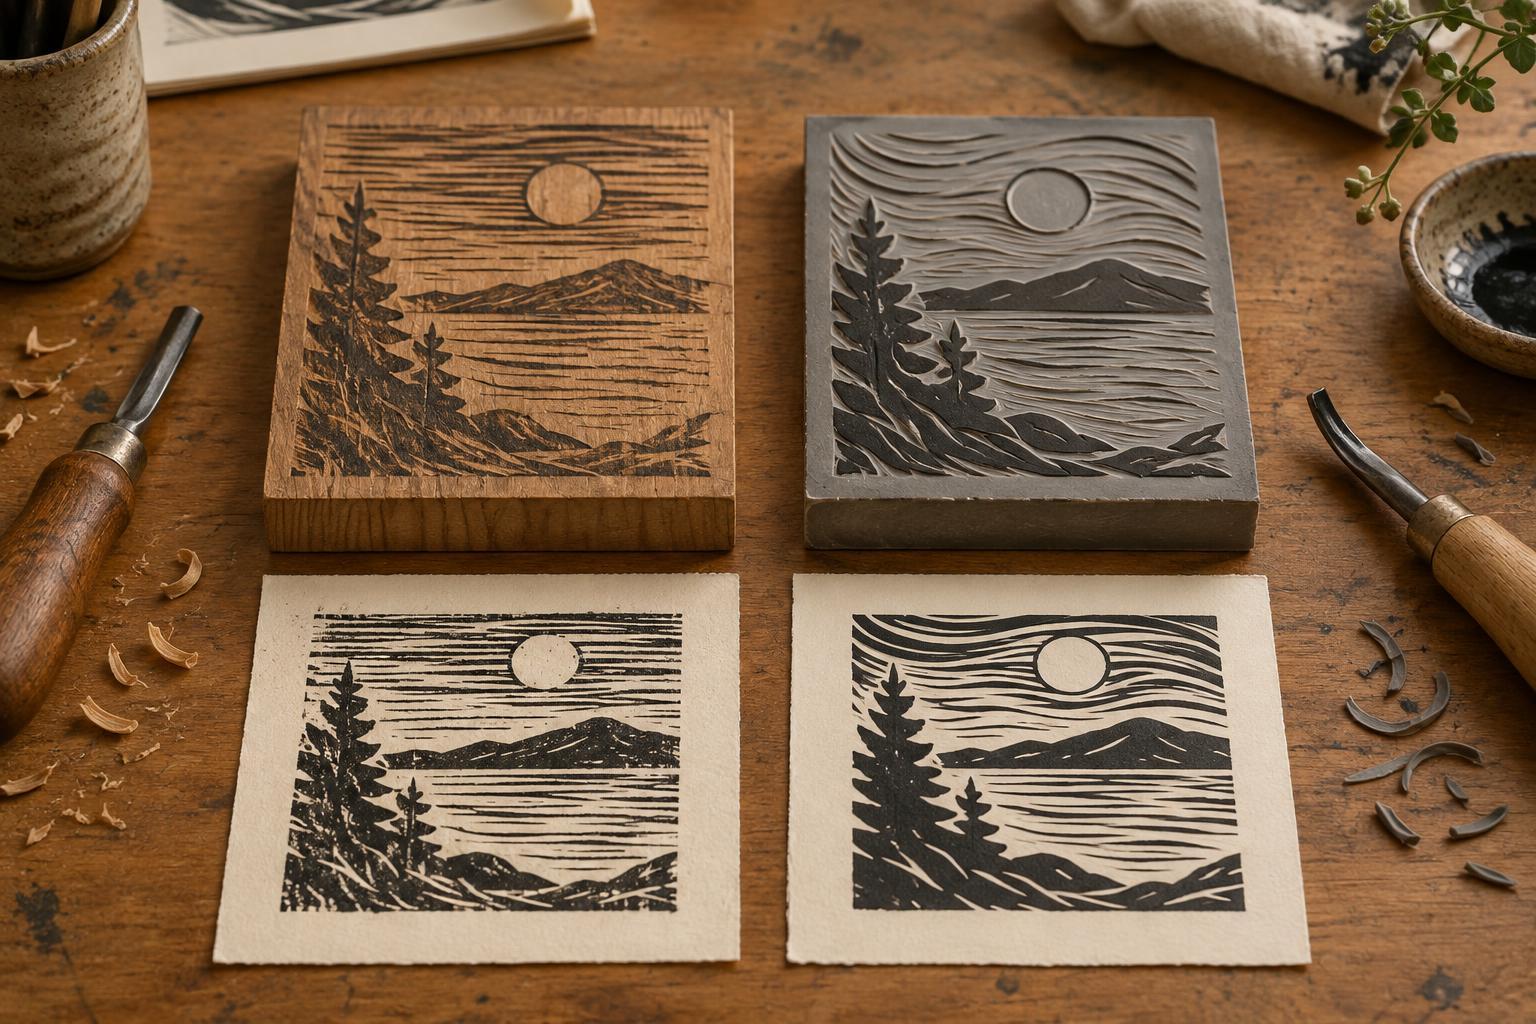
Linocut is a relief-printing method: ink sits on the raised surface of the block, while carved areas generally remain the color of the paper. For a first attempt, choose a small design with bold shapes rather than fine lines or lettering. A leaf, simple animal silhouette or arrangement of geometric forms gives you room to learn how the tools move.
Sketch the design on paper, then mark the areas you intend to carve away. This helps prevent a common beginner surprise: removing a shape you meant to print. If the direction of the image matters, remember that the finished print reverses the block. Lettering needs particular care; it is usually best left for a later project.
Leave generous space between important printed shapes. Thin ridges can be difficult to carve without breaking into them, and tiny details may fill with ink. A design that looks almost too simple on the block can become lively when you add the texture of your cuts and the contrast of ink on paper.
Set up a steady surface and a few tools
You do not need a large collection of cutters. A small V-shaped gouge can make narrow lines, while a wider U-shaped gouge clears broader areas. Use a comfortable handle with a securely fitted blade, and start with a piece of linoleum intended for relief printing. A pencil, scrap paper and an ink pad or basic printing supplies are useful when you are ready to test the block.
Work at a clear table with good light. Place the lino on a bench hook or another suitable support that stops it sliding as you push. Keep loose sheets, cords and other tools out of the working area. If the block moves, stop and secure it rather than gripping it harder with your free hand.
Check how the tool feels before making a mark on your design. On an offcut or an area you plan to remove, try a short, shallow cut. A well-controlled gouge should lift a small curl of lino without requiring a hard shove. If a blade feels loose or damaged, do not use it.
Direct the cut, not just the blade
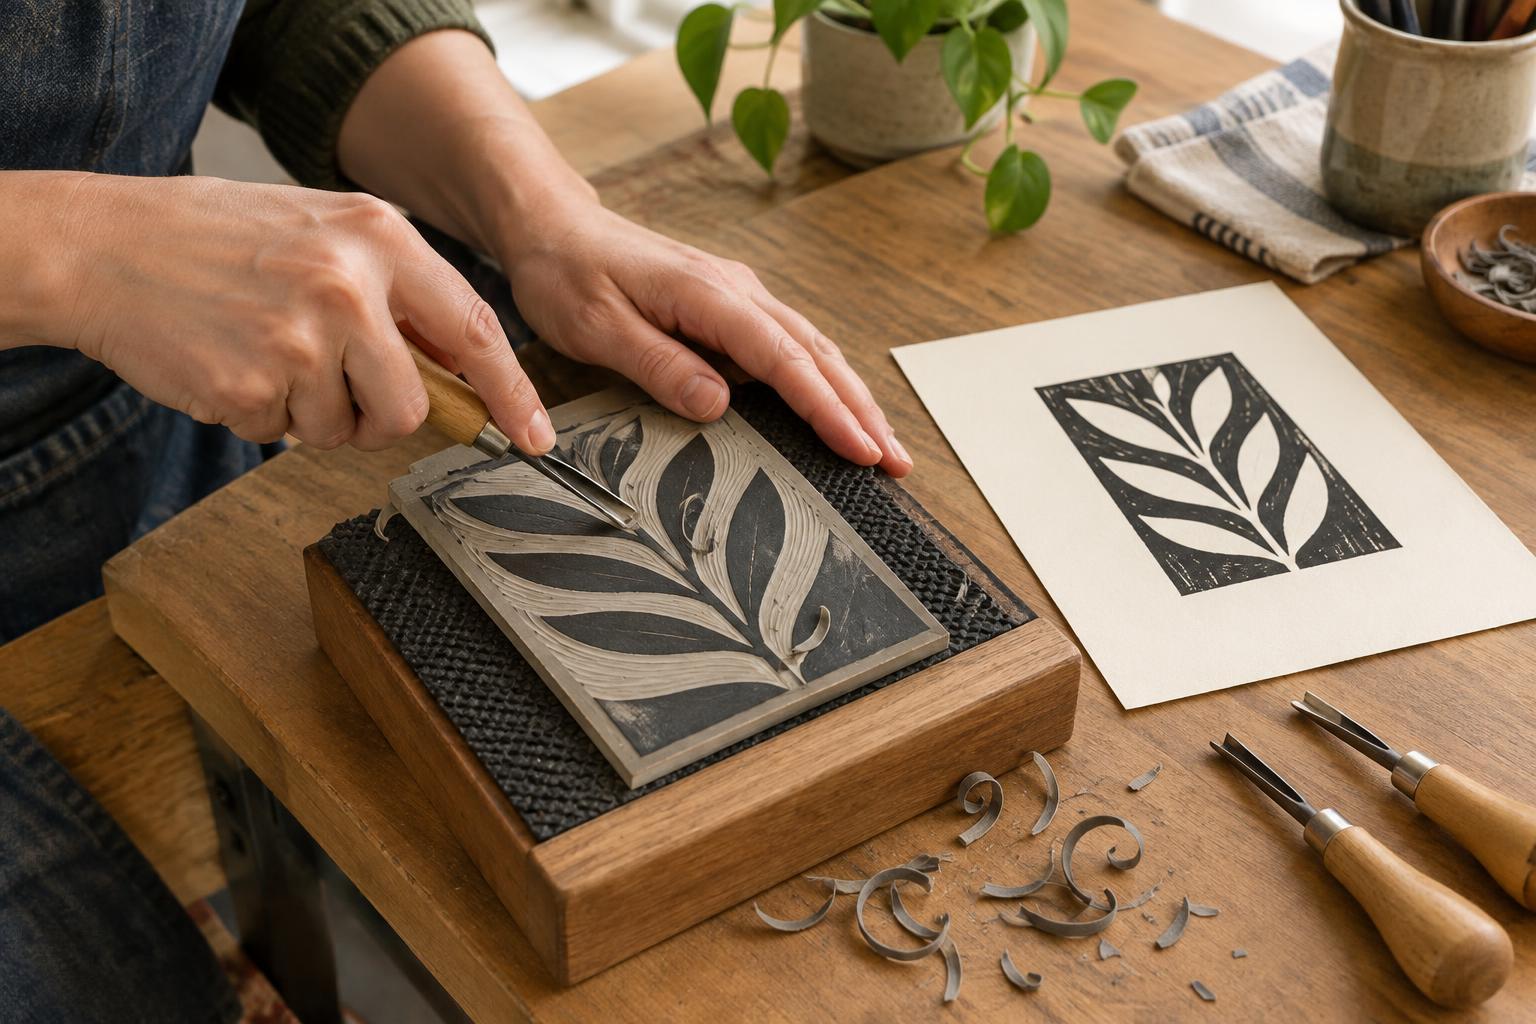
Push the gouge away from your body in short, deliberate strokes. Keep the blade at a low enough angle to travel through the surface rather than digging steeply into the block. Shallow passes give you more control than trying to remove a deep channel at once. When you need a wider cleared area, make several neighboring cuts.
Before every stroke, look past the blade at where it could go if it slips or runs beyond your intended line. That entire path should be clear of fingers and your other hand. Place your noncutting hand behind the cutting edge, not in front of it and not beside a line you are carving toward. For a change of direction, pause and rotate the block on its support instead of twisting the tool toward your hand.
Curves are often easier as a series of short cuts than as one sweeping motion. Let the shape of the gouge do the work, and avoid forcing a blade through resistance. Pause to brush away loose curls before they obscure your drawing; put the tool down first rather than clearing the block while the blade is moving.
Build the image in stages
Start by outlining a few major areas you want to keep, working slowly enough to see where the printed edges will be. Then clear the larger spaces around them. You can leave some intentional marks within those spaces for texture, but remember that any raised speck that picks up ink may appear in the print.
Step back from the block from time to time. Pencil lines can make an uncarved surface look more detailed than it really is. Looking at the raised shapes helps you judge whether the design still reads clearly. If you are unsure about a cut, leave that area intact until after a test print: you can always remove more lino, but you cannot easily put it back.
Make a proof, then decide what to change
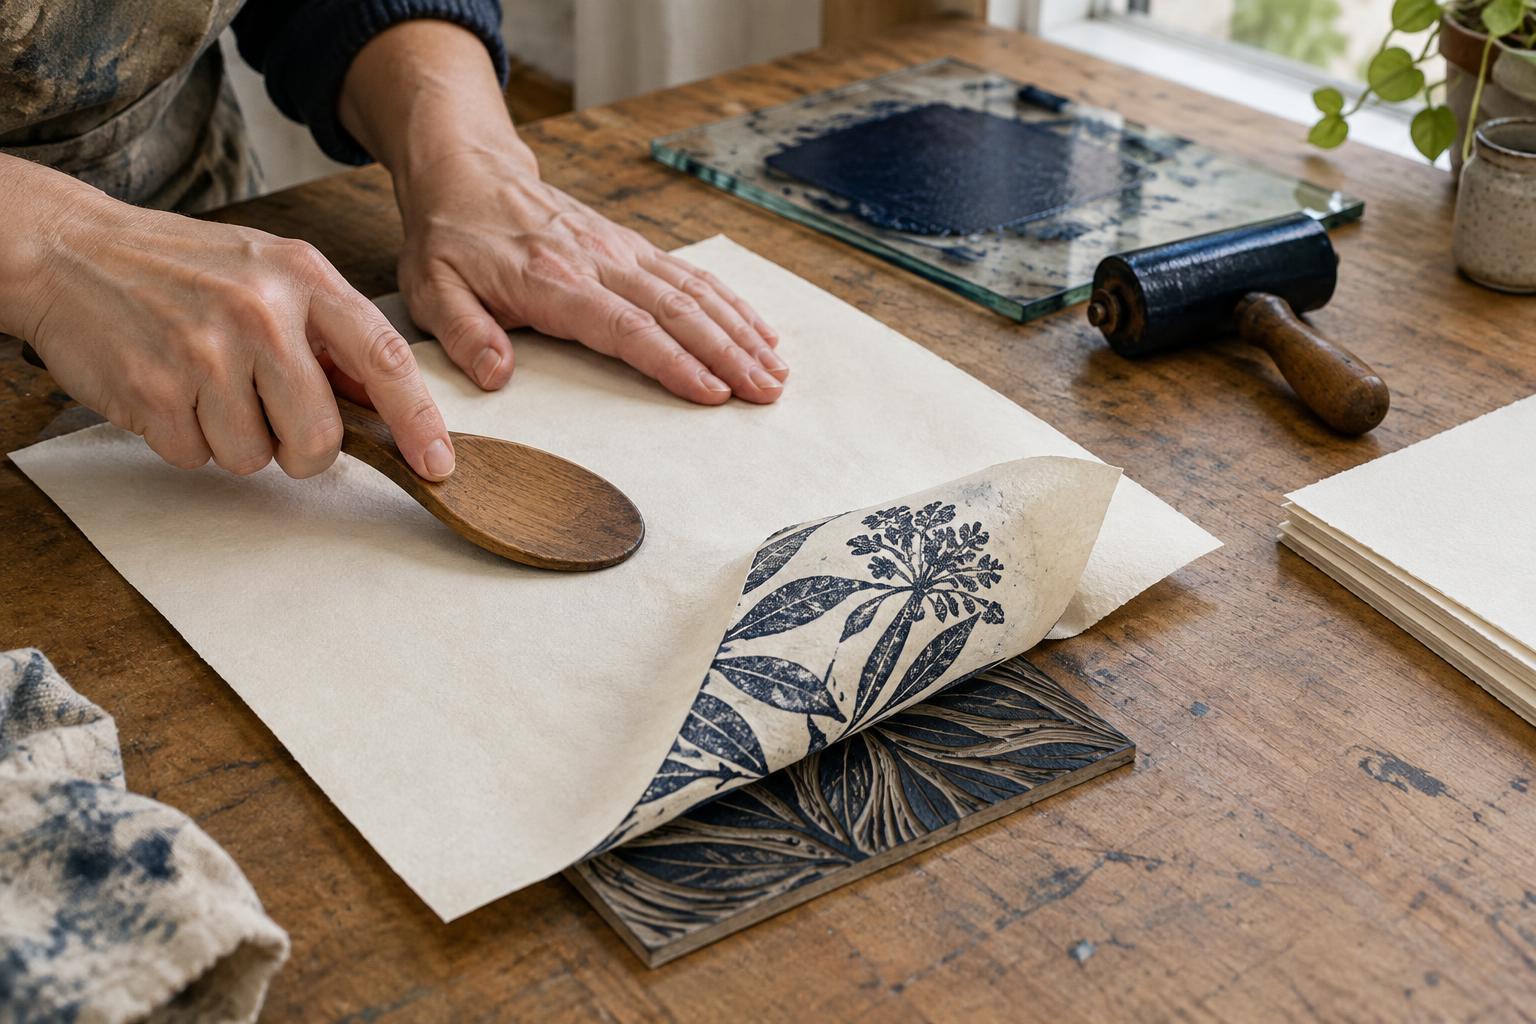
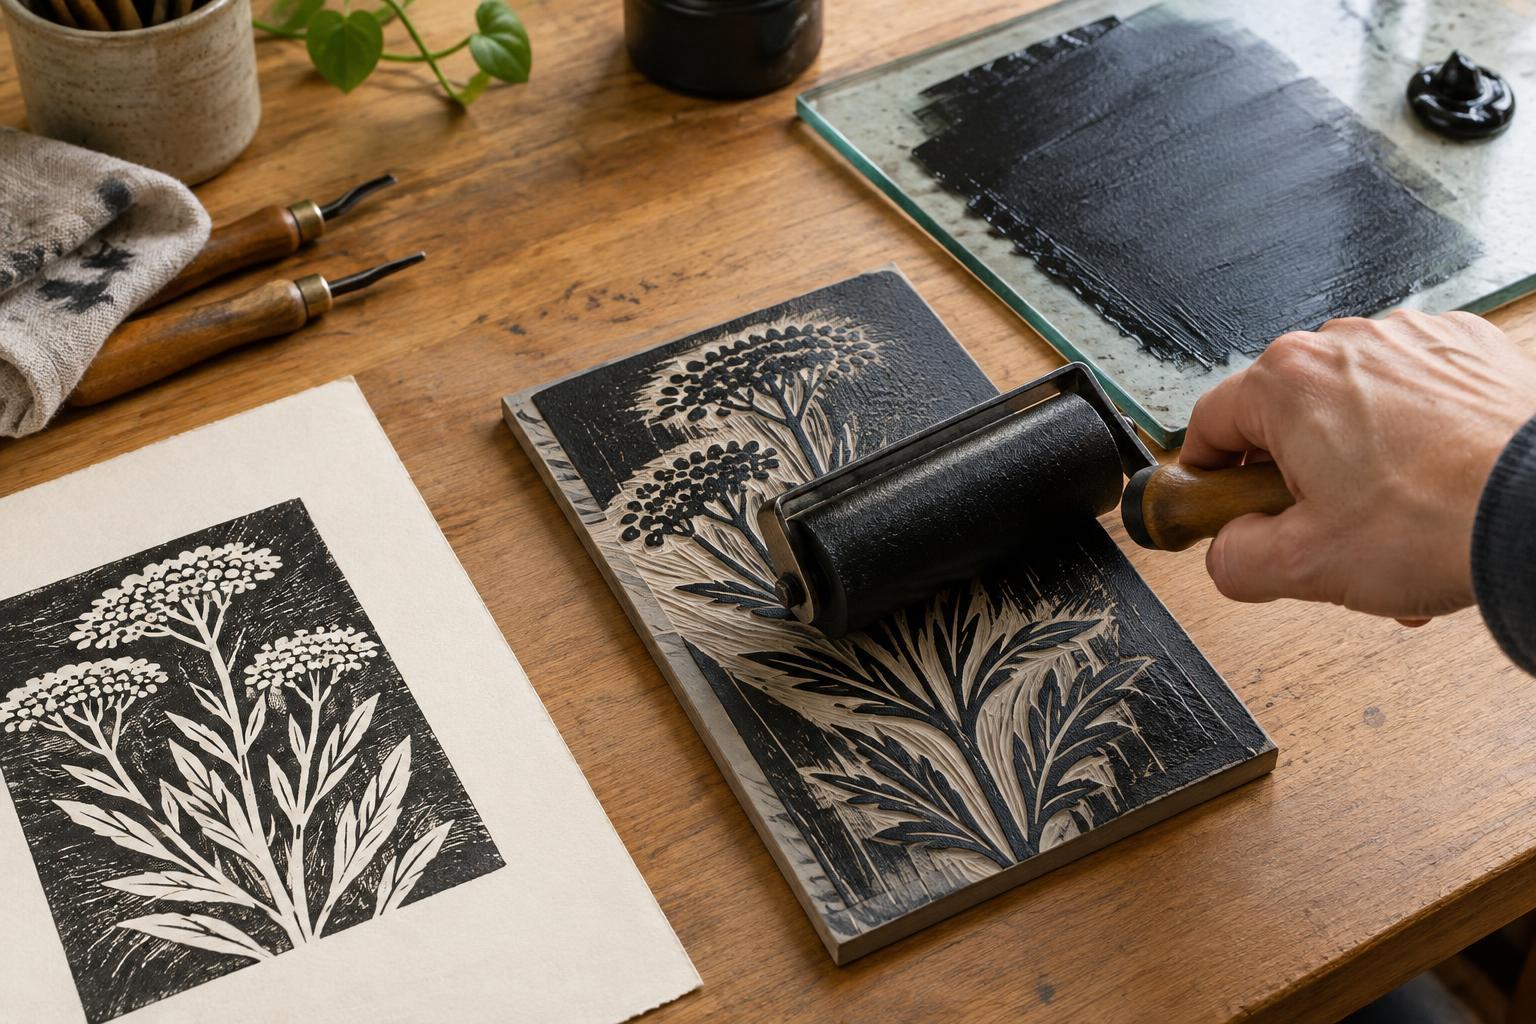
A proof is a trial print that shows what the block actually does on paper. Roll a thin, even layer of suitable ink over the raised surface, place paper on top and press evenly by hand or with a simple printing tool. Lift one edge carefully to check the result. Follow the ink maker’s directions for use and cleanup.
The proof may reveal unplanned flecks, an edge that needs tidying or an area with too little contrast. Compare it with your original idea, then make only the changes you can identify clearly. If a large area prints unevenly, consider your inking and pressure before carving more: not every printing problem is a carving problem.
Your first block does not have to produce a perfect edition. Treat it as a record of how the tools respond to your hand. A steady block, a clear path for each cut and a simple design give you a useful foundation for the next print.