How aquatint makes a tone
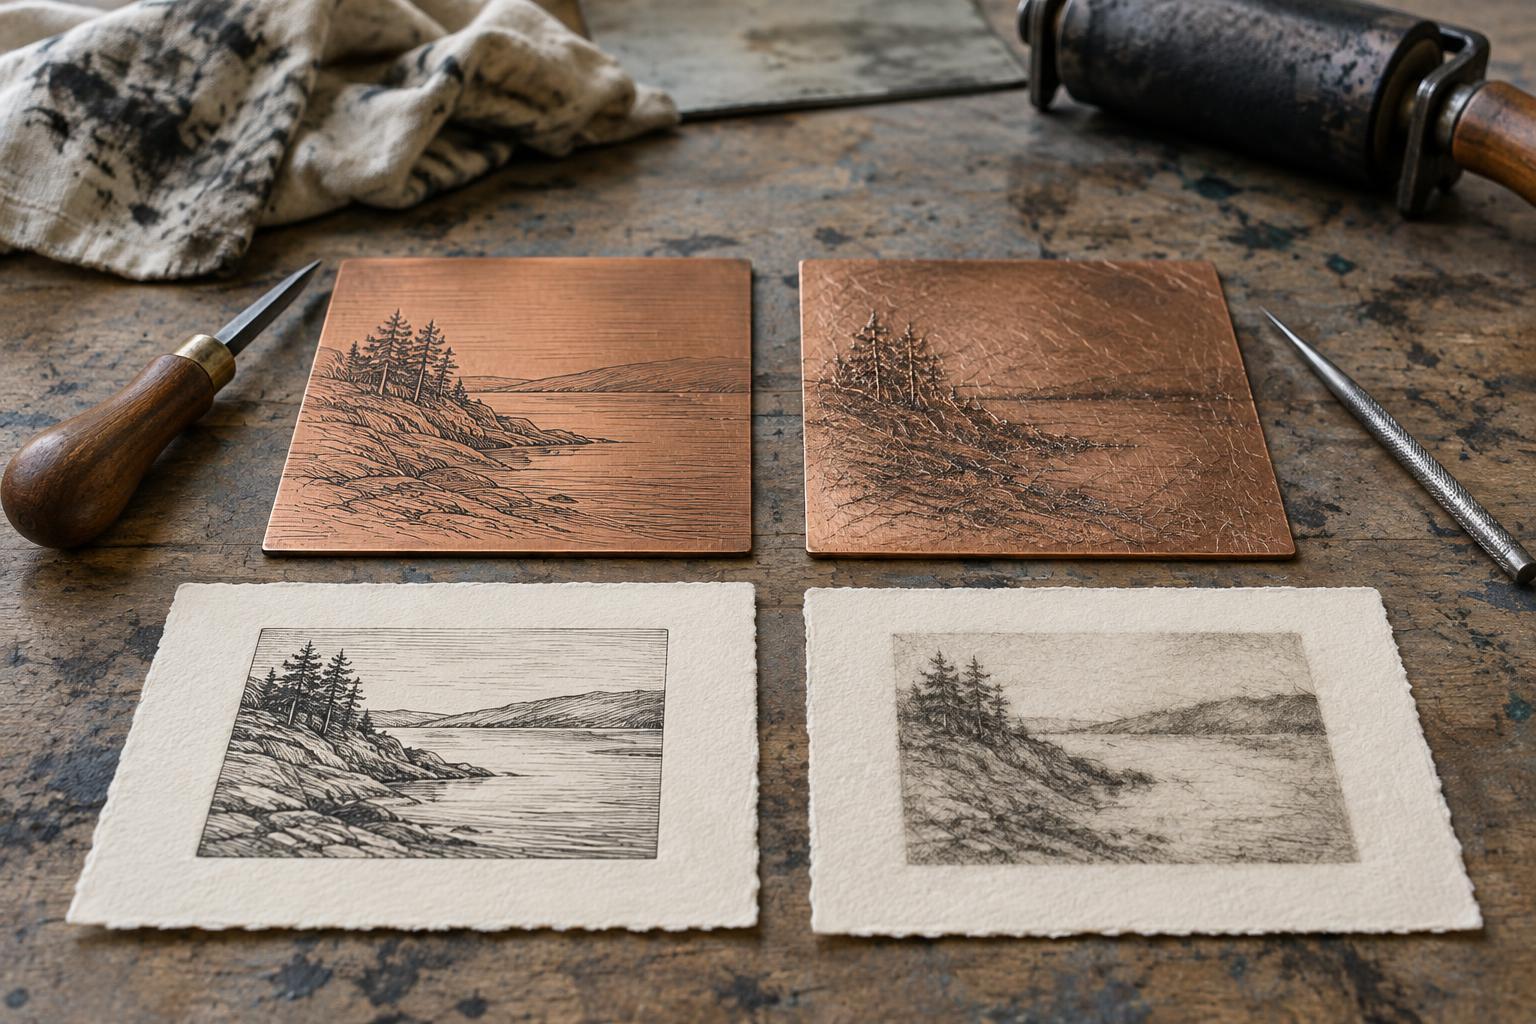
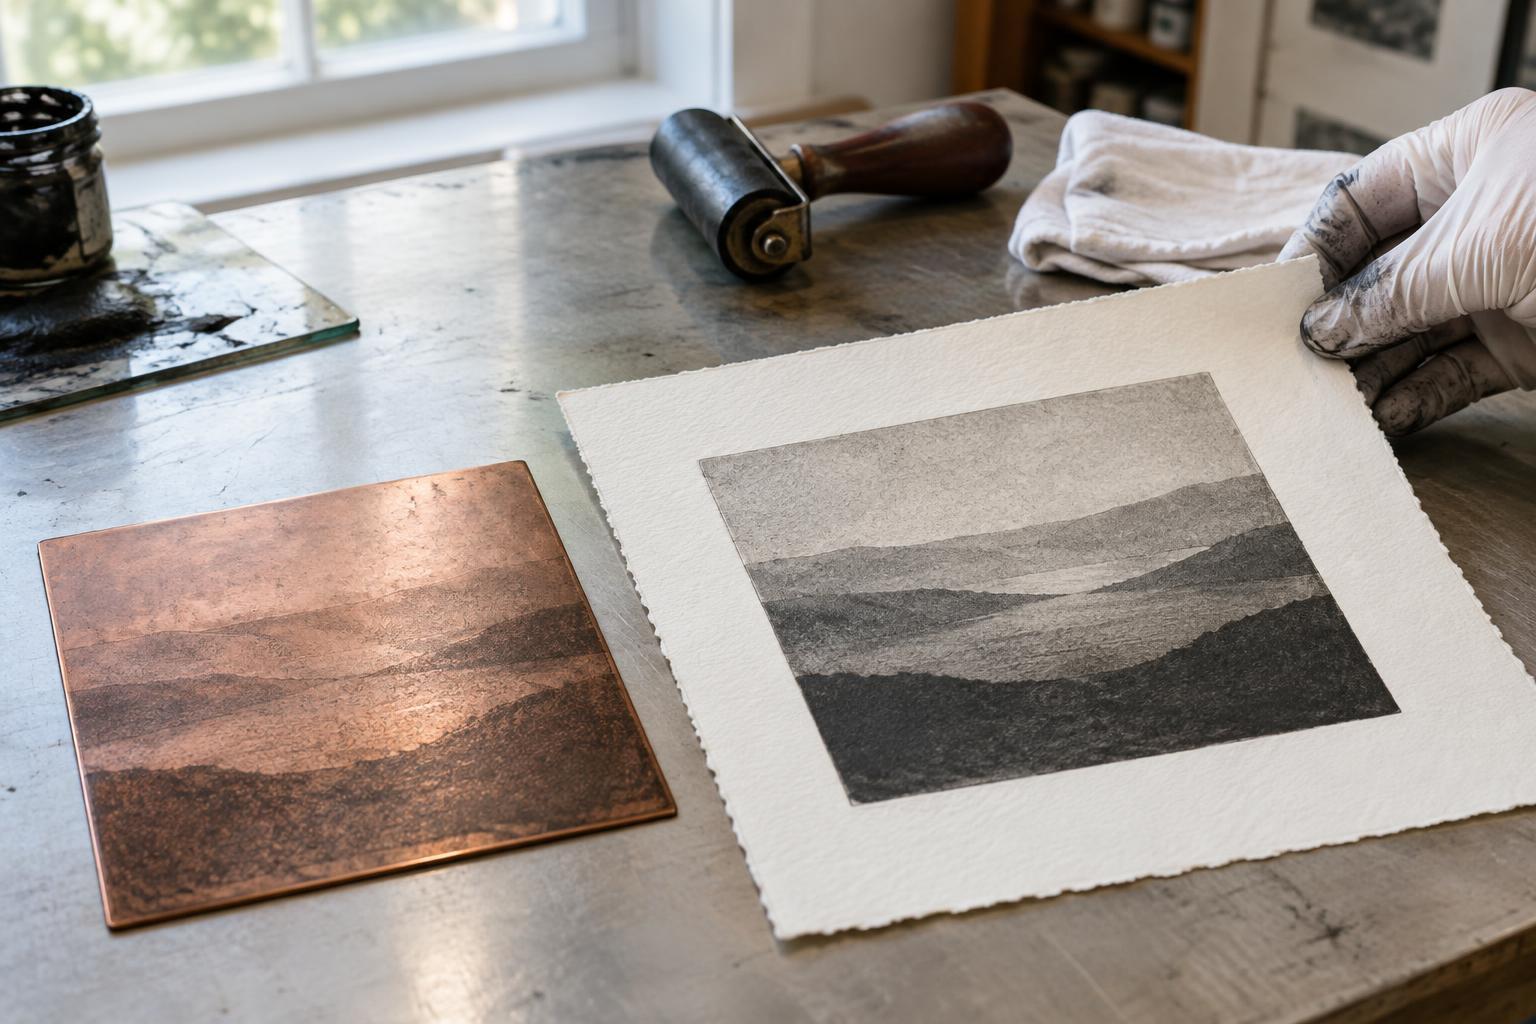
A line etching holds ink in grooves drawn through a protective ground. Aquatint works differently: it gives the plate a fine, scattered pattern of protected spots, leaving tiny spaces between them exposed. When those spaces are bitten into the metal, they hold ink. At a normal viewing distance, the many small marks read as a continuous tone rather than separate dots.
The traditional ground is finely distributed rosin, fused to the plate so its particles resist the mordant. Some studios use other aquatint grounds, but each has its own application and removal requirements. Aquatint does not put gray ink on the plate. The apparent gray comes from the density and depth of ink-holding recesses, the way the plate is wiped, and the paper used for printing.
A single bite can produce one broad tonal area. To make several values, the printer protects selected areas with stop-out between bites. Areas left exposed for more bites generally print darker, assuming the ground remains sound and the plate is inked and wiped consistently.
Plan a small value study first
For a first plate, choose a simple image with a clear light shape, a middle tone, and a dark shape. A cup against a shadowed background or a few overlapping leaves offers enough variety without demanding a detailed drawing. Sketch the image as three or four value groups before working on the plate. This helps you decide which areas must stay bright and which can remain exposed through later bites.
Remember that an intaglio print reverses the plate image. Mark the plate’s orientation and, if the direction matters, reverse the sketch before transferring it. Leave a margin around the design for handling and printing. If you are combining aquatint with etched lines, plan which marks need the crisp edge of a line and which should read as a soft field of tone.
A small test strip is valuable when learning a studio’s materials. Give it the same ground as the main plate, then use the studio’s established bite intervals to make several value steps. Printing that strip reveals more than judging the plate by eye: the metal’s appearance does not reliably predict the final tone.
Build light and dark in stages
In a properly equipped studio, preparation begins with a clean, degreased plate. An even aquatint ground matters because gaps or clumps can create unintended marks. Protect the back and edges as required by the studio process. Before the first bite, stop out any areas intended to remain the white of the paper. After an initial bite, rinse and dry the plate according to studio procedure, then stop out the areas intended to print as the lightest gray.
Repeat the cycle for middle values, leaving the darkest areas open longest. Think of stop-out as a record of what you want to preserve, not as a way to add darkness. Keep notes on which areas were covered at each stage and label a sketch of the plate. Such notes make it easier to understand a proof and repeat a useful result.
Avoid treating bite time as a universal recipe. Different metals, mordants, grounds, and studio conditions affect the result. An overworked area may lose the fine texture needed for a smooth tone. A test strip, patient proofing, and guidance from the studio are more dependable than copying times from another setup.
Proof, adjust, and work safely
Once the ground and stop-out have been removed by the studio’s approved method, ink the plate so the bitten areas fill, then wipe its surface and print on dampened intaglio paper. Check the proof for the overall value pattern before focusing on small details. Does the lightest area stand apart? Is the middle tone distinct from the dark? Uneven tone may come from the ground, but inking, wiping, paper moisture, and press settings can also change the impression. Keep those variables as consistent as you can while evaluating the plate.
If a tone needs adjustment, ask an experienced printer which changes are suitable for that plate. Further biting can deepen some areas, while burnishing or scraping can lighten others, but removing metal texture is difficult to undo. Proof after a modest change rather than trying to correct everything at once.
Aquatint involves hazards beyond ordinary drawing and printing. Rosin dust should not be inhaled, heating grounds requires appropriate controls, and mordants and cleaning materials require trained handling, suitable protection, and proper disposal. Beginners should learn these stages in a supervised print studio rather than improvising them at home. The most useful first result is not necessarily a perfect image: it is a plate and a set of proofs that show how your planned value steps translated into print.