Start with the print you plan to make
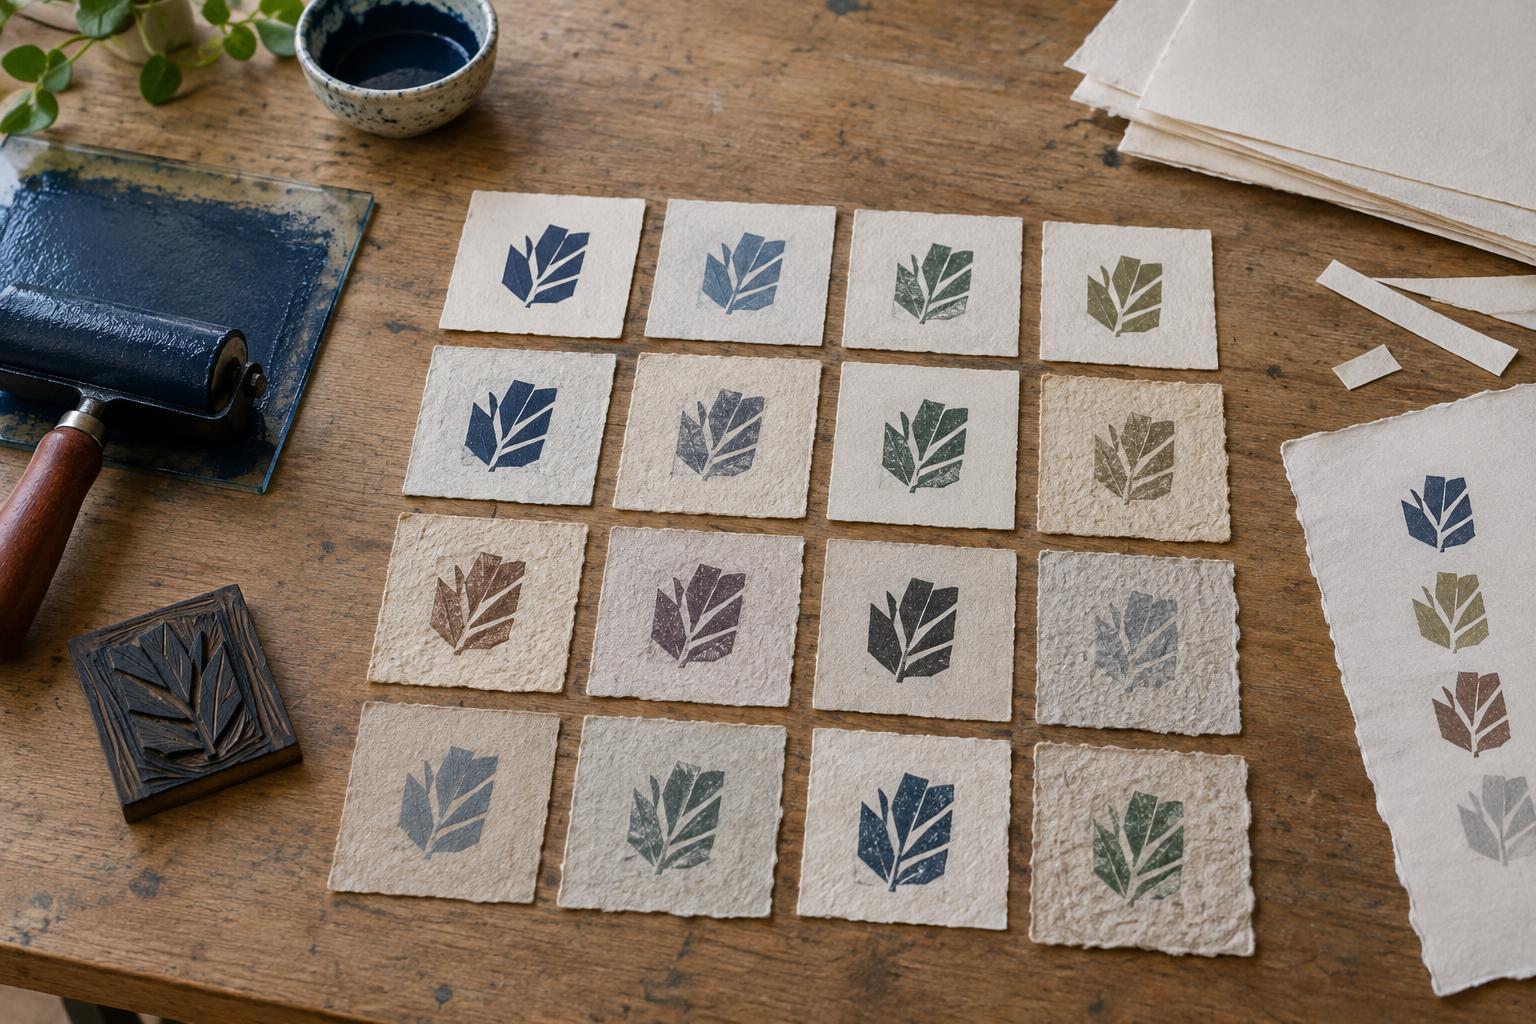
Before setting out equipment, decide what a successful session needs to produce. A quick proof calls for less paper and drying room than an edition of twenty. Note your printing method, image size, paper size, ink, number of impressions and any planned color layers. This gives you a useful way to estimate supplies and space without trying to prepare for every possible task.
Count your sheets before opening the ink. Allow for proofs, adjustments and handling errors as well as the finished prints. If you are making an edition, keep the paper in one orientation and mark a small reference on a backing sheet or your registration setup rather than on every finished sheet. Put a few scraps of the same paper nearby for checking ink coverage and pressure.
Check tools before your hands are inky
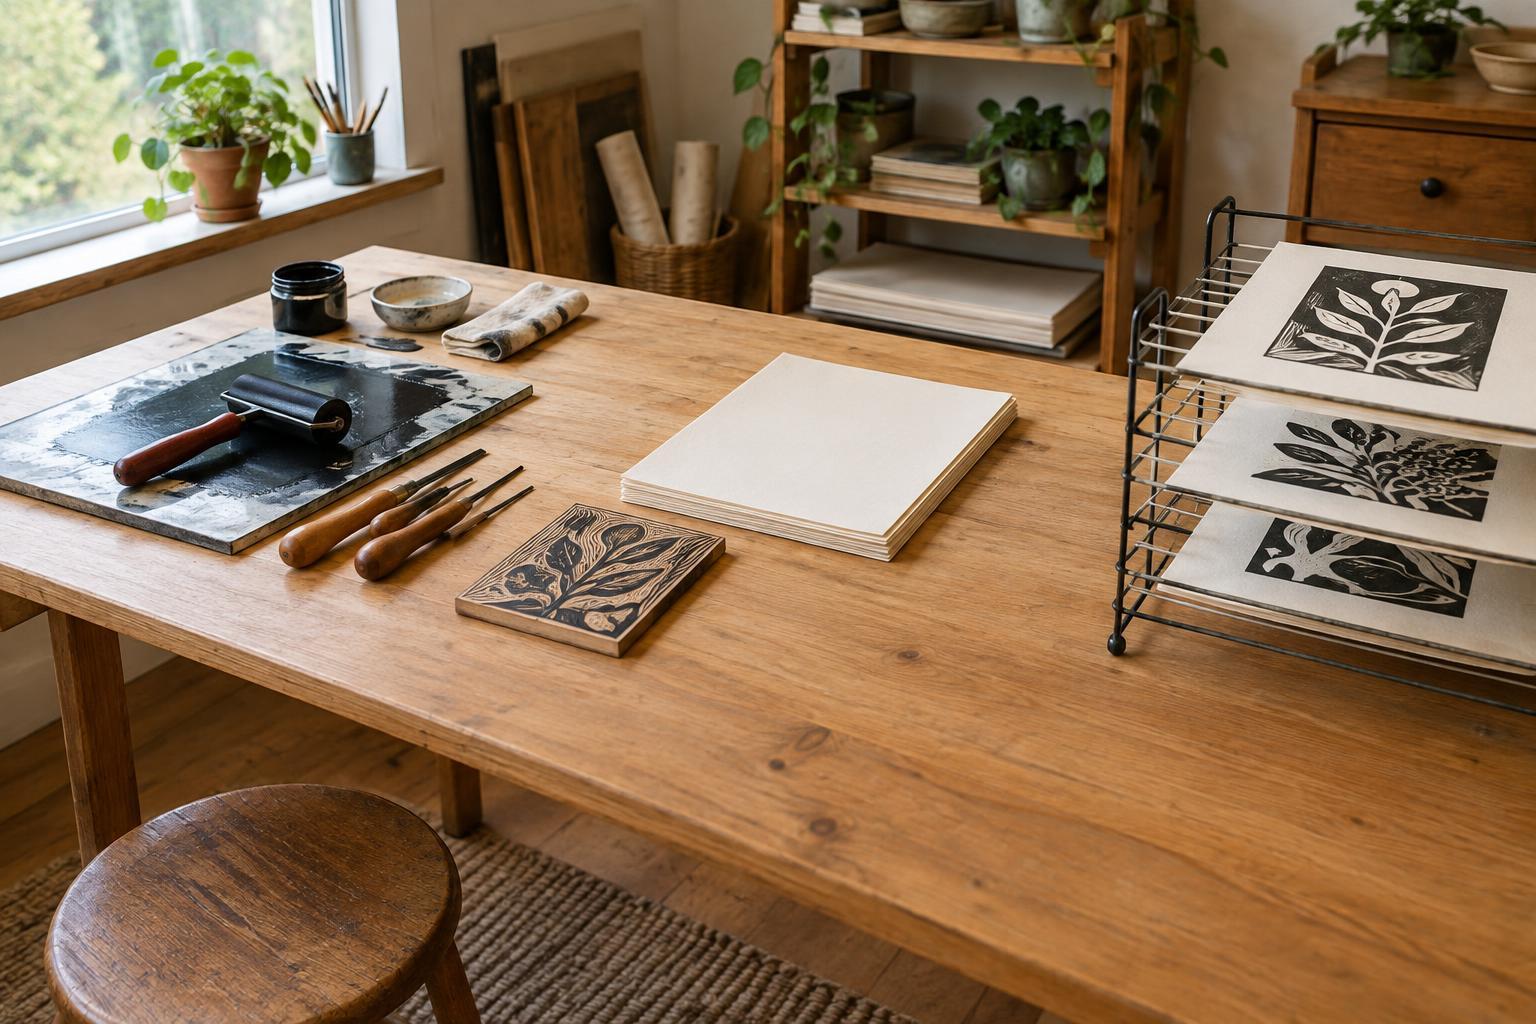
Gather the tools required for your process and place them in the order you expect to use them. For relief printing, that might mean a clean block, brayer, inking surface, baren or press, and registration guides. For a simple screen-printing session, check the screen, squeegee, hinges or stops, and the surface supporting the paper. Keep cutting tools and other sharp equipment away from the active printing area once preparation is complete.
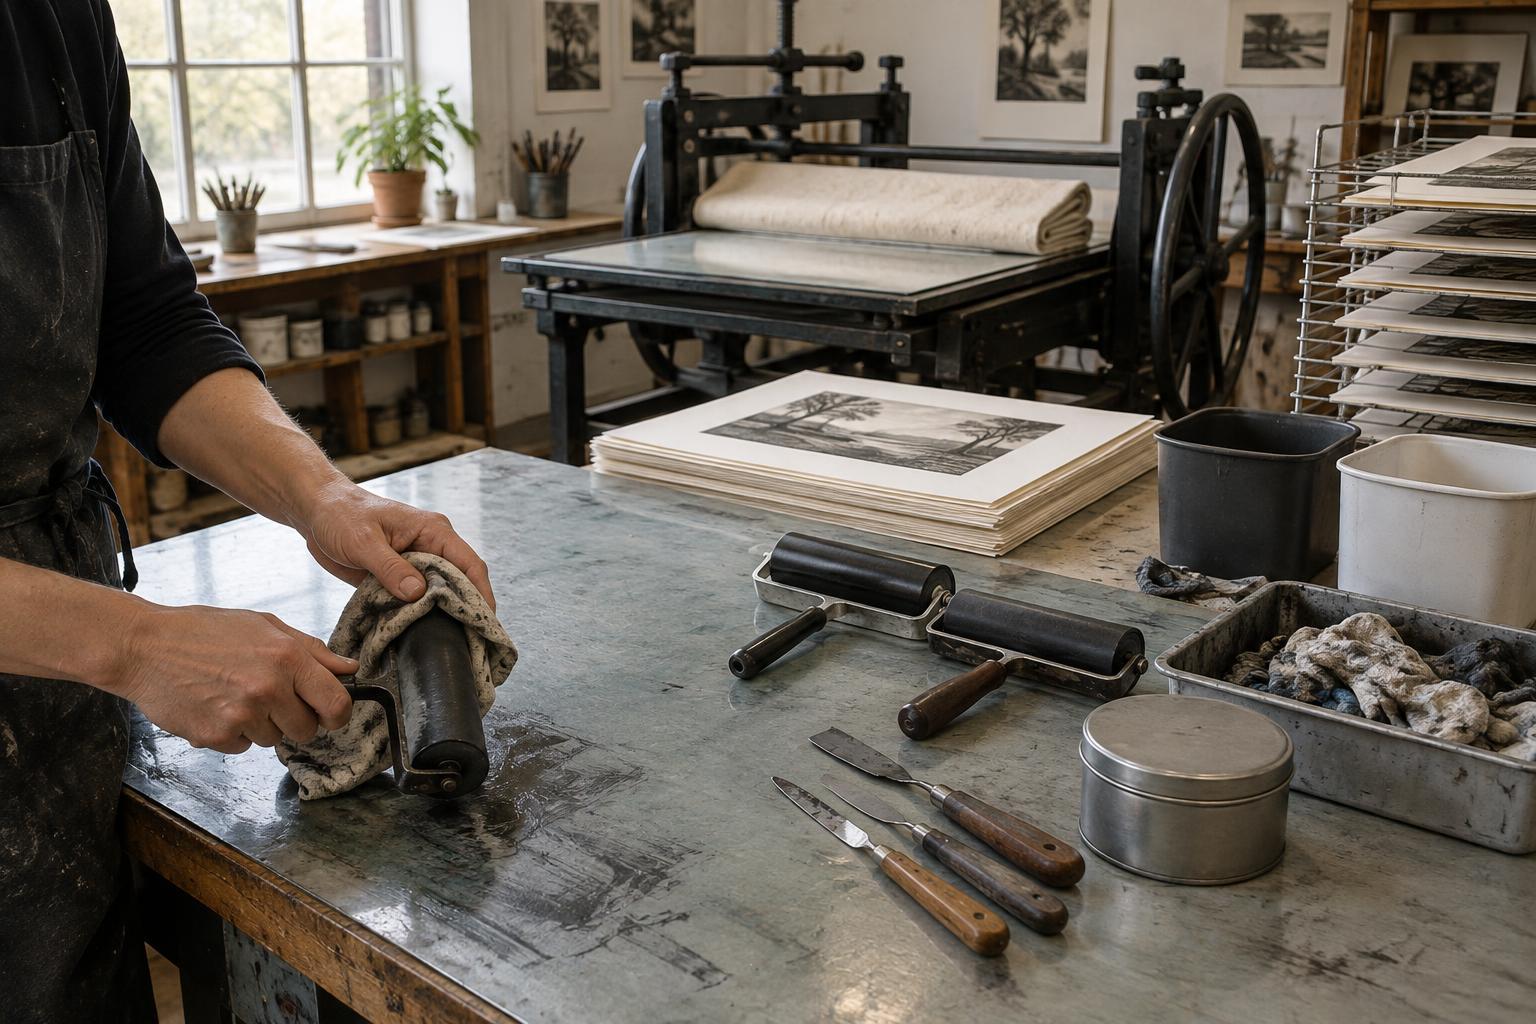
Inspect anything that moves or makes contact with the print. A brayer should roll freely; a printing surface should be free of dried ink, grit and loose fibers. If you use a press, check that it is set up according to its instructions before placing a valuable sheet beneath it. Have cleanup materials, a waste container and any protective equipment specified for your materials ready now. Read the labels on inks and cleaners rather than assuming that products with similar names can be handled the same way.
Give each surface one job
Divide your space into at least three areas: clean paper, inking and printing, and finished wet prints. They can be small areas of one table, but they should not overlap. Cover a vulnerable tabletop with a stable, wipeable work surface, and tape down anything that might slide. Set clean paper well away from ink jars, used rags and the edge where a brayer might roll.
Do a dry run before opening the ink. Move a blank sheet from the paper stack through registration and onto the printing surface, then carry it to its drying spot. Notice where you have to reach across wet ink or turn while holding a fresh print. Rearranging the table now is easier than doing it mid-session. If several people share the space, agree on a clear route for carrying prints and a place for tools that are in use.
Prepare drying space before printing
A print is not finished when it leaves the block, plate or screen: it still needs a safe place to sit. Clear enough rack shelves, boards or flat surfaces for the sheets you expect to pull. Leave room between prints so wet ink does not touch the next sheet. If you will move prints on boards, check that the boards are clean and rigid enough to carry without flexing into the image.
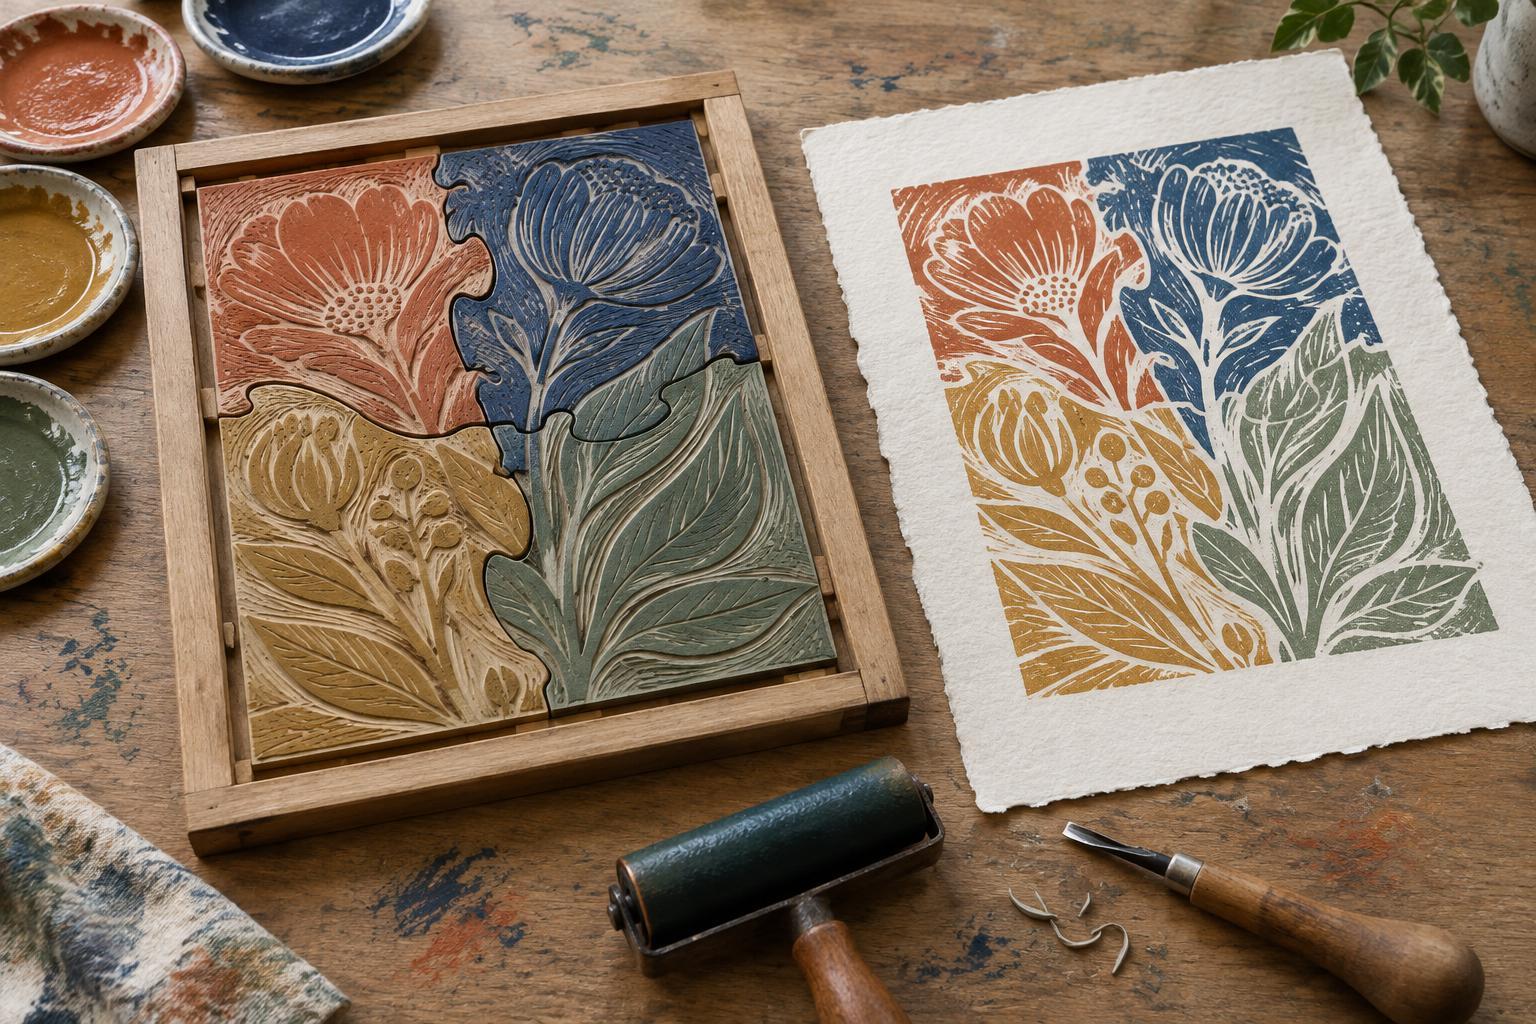
Choose a spot away from dust, splashes, pets and routine foot traffic. Gentle airflow may help some materials dry, but a strong draft can lift lightweight paper or blow debris onto wet ink. Drying time varies with ink, paper, ink thickness and room conditions, so avoid planning to stack or package prints at a fixed time without checking them first. For multiple color layers, reserve space for prints that must remain accessible for the next pass.
Make the final check, then keep the path clear
Just before printing, confirm that the image or matrix is ready, the paper and ink are the intended choices, the registration guides have not shifted, and a proof sheet is within reach. Print one proof and inspect it under good light. It is a chance to adjust ink application, pressure or alignment before committing the rest of the paper.
As you work, return tools to their assigned places and move each impression directly to the drying area. Keep clean hands, or a clean way to handle paper, separate from inky tasks. At the end, follow the product instructions and your studio’s disposal rules for ink, cleaners and used rags. Leave drying prints labeled or clearly separated so the next person knows what must not be touched. A repeatable setup makes cleanup easier and gives your attention back to the prints.